1. Introduction
This manual provides detailed instructions for the installation, operation, and maintenance of the TRIVISION IR LED Board Replacement, Model 868105. This replacement board is designed for use with TRIVISION NC-335PW HD 1080P, NC-350W HD 1080P PRO, and NC-350PW HD 1080P PRO outdoor cameras. Please read this manual thoroughly before proceeding with installation to ensure proper function and safety.
2. Product Overview
The TRIVISION IR LED Board (Model 868105) is a crucial component for your outdoor security camera, providing infrared illumination for night vision capabilities. When the ambient light levels drop, the camera's light sensor activates the IR LEDs, allowing the camera to capture clear images in low-light or no-light conditions. This replacement board ensures your camera maintains optimal night surveillance performance.
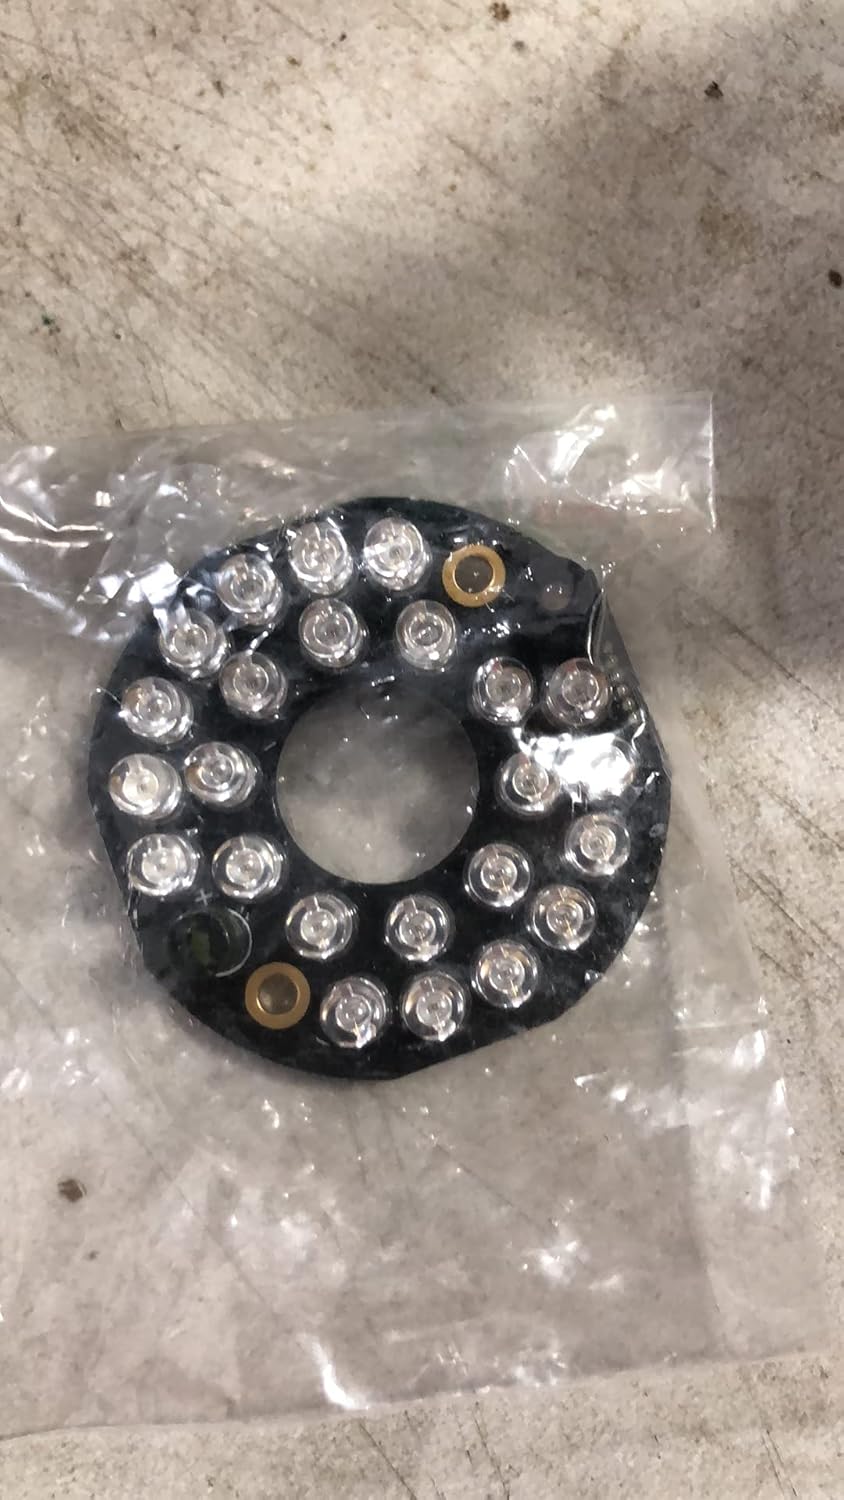
Figure 1: TRIVISION IR LED Board Replacement (Model 868105) as packaged.
3. Safety Information
- Always disconnect power to the camera before attempting any installation or maintenance.
- Handle electronic components with care to avoid damage from static electricity. Consider using an anti-static wrist strap.
- Ensure all connections are secure and correctly oriented before restoring power.
- If you are unsure about any step, consult a qualified technician.
4. Package Contents
The package should contain the following item:
- 1 x TRIVISION IR LED Board Replacement (Model 868105)
5. Setup and Installation
This section outlines the steps to replace the IR LED board in your compatible TRIVISION outdoor camera.
5.1. Tools Required
- Small Phillips head screwdriver
- Anti-static wrist strap (recommended)
5.2. Installation Procedure
- Step 1: Disconnect Power. Ensure the camera is completely powered off and disconnected from its power source before beginning.
- Step 2: Open Camera Housing. Carefully open the camera's outer housing. This typically involves unscrewing the front bezel or rear cover. Refer to your specific camera model's disassembly instructions if needed.
- Step 3: Locate and Disconnect Old IR LED Board. Identify the existing IR LED board, usually a circular board with multiple LEDs surrounding the camera lens assembly. Gently disconnect the ribbon cable or wire harness connecting the old IR LED board to the main camera circuit board. Note the orientation of the connector for reassembly.
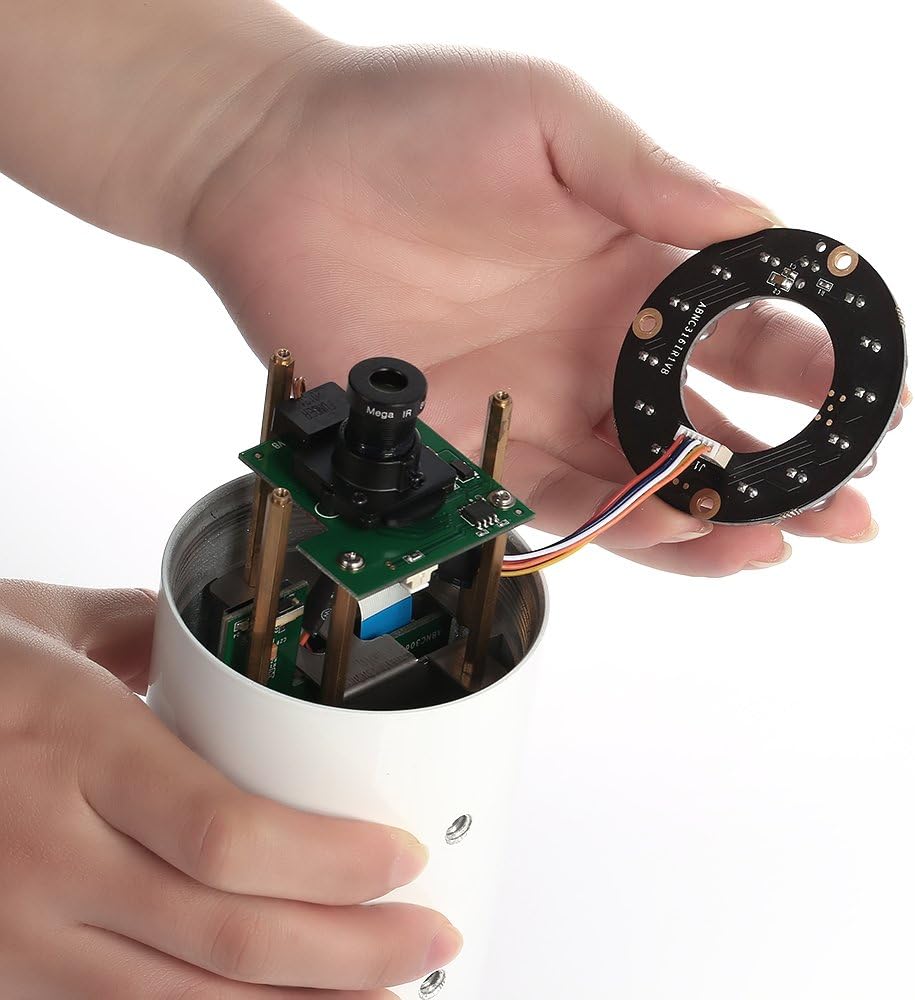
Figure 2: Disconnecting the IR LED board from the camera's internal components.
- Step 4: Remove Old Board. Unscrew any retaining screws holding the old IR LED board in place and carefully remove it.
- Step 5: Install New IR LED Board. Position the new TRIVISION IR LED Board (Model 868105) in the camera housing. Ensure it aligns correctly with the mounting points.

Figure 3: Close-up view of the connector on the IR LED board, showing the connection points.
- Step 6: Connect New Board. Carefully connect the ribbon cable or wire harness from the main camera circuit board to the new IR LED board. Ensure the connector is fully seated and in the correct orientation.
- Step 7: Secure New Board. Reinstall any retaining screws to secure the new IR LED board.
- Step 8: Reassemble Camera. Carefully close the camera housing, ensuring all seals are properly seated to maintain weather resistance. Tighten all screws.
- Step 9: Test Functionality. Reconnect the camera to its power source. In a dark environment, observe if the IR LEDs illuminate. You may hear a faint click as the IR cut filter engages. Check the camera's video feed to confirm night vision is functioning correctly.
6. Operation
The TRIVISION IR LED Board operates automatically in conjunction with your camera's built-in light sensor. When ambient light levels fall below a certain threshold, the camera will automatically switch to night vision mode, activating the IR LEDs on the board. Conversely, when sufficient light is detected, the IR LEDs will turn off, and the camera will switch back to day mode.
7. Maintenance
The IR LED board itself requires minimal maintenance. However, to ensure optimal performance of your camera's night vision:
- Keep the Camera Lens and IR Cover Clean: Dust, dirt, or spiderwebs on the camera's outer lens or the transparent cover over the IR LEDs can obstruct the infrared light, reducing night vision effectiveness. Periodically clean these surfaces with a soft, damp cloth.
- Inspect for Damage: During routine camera checks, inspect the IR LED board for any visible damage or loose connections.
8. Troubleshooting
| Problem | Possible Cause | Solution |
|---|---|---|
| IR LEDs do not illuminate at night. |
|
|
| Night vision image is blurry or dark. |
|
|
9. Specifications
- Brand: TRIVISION
- Model: 868105
- Part Number: LED Board
- Compatibility: TRIVISION NC-335PW HD 1080P, NC-350W HD 1080P PRO, NC-350PW HD 1080P PRO Outdoor Cameras
- Dimensions: Approximately 7.62 x 5.08 x 1.27 cm (Package dimensions)
- Weight: Approximately 22.68 g (Package weight)
10. Warranty and Support
For warranty information or technical support regarding your TRIVISION IR LED Board Replacement, please refer to the original purchase documentation or contact TRIVISION customer service directly. Contact details can typically be found on the TRIVISION official website or through your product retailer.


