1. Introduction
This manual provides comprehensive instructions for the installation, operation, and maintenance of your LeeKooLuu G1 Backup Camera Kit. This system is designed to enhance your driving safety by providing a clear, high-definition rear view, especially useful for parking and reversing maneuvers. Please read this manual thoroughly before installation and use to ensure proper functionality and longevity of the product.
The LeeKooLuu G1 Backup Camera Kit features a 1080P AHD camera for detailed imaging, a 5-inch monitor, and robust IP69K waterproofing. It offers customizable parking grid lines and flexible power options for various vehicle types including cars, trucks, vans, and campers.
2. Product Components
The LeeKooLuu G1 Backup Camera Kit includes the following components:
- 1 x 5-Inch Monitor
- 1 x Backup Camera
- 1 x Cigarette Lighter Adapter
- 1 x Instruction Manual
- 1 x Suction Cup Mount
- 1 x T-Taps and Other Accessories
- 2 x Power Cords

Figure 2.1: Overview of the LeeKooLuu G1 Backup Camera Kit components, including the 5-inch monitor and the license plate camera.
3. Setup and Installation
The LeeKooLuu G1 Backup Camera Kit is designed for straightforward installation. There are two primary methods for powering the system, offering flexibility based on your preference for continuous use or activation only when reversing.
3.1 Monitor Mounting
The 5-inch monitor can be mounted on your dashboard using the provided suction cup mount. Ensure the mounting surface is clean and dry for optimal adhesion. Position the monitor in a location that provides a clear view without obstructing your driving visibility.

Figure 3.1: Examples of monitor placement on a vehicle dashboard, demonstrating flexible mounting options.
3.2 Camera Installation
The backup camera is designed to attach to your vehicle's license plate using the existing license plate screws. The bracket allows the camera to be positioned above or below the license plate. Ensure the camera lens is clear of obstructions for an optimal view.

Figure 3.2: Illustration of the camera installation method, showing how it attaches to the license plate.
3.3 Power Supply Connection
Only one power supply connection is required for the entire system (monitor and camera). Choose one of the following methods:
- Method 1: Cigarette Lighter Adapter (Continuous Use)
Connect the system to the provided cigarette lighter adapter. This method allows for continuous use of the camera system while driving or reversing, controlled by the adapter's ON/OFF switch. - Method 2: Reverse Light / Running Light / License Plate Light (Reversing Only or Driving)
Connect the system directly to your vehicle's reverse lights for automatic activation when the vehicle is in reverse gear. Alternatively, connect to a 12V source from the fuse box, running lights, or license plate light for continuous operation.

Figure 3.3: Power supply connection options for the LeeKooLuu G1 system.
4. Operating Instructions
Once installed, the LeeKooLuu G1 system offers several features to customize your viewing experience.
4.1 Adjusting Parking Grid Lines
The system allows you to customize the parking guide lines displayed on the monitor. You can turn them on or off, adjust their width, and move them left/right or up/down to accurately reflect your vehicle's dimensions and parking needs.
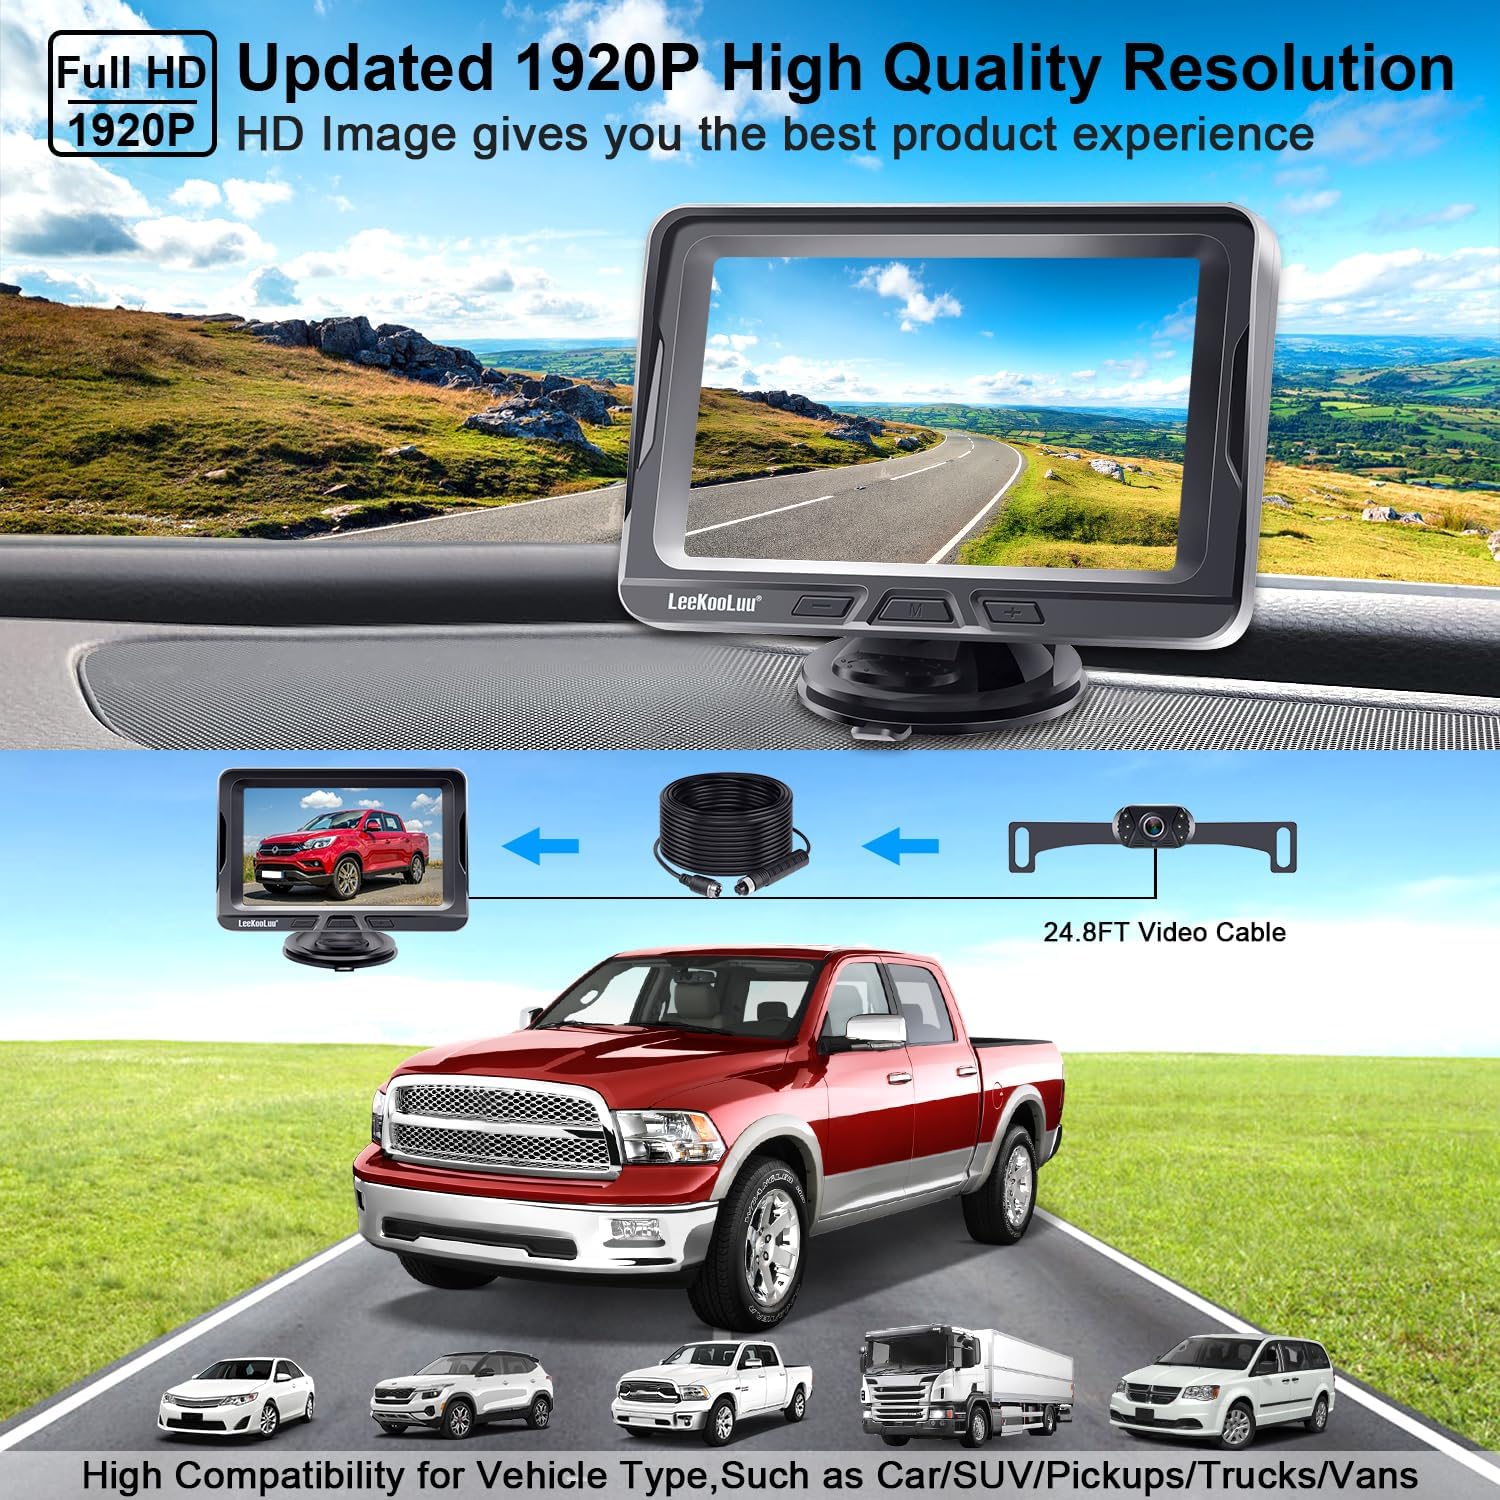
Figure 4.1: Various adjustments for the DIY parking guide lines on the monitor.
4.2 Mirror View and Facing View
The camera system supports both mirror view (standard for rear view) and facing view. This can be adjusted by cutting the white wire on the camera cable. Cutting the white wire will change the image from mirror view to facing view.

Figure 4.2: Adjusting the camera's image orientation between mirror view and facing view.
4.3 Night Vision
The camera is equipped with 6 LED lights to enhance night vision capabilities, providing clear visibility even in low-light conditions. You can turn off these LED lights by cutting the green wire on the camera cable if desired.
4.4 Weather Resistance
The camera boasts an IP69K waterproof rating, ensuring reliable performance in various weather conditions, including rain, snow, and extreme temperatures ranging from -22°F to 176°F.

Figure 4.3: The camera's durability and resistance to environmental factors.
5. Maintenance
To ensure the longevity and optimal performance of your LeeKooLuu G1 Backup Camera Kit, follow these maintenance guidelines:
- Cleaning the Camera Lens: Regularly clean the camera lens with a soft, damp cloth to remove dirt, dust, or water spots that may obstruct the view. Avoid abrasive cleaners.
- Monitor Care: Wipe the monitor screen with a soft, dry cloth. Do not use liquid cleaners directly on the screen.
- Cable Inspection: Periodically check all cables and connections for any signs of wear, damage, or loose connections. Secure any loose wiring to prevent interference or malfunction.
- Mounting Security: Ensure the monitor and camera mounts remain secure. Re-tighten screws or re-apply suction cups if they become loose.
6. Troubleshooting
If you encounter issues with your LeeKooLuu G1 Backup Camera Kit, refer to the following common troubleshooting steps:
| Problem | Possible Cause | Solution |
|---|---|---|
| No image on monitor / Blue screen | No power to monitor or camera; Loose cable connection; Faulty camera/monitor. | Check power connections (cigarette lighter or hardwire). Ensure all cables are securely connected. Test with an alternative power source if possible. |
| Image is blurry or unclear | Dirty camera lens; Condensation on lens; Incorrect monitor settings. | Clean the camera lens. Allow time for condensation to clear. Adjust monitor brightness, contrast, and saturation settings. |
| Image is reversed or upside down | Incorrect camera wiring (white wire); Monitor setting. | Refer to Section 4.2 for mirror/facing view adjustment by cutting the white wire. Some monitors also have a flip image option in settings. |
| Parking lines are incorrect or missing | Parking line feature is off or misconfigured. | Refer to Section 4.1 for adjusting DIY parking guide lines. Ensure the feature is enabled and calibrated correctly. |
| Poor night vision | LED lights are off; Obstruction. | Ensure the green wire for LED lights has not been cut. Check for any obstructions blocking the camera's view or the LED lights. |
If the problem persists after attempting these solutions, please contact LeeKooLuu customer support for further assistance.
7. Specifications
Key technical specifications for the LeeKooLuu G1 Backup Camera Kit:
- Model: G1 (LKL-04014)
- Display Technology: LCD, LED
- Screen Size: 5 Inches
- Video Capture Resolution: 1080p
- Voltage: 12 Volts, 35 Volts (Wide Voltage Compatibility)
- Material Type: Plastic
- Lens Type: Wide Angle
- Actual Viewing Angle: 150 Degrees
- Waterproof Rate: IP69K
- Operating Temperature: -22°F to 176°F
- Compatible Devices: Car, Truck, Van, Camper
- Installation Type: Dashboard Mount, Surface Mount
8. Warranty and Support
The LeeKooLuu G1 Backup Camera Kit comes with a 2-year warranty. LeeKooLuu is committed to providing high-quality products and excellent customer service.
For any product questions, technical assistance, or replacement services, please contact our 24-hour tech support. Refer to the contact information provided with your product packaging or visit the official LeeKooLuu website for support details.


