
Introduction
This manual provides essential information for the safe and efficient use of your Primo Oval XL 400 All-in-One Ceramic Grill. Please read these instructions thoroughly before assembly and operation to ensure optimal performance and longevity of your grill.
Safety Information
- Always operate the grill outdoors in a well-ventilated area.
- Keep children and pets away from the hot grill.
- Use heat-resistant gloves when handling hot surfaces or charcoal.
- Never use gasoline, kerosene, or alcohol to light charcoal. Use only charcoal starters.
- Ensure the grill is on a stable, level surface before use.
- Do not move the grill when it is hot or in use.
- Dispose of ash safely after it has completely cooled.
- Proposition 65 Warning: This product can expose you to chemicals including carbon monoxide, which is known to the State of California to cause birth defects or other reproductive harm. For more information go to www.P65Warnings.ca.gov.
Included Components
Your Primo Oval XL 400 All-in-One Ceramic Grill package includes the following items:
- Primo Oval XL 400 Ceramic Grill Unit
- Cradle
- Side Shelves (2)
- Ash Tool
- Grate Lifter
- Porcelain Coated Reversible Cooking Grates
- Cast Iron Top Vent
- Easy-to-Read Thermometer
- Stainless Steel Draft Door
Setup and Assembly
The Primo Oval XL 400 All-in-One grill is designed for minimal assembly, allowing you to begin cooking quickly. While the main ceramic unit comes pre-assembled, some components require attachment.
1. Placing the Grill in the Cradle
Carefully lift the ceramic grill unit and place it securely into the provided cradle. Ensure it is stable and level.

Image: The Primo Oval XL 400 ceramic grill securely placed within its metal cradle, ready for use. This image shows the grill's base and the sturdy support structure.
2. Attaching Side Shelves
Attach the two side shelves to the designated mounting points on the grill's cradle. These shelves provide convenient workspace for food preparation and utensils.

Image: A close-up view of one of the black side shelves attached to the Primo grill, featuring a textured surface and integrated handles for easy handling.
3. Installing Cooking Grates
Place the porcelain-coated reversible cooking grates inside the grill. Ensure they are seated properly on the internal supports.

Image: A detailed view of the porcelain-coated reversible cooking grates inside the Primo Oval XL 400 grill, showcasing their sturdy construction and ample cooking surface.
4. Checking the Gasket and Thermometer
Verify that the high-temperature gasket around the rim of the grill is properly seated to ensure a tight seal. Confirm the thermometer is securely installed in the lid.
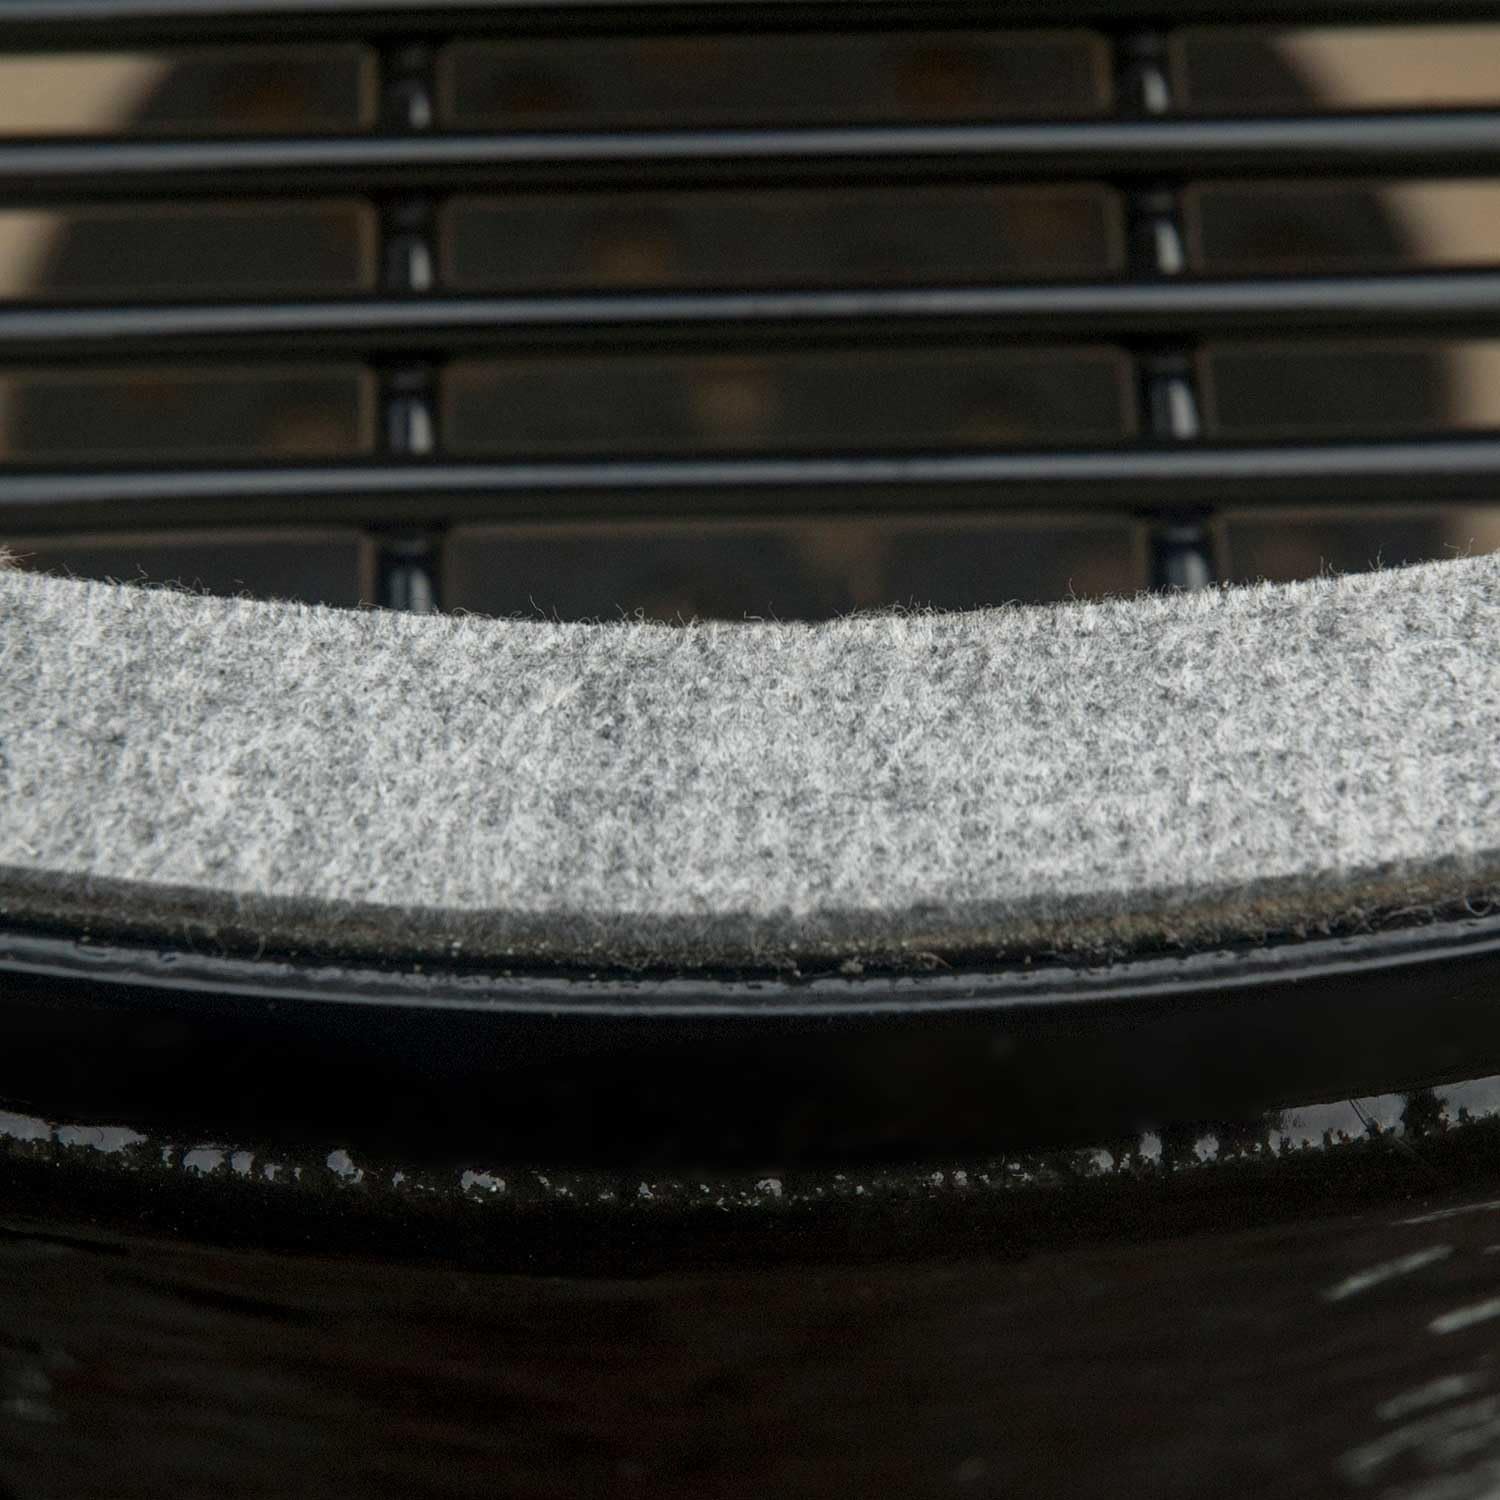
Image: A close-up of the high-temperature felt gasket seal around the rim of the Primo grill, essential for maintaining consistent temperatures.
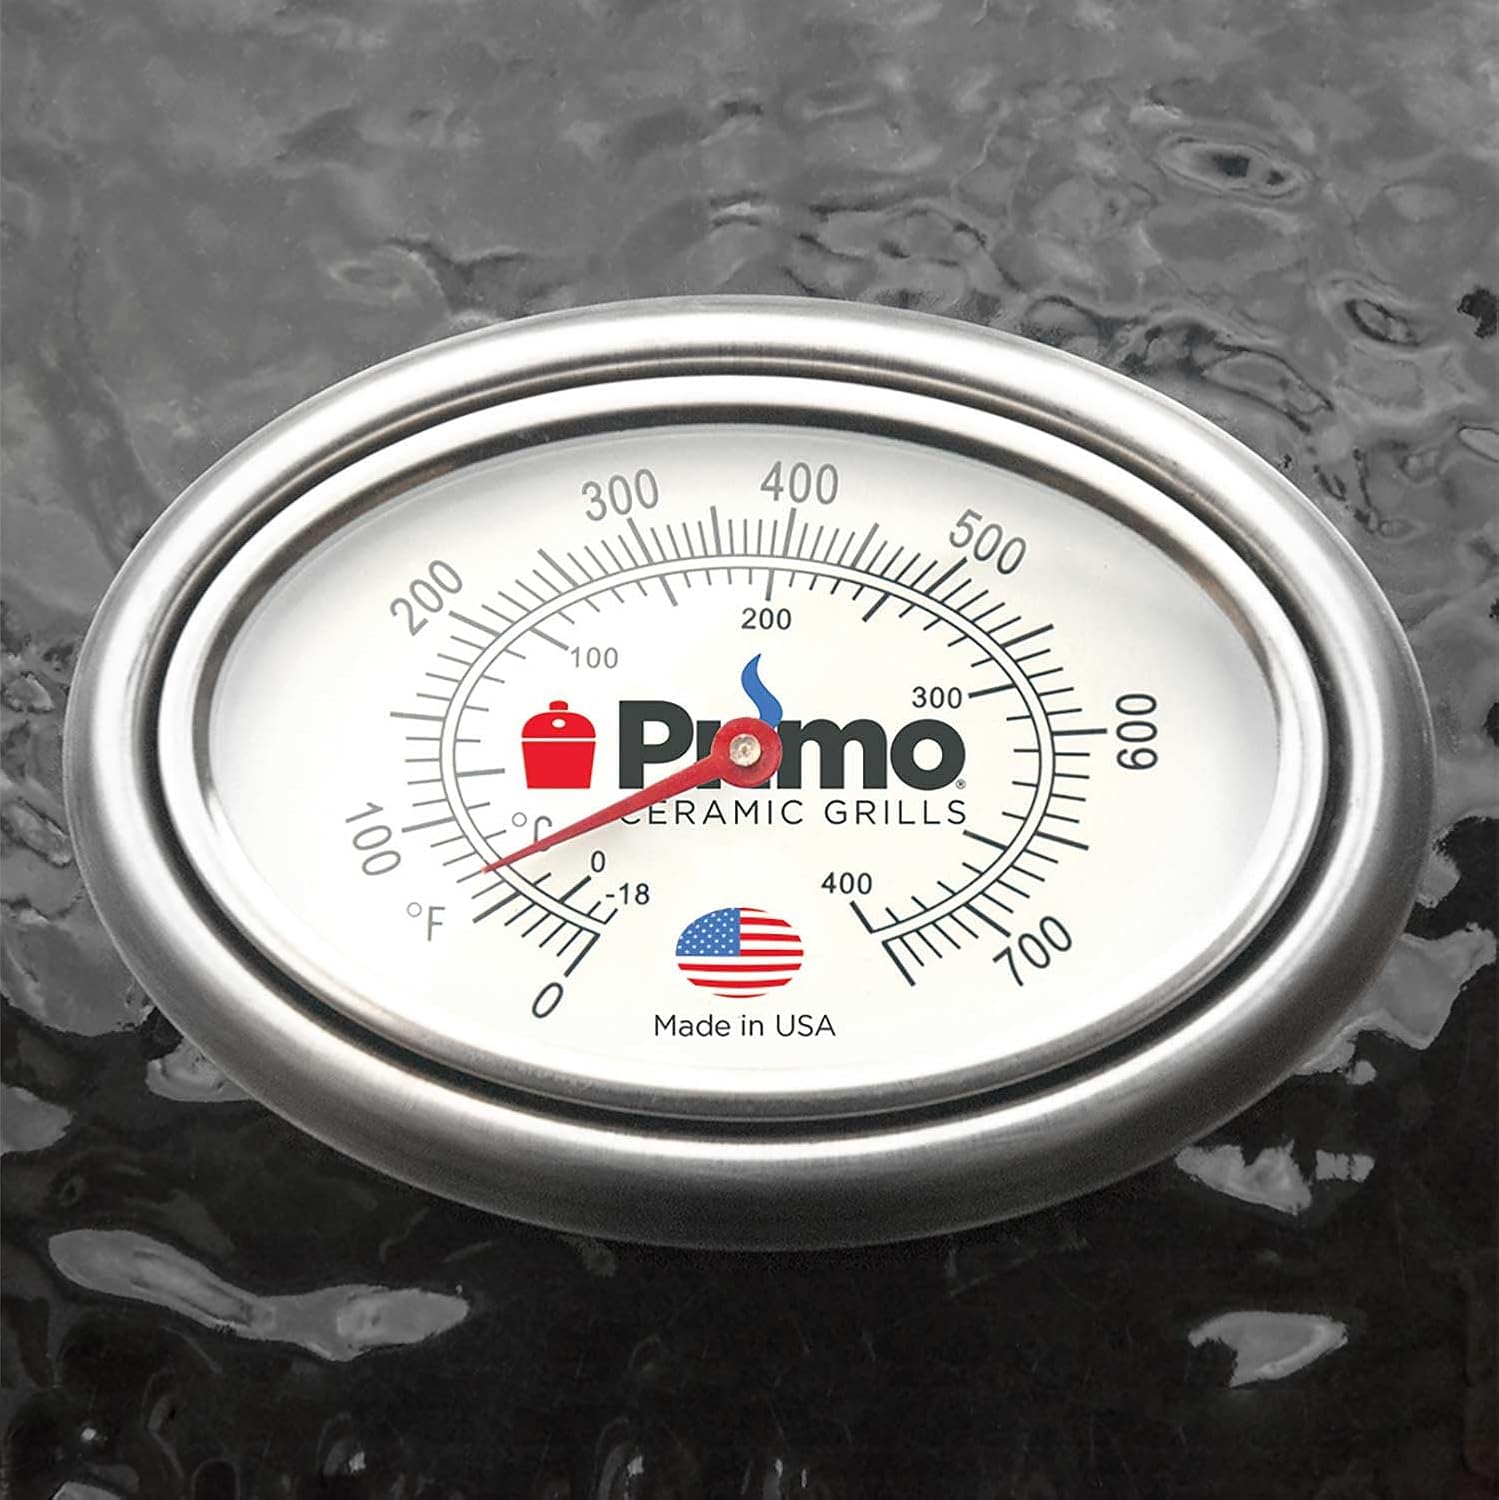
Image: The easy-to-read thermometer embedded in the lid of the Primo grill, displaying temperature readings in both Fahrenheit and Celsius, with the Primo logo.
Operating Instructions
The Primo Oval XL 400 is a versatile ceramic grill capable of grilling, baking, roasting, and smoking. Its superior heat retention allows for precise temperature control.
1. Adding Charcoal
Open the lid and the stainless steel draft door. Add a sufficient amount of lump charcoal to the firebox. Avoid using briquettes as they can produce more ash and chemicals.
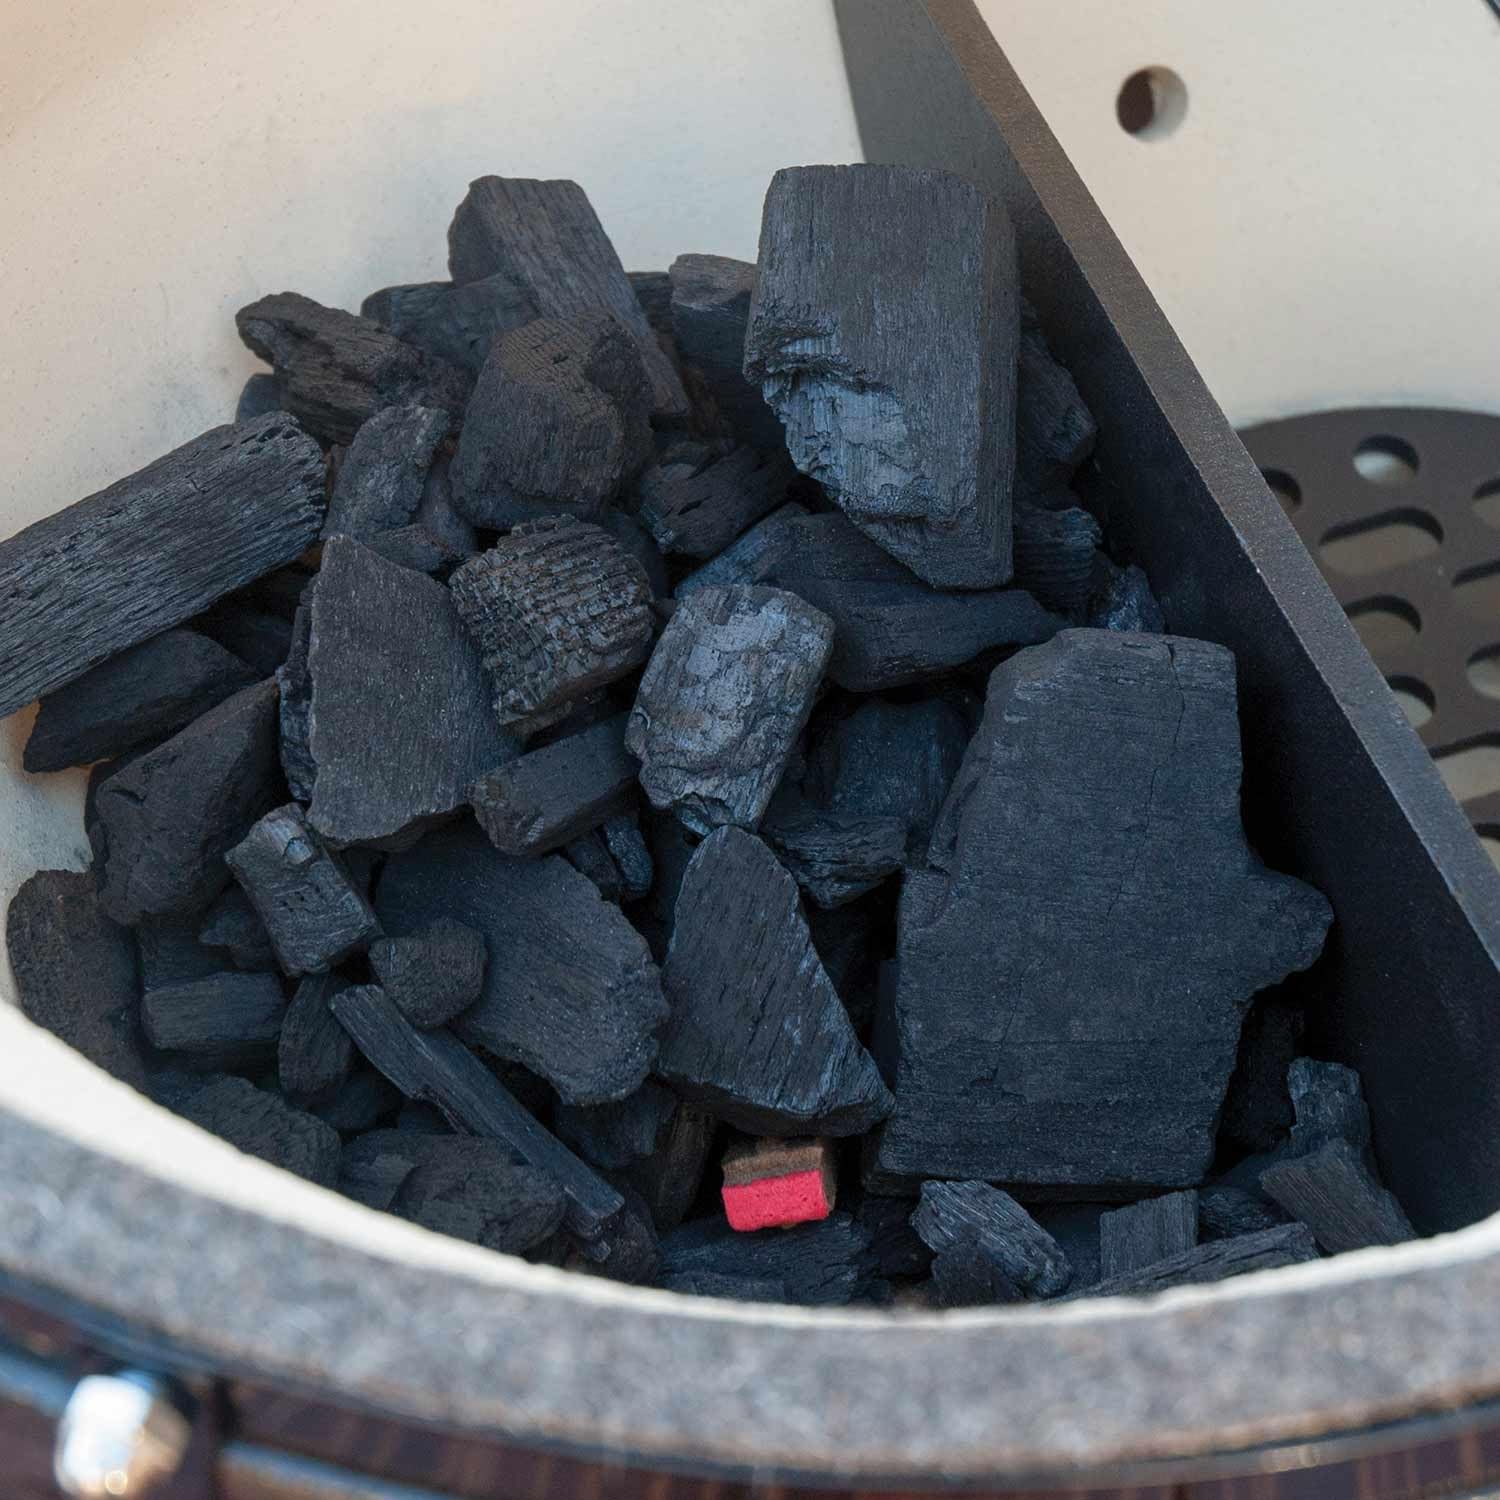
Image: A generous amount of natural lump charcoal placed inside the firebox of the Primo grill, ready for ignition.
2. Lighting the Charcoal
Use a natural charcoal starter or an electric starter to ignite the lump charcoal. Allow the charcoal to ignite fully and develop a small bed of embers before closing the lid.
3. Temperature Control
Adjust the temperature by controlling the airflow through the cast iron top vent and the stainless steel draft door. Opening both vents increases airflow and temperature, while closing them reduces airflow and temperature. Make small adjustments and allow time for the temperature to stabilize.
4. Cooking
Once the desired temperature is reached, place your food on the cooking grates. The oval shape allows for direct and indirect cooking simultaneously. Monitor the internal temperature using the lid thermometer.
Care and Maintenance
Proper care ensures the longevity and optimal performance of your Primo grill.
1. Ash Removal
After each use and once the grill has completely cooled, use the provided ash tool to remove excess ash from the firebox. Regular ash removal prevents airflow restriction and maintains cooking efficiency.

Image: The stainless steel ash tool with a coiled handle, designed for safely removing ash from the grill's firebox.
2. Cleaning Cooking Grates
The porcelain-coated cooking grates can be cleaned with a grill brush after each use while still warm. For deeper cleaning, remove the grates and wash with warm soapy water.
3. Exterior Cleaning
Wipe down the exterior ceramic surface with a damp cloth. Avoid abrasive cleaners that could damage the finish. For the metal components, use a mild detergent and water.
4. Gasket Inspection
Periodically inspect the high-temperature gasket around the lid for wear and tear. A damaged gasket can lead to heat loss and inefficient cooking. Replace if necessary.
Troubleshooting
This section addresses common issues you might encounter with your Primo Oval XL 400 grill.
Issue: Grill not reaching desired temperature.
- Solution: Ensure both the top vent and bottom draft door are sufficiently open to allow maximum airflow. Check for excessive ash buildup in the firebox, which can restrict airflow. Use dry lump charcoal.
Issue: Temperature is too high or difficult to control.
- Solution: Gradually close the top vent and bottom draft door to reduce airflow. Make small adjustments and wait a few minutes for the temperature to stabilize. Avoid opening the lid frequently, as this introduces oxygen and can cause temperature spikes.
Issue: Smoke leaking from the lid.
- Solution: Inspect the high-temperature gasket around the lid. If it appears worn, cracked, or compressed, it may need replacement to ensure a proper seal.
Product Specifications
| Brand | Primo |
| Model Number | 7800 |
| Product Dimensions (D x W x H) | 16.31" x 30.12" x 45.32" |
| Item Weight | 327 Pounds |
| Material Type | Ceramic |
| Frame Material | Cast Iron, Stainless Steel |
| Handle Material | Stainless Steel |
| Color | Black |
| Fuel Type | Charcoal |
| Primary Cooking Method | Grill (also bakes, roasts, smokes) |
| Special Feature | Superior Heat Retention |
| Included Components | Cradle, Side Shelves, Ash Tool, Grate Lifter |
| Installation Type | Free Standing |
| UPC | 651772078003 |
| GTIN | 651772078003 |
Warranty Information
Primo offers a comprehensive warranty for their products:
- Limited Lifetime Warranty: Applicable to all ceramic parts of the grill. This warranty covers defects in materials and workmanship for the lifetime of the original purchaser.
- 20-Year Warranty: This commitment backs the product, likely referring to the ceramic components' durability and spare part availability.
- EU Spare Part Availability: Spare parts are available for a duration of 20 years.
For detailed warranty terms and conditions, please refer to the official Primo website or contact customer support.
Customer Support
Should you require assistance, have questions, or need to order replacement parts, please contact Primo customer support through their official website or the retailer where the product was purchased.
Online Resources: Visit the official Primo website for FAQs, additional product information, and cooking tips.


