
1. Introduction
The Drive Medical Scout Compact Travel Power Scooter is designed for convenient mobility, offering a balance of portability and performance. This 3-wheel model is compact, lightweight, and can be easily disassembled into five manageable pieces for transport. It features a delta-style tiller for easier operation and color-through panels to maintain its appearance.

Figure 1: The Drive Medical Scout Compact Travel Power Scooter (3-Wheel).
Key Features:
- Quick and easy disassembly for transport.
- Interchangeable color panels to hide scuffs and scratches.
- Padded and adjustable armrests.
- Height-adjustable swivel seat with fold-down backrest.
- Large, plastic carry basket included.
- Delta tiller for easy adjustment and ergonomic throttle control.
- Flat-free, non-marking tires and anti-tip wheels.
2. Safety Information
Read all instructions carefully before operating the scooter. Failure to follow safety guidelines may result in injury or damage to the scooter.
General Safety Precautions:
- Always ensure the scooter is fully assembled and all locking mechanisms are secure before use.
- Do not exceed the maximum weight capacity of 300 lbs (136 kg).
- Operate the scooter at a safe speed, especially in crowded areas or on uneven terrain.
- Avoid sudden stops or turns, which could lead to instability.
- Be aware of your surroundings and watch for obstacles, pedestrians, and traffic.
- Do not operate the scooter under the influence of alcohol or medication that may impair your judgment.
- Ensure the battery is fully charged before extended use to avoid unexpected power loss.
- Always engage the electromagnetic brake when parking or dismounting the scooter.
- Consult a healthcare professional if you have any medical conditions that might affect your ability to operate the scooter safely.
3. Setup and Assembly
The Scout scooter is designed for quick and easy disassembly and reassembly. It breaks down into five main components for convenient transport and storage.

Figure 2: Main components of the disassembled Scout scooter.
Assembly Steps:
- Attach the Rear Section: Align the rear drive section with the main chassis and secure it according to the locking mechanism.
- Install the Battery Pack: Place the battery pack securely into its compartment on the main chassis. Ensure it clicks into place.
- Mount the Seat: Insert the seat post into the receiver on the chassis. Adjust the seat height as desired (see Operating Instructions for details) and secure it.
- Attach the Tiller: Raise the tiller column and secure it in the upright position. Ensure all locking pins are engaged.
- Install the Basket: Hook the front basket onto the designated mounts on the tiller column.
- Adjust Armrests: Adjust the armrest width and position for comfort (see Operating Instructions).
- Check Connections: Verify all electrical connections are secure and the battery is charged before first use.
Interchangeable Color Panels:
The scooter comes with interchangeable color panels (red and blue) that can be swapped to customize its appearance and hide minor scuffs. Gently snap the desired panels into place on the front and rear sections of the scooter.

Figure 3: Interchangeable color panels.
4. Operating Instructions
Controls Overview:

Figure 4: Delta tiller control panel with battery gauge and throttle.
- Key Switch: Insert the key and turn it to the "ON" position to power on the scooter.
- Battery Gauge: Located on the tiller, this gauge indicates the current battery charge level. Recharge when the indicator shows low.
- Speed Control Dial: Adjusts the maximum speed of the scooter. Start with a low setting until comfortable.
- Throttle Lever: Push the lever forward with your right thumb for forward motion, or pull with your left thumb for reverse. Release to engage the electromagnetic brake.
- Horn Button: Press to sound the horn.
Adjusting the Seat:

Figure 5: Seat height adjustment lever.
- Seat Height: To adjust the seat height, locate the lever beneath the seat. Pull the lever, raise or lower the seat to one of the three available positions, and release the lever to lock it in place.
- Seat Swivel: The seat can swivel 180 degrees. Use the swivel lever (usually located near the seat post) to rotate the seat for easier boarding or dismounting.
- Armrest Adjustment: The padded armrests can be flipped up for easy access. To adjust their width, loosen the knobs located under the seat, slide the armrests to the desired width, and tighten the knobs.


Figure 6: Left: Seat with armrests down. Right: Seat with armrests flipped up.
Adjusting the Tiller Angle:

Figure 7: Tiller angle adjustment lever.
To adjust the tiller angle, locate the adjustment lever at the base of the tiller. Pull the lever, move the tiller to your desired comfortable position, and release the lever to lock it. This allows for optimal ergonomic control.
Driving the Scooter:
- Ensure you are seated comfortably and the tiller is adjusted to your preference.
- Turn the key to the "ON" position.
- Select your desired speed using the speed control dial.
- Gently press the throttle lever to move forward or backward. The scooter will accelerate smoothly.
- To stop, release the throttle lever. The electromagnetic brake will automatically engage.
- When turning, reduce your speed and make wide, gradual turns to maintain stability.
5. Maintenance
Battery Charging:
It is crucial to charge the scooter's battery regularly to ensure optimal performance and battery life. The battery pack is designed for easy charging.
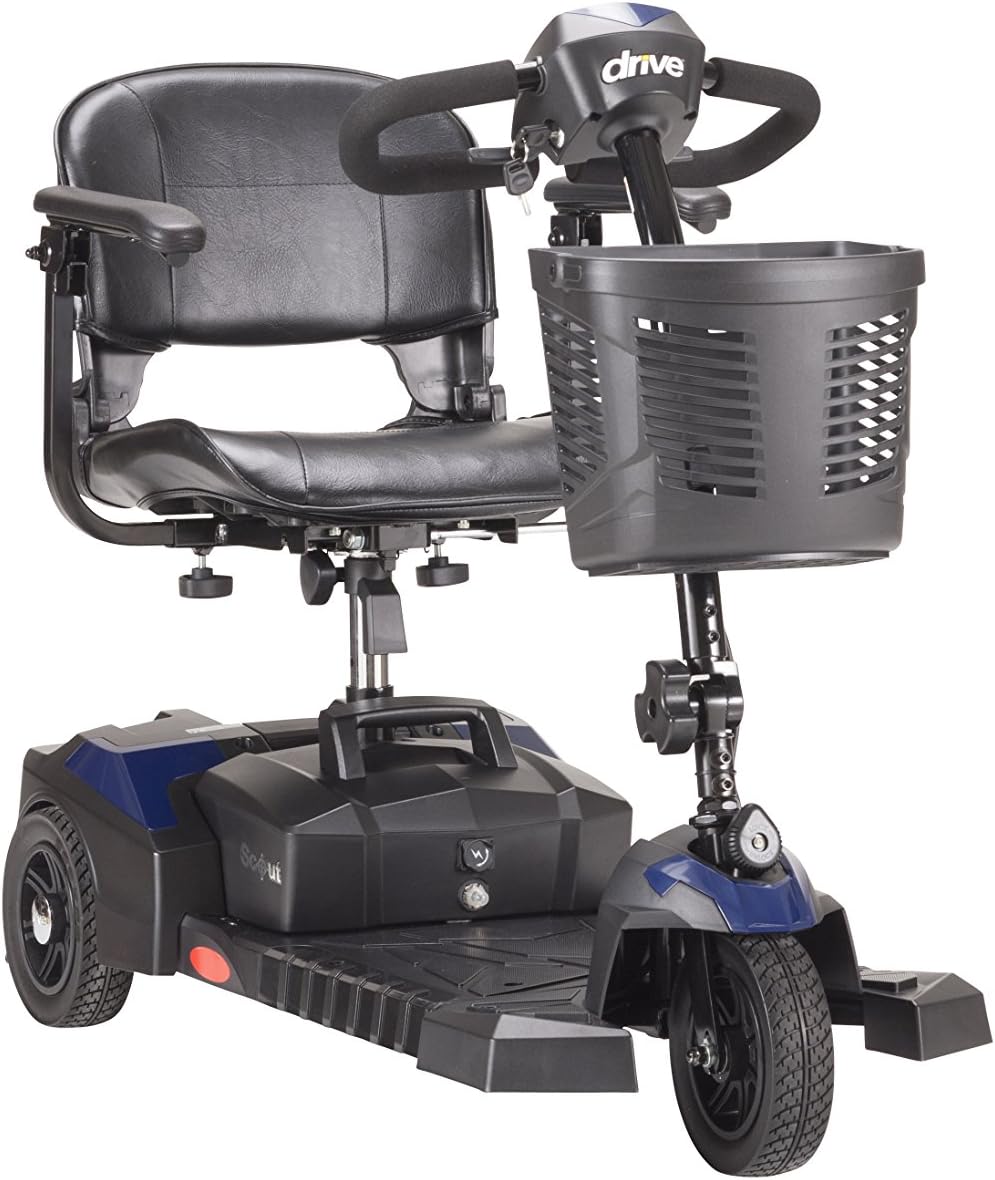
Figure 8: The Scout scooter with its battery pack.
- Ensure the scooter is turned "OFF" before charging.
- Locate the charging port on the battery pack.
- Connect the charger to the charging port, then plug the charger into a standard wall outlet.
- Allow the battery to charge fully. The charger indicator light will typically change color (e.g., from red to green) when charging is complete.
- Avoid overcharging, but regular full charges are recommended.
General Cleaning:
- Wipe down the scooter regularly with a damp cloth and mild detergent.
- Avoid using abrasive cleaners or solvents that could damage the finish.
- Keep electrical components dry.
Tire Care:
The Scout scooter is equipped with flat-free, non-marking tires, which require minimal maintenance. Periodically inspect the tires for any signs of wear or damage.
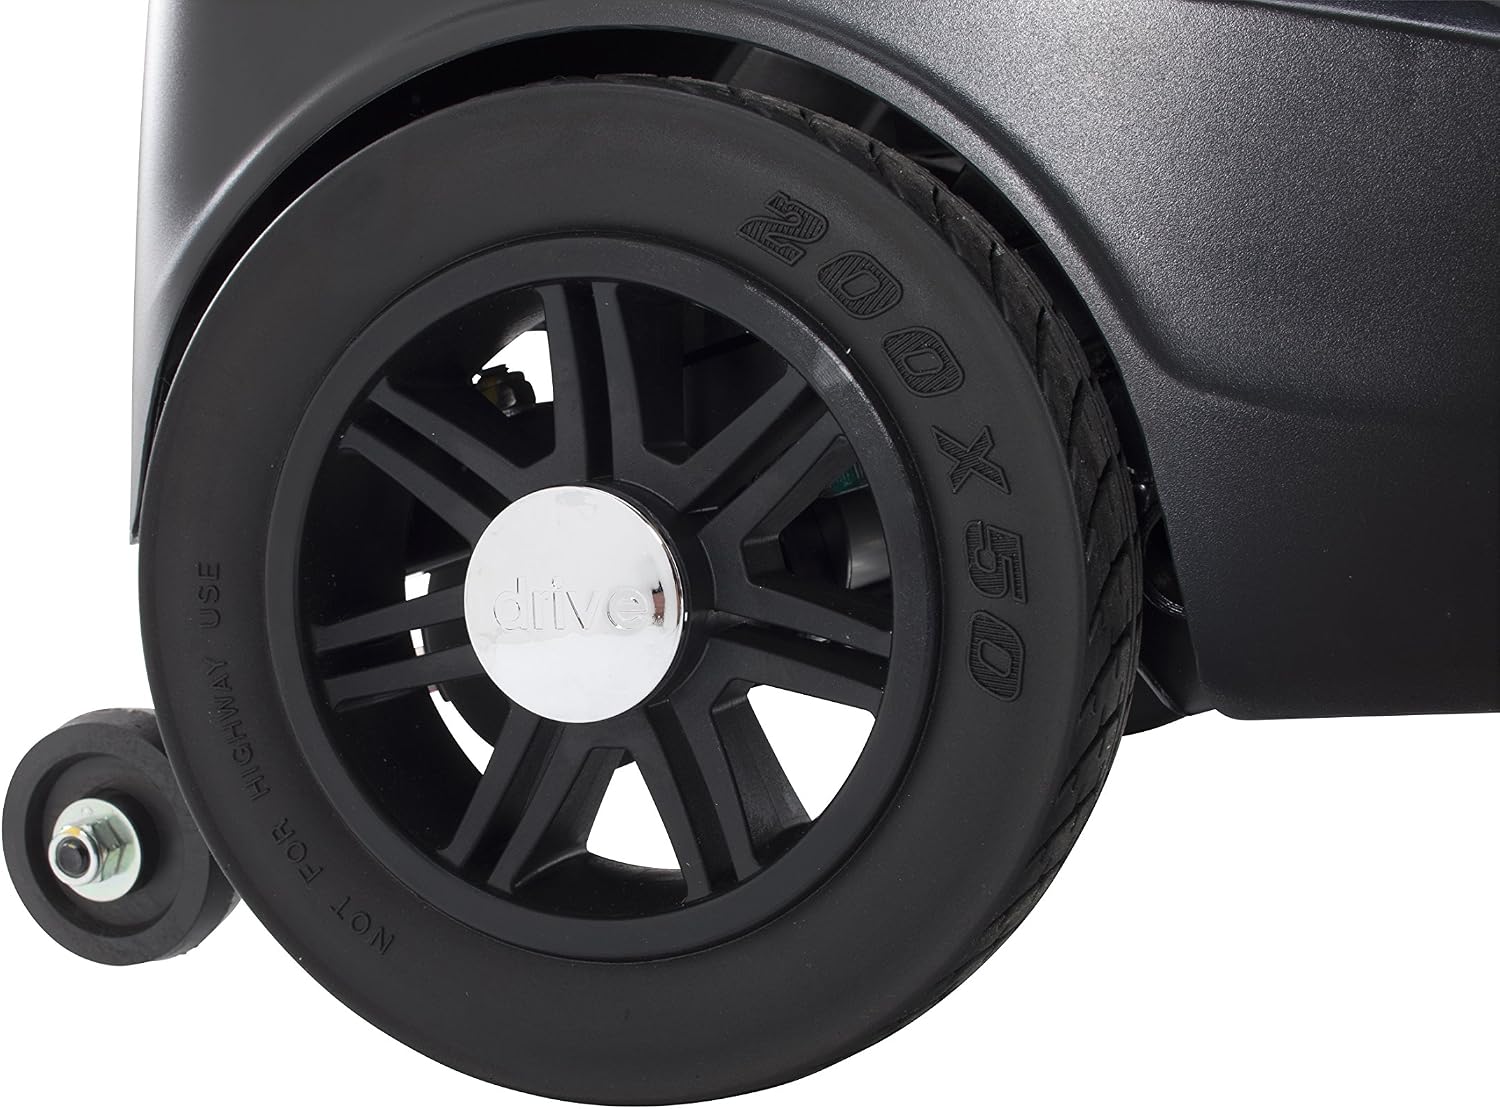
Figure 9: Flat-free, non-marking tire.
6. Troubleshooting
This section addresses common issues you might encounter with your Scout scooter. For problems not listed here, please contact customer support.
| Problem | Possible Cause | Solution |
|---|---|---|
| Scooter does not turn on. | Key not fully inserted or turned ON. Battery not charged. Loose battery connection. | Ensure key is fully inserted and turned to "ON". Charge the battery. Check battery connections. |
| Reduced range or power. | Battery not fully charged. Old battery. Overloaded scooter. | Ensure battery is fully charged. Consider battery replacement if old. Do not exceed weight capacity. |
| Scooter moves slowly or erratically. | Speed control dial set too low. Low battery. Drive train lever disengaged. | Adjust speed control. Charge battery. Ensure drive train lever is engaged (usually at the rear of the scooter). |
| Unusual noises during operation. | Loose components. Obstruction in wheels. | Inspect scooter for loose parts. Check wheels for debris. Contact support if noise persists. |
7. Specifications
Below are the technical specifications for the Drive Medical Scout Compact Travel Power Scooter (3-Wheel, Extended Battery).
| Feature | Detail |
|---|---|
| Model Number | SFSCOUT3-EXT |
| Product Dimensions | 53 x 20.5 x 19 inches |
| Item Weight | 113 Pounds |
| Maximum Weight Capacity | 300 Pounds |
| Maximum Speed | 4.25 Miles per Hour |
| Maximum Range | 15 miles |
| Turning Radius | 45.5 Inches |
| Ground Clearance | 2.5 Inches |
| Climbing Angle | 6 degrees |
| Motor | 24V x 270W x 4700rpm |
| Batteries | 2 Product Specific batteries (included) |
| Brake Style | Electromagnetic |
| Tire Type | Flat-free, Non-marking |
| Seat Width | 16.5 inches |
| Material Type | Alloy Steel |
| UPC | 822383549309 |
8. Warranty and Support
For specific warranty information regarding your Drive Medical Scout Compact Travel Power Scooter, please refer to the warranty card included with your product or visit the official Drive Medical website. Keep your purchase receipt for warranty claims.
If you require technical assistance, replacement parts, or have questions about your scooter, please contact Drive Medical Customer Support:
- Online: Visit the Drive Medical website for support resources and contact forms.
- Phone: Refer to your product documentation for the customer service phone number.
When contacting support, please have your model number (SFSCOUT3-EXT) and serial number ready.

