Introduction
This manual provides essential information for the proper installation, operation, and maintenance of your Earthquake Sound DBXi-15D 15-inch Subwoofer. Please read these instructions thoroughly before installation and use to ensure optimal performance and longevity of your product.

Image: Front view of the Earthquake Sound DBXi-15D 15-inch Subwoofer, showcasing its cone and surround.
Key Features
The DBXi-15D subwoofer incorporates several design elements for enhanced performance:
- Super Wide Edge Surround: A 1.25-inch high, multi-layered, pressed, and laminated-foam surround allows for cone movement exceeding 3 inches without deformation.
- Optimized Magnetic Flux: A hot-forged single-piece T-YOKE design facilitates a clear flow of magnetic flux, contributing to increased driver efficiency.
- Turbo Forced-Air Cooling System: Integrated cooling helps maintain optimal operating temperatures for the voice coil.
- Progressive Double Spiders: This design enables long excursion with linear motion, preventing voice coil rubbing.
- High-Quality Tensile Leads: Durable tensile leads are designed for extended product life.
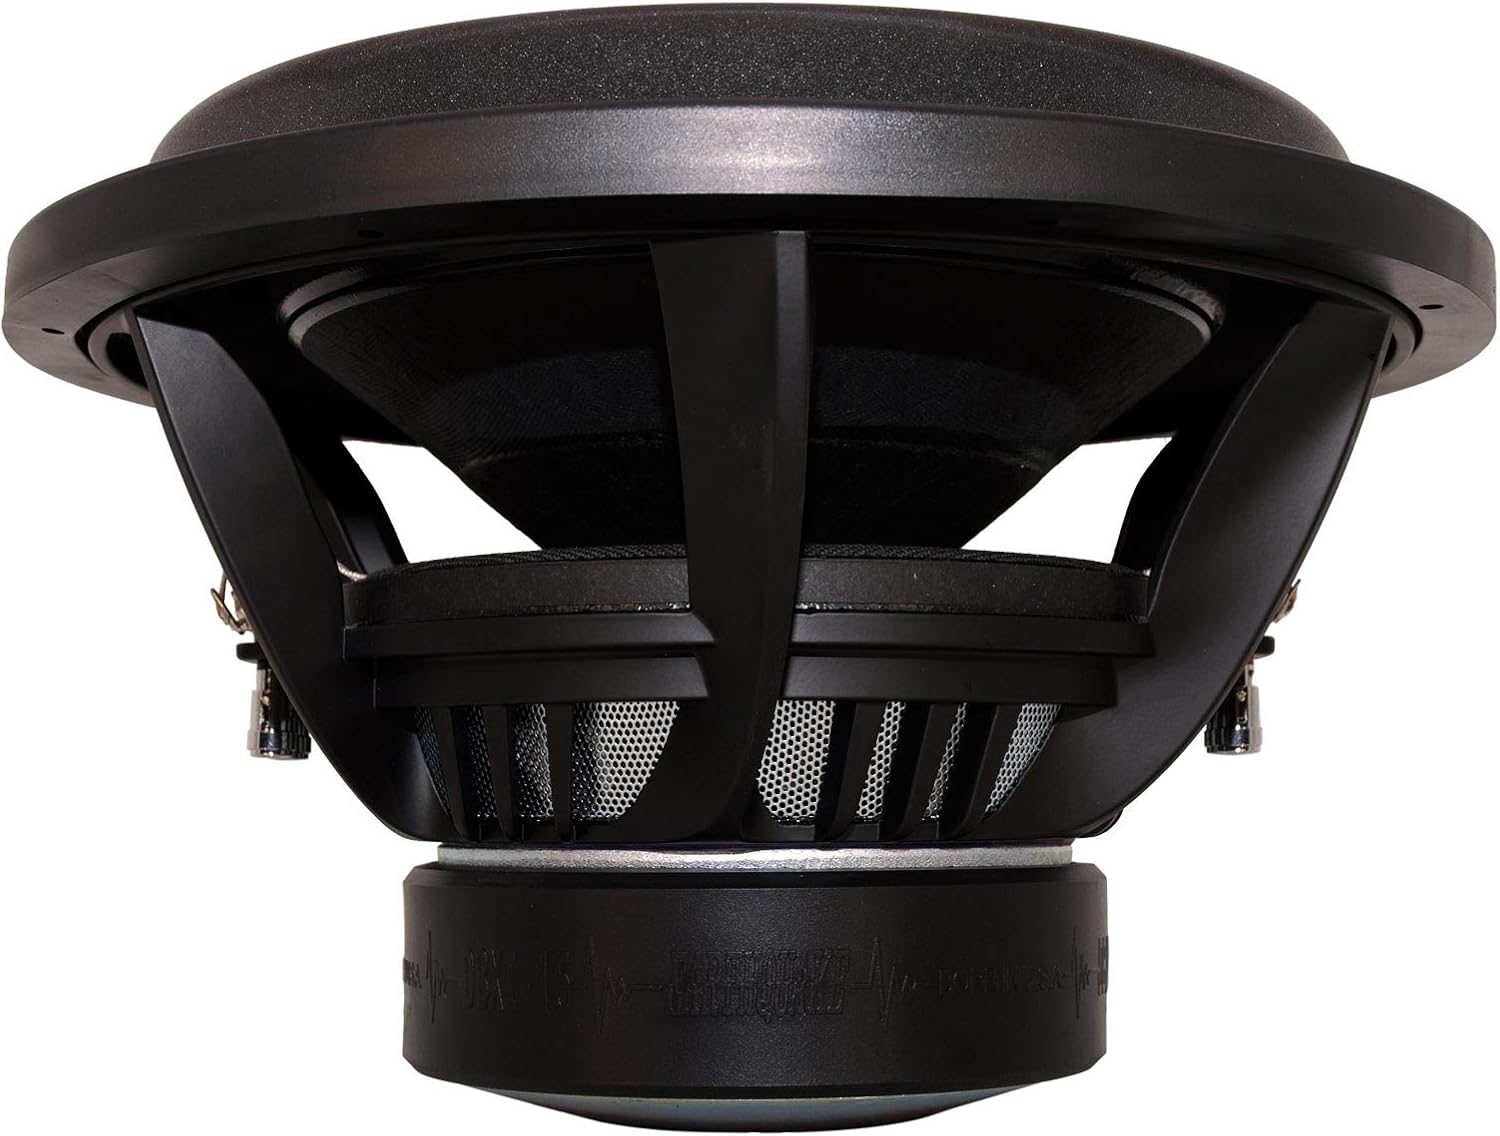
Image: Close-up view of the subwoofer's super wide edge surround, highlighting its robust construction.
Setup and Installation
Proper installation is crucial for the performance and safety of your subwoofer. It is recommended that installation be performed by a qualified professional.
Enclosure Considerations
The DBXi-15D is designed for various enclosure types, including sealed and ported configurations. Consult with an audio specialist or refer to specific enclosure design guidelines for optimal performance based on your desired sound characteristics.
Wiring
The DBXi-15D features a dual 4-ohm voice coil. This configuration allows for flexible wiring options to achieve different impedance loads (e.g., 2-ohm or 8-ohm) at your amplifier. Ensure your amplifier is stable at the chosen impedance. Refer to your amplifier's manual for compatible impedance loads.
- Parallel Wiring (2-ohm load): Connect the positive terminals of both voice coils together, and the negative terminals of both voice coils together. Then connect these combined positive and negative terminals to your amplifier.
- Series Wiring (8-ohm load): Connect the positive terminal of one voice coil to the negative terminal of the other voice coil. Then connect the remaining positive and negative terminals to your amplifier.

Image: Rear view of the DBXi-15D subwoofer, illustrating the dual voice coil terminals for wiring connections.
Mounting
Securely mount the subwoofer in its enclosure using appropriate hardware. The removable rubber gasket covers mounting screws and helps prevent air leaks, which are critical for proper enclosure performance.

Image: Side profile of the DBXi-15D subwoofer, providing a visual reference for mounting depth and overall dimensions.
Operating Instructions
Power Requirements
The DBXi-15D subwoofer has a maximum output power of 2000 Watts. Ensure your amplifier can provide adequate power without clipping or distortion. Matching the amplifier's RMS power output to the subwoofer's RMS power handling is recommended for optimal performance and longevity.
Break-in Period
Allow a break-in period of approximately 10-20 hours of moderate use before operating the subwoofer at high volumes. This allows the suspension components to loosen and reach their optimal compliance.
Volume and Gain Settings
Adjust your amplifier's gain setting carefully. Do not use the gain control as a volume knob. Set the gain to match the output voltage of your head unit to prevent distortion and potential damage to the subwoofer.
Maintenance
Regular maintenance helps preserve the performance and appearance of your subwoofer.
- Cleaning: Use a soft, dry cloth to wipe down the cone and surround. Avoid using harsh chemicals or solvents.
- Inspection: Periodically inspect the subwoofer for any signs of damage to the cone, surround, or terminals. Ensure all mounting screws remain tight.
- Environmental Factors: Protect the subwoofer from extreme temperatures, direct sunlight, and moisture.
Troubleshooting
If you encounter issues with your DBXi-15D subwoofer, refer to the following common problems and solutions:
| Problem | Possible Cause | Solution |
|---|---|---|
| No Sound | Loose wiring connection, amplifier off, incorrect gain setting, blown fuse. | Check all wiring connections, ensure amplifier is powered on, verify gain settings, inspect amplifier fuse. |
| Distorted Sound | Amplifier clipping, incorrect gain setting, damaged voice coil, improper enclosure. | Reduce amplifier gain, check for proper impedance match, inspect subwoofer for physical damage, verify enclosure specifications. |
| Subwoofer Overheating | Underpowered amplifier, prolonged high volume use, insufficient ventilation. | Ensure amplifier provides adequate power, reduce listening volume, ensure proper airflow around the amplifier and subwoofer. |
If these steps do not resolve the issue, contact Earthquake Sound customer support or a qualified audio technician.
Specifications
Below are the technical specifications for the Earthquake Sound DBXi-15D 15-inch Subwoofer:
- Model Name: DBXi-15D
- Speaker Type: Subwoofer
- Subwoofer Diameter: 15 Inches
- Impedance: Dual 4 Ohm Voice Coil
- Speaker Maximum Output Power: 2000 Watts
- Item Weight: 29 Pounds (13.15 kg)
- Product Dimensions: 15.56 x 15.56 x 8 inches (39.52 x 39.52 x 20.32 cm)
- Manufacturer: EARTHQUAKE
- UPC: 689759101178
- Connectivity Technology: Wired

Image: Bottom view of the DBXi-15D subwoofer, displaying the magnet structure and model identification.
Warranty Information
The Earthquake Sound DBXi-15D Subwoofer comes with a limited warranty. For specific details regarding warranty coverage, terms, and conditions, please refer to the warranty card included with your product or visit the official Earthquake Sound website.
Support
For technical assistance, product inquiries, or warranty claims, please contact Earthquake Sound customer support. You can find contact information on the official Earthquake Sound website or through your authorized dealer.
Official Brand Store: Visit the EARTHQUAKE Store on Amazon


