1. Introduction
Thank you for choosing the Ideal Standard Ceratherm 60 Shower System. This manual provides essential information for the safe and efficient installation, operation, and maintenance of your new shower system. Please read these instructions carefully before installation and retain them for future reference.
The Ceratherm 60 is a high-quality shower system featuring an exposed thermostatic shower mixer, a 200 mm chrome shower head, and a 3-function 100 mm hand shower. It includes an anti-limescale function and a 1600 mm Idealflex shower hose for enhanced user experience.
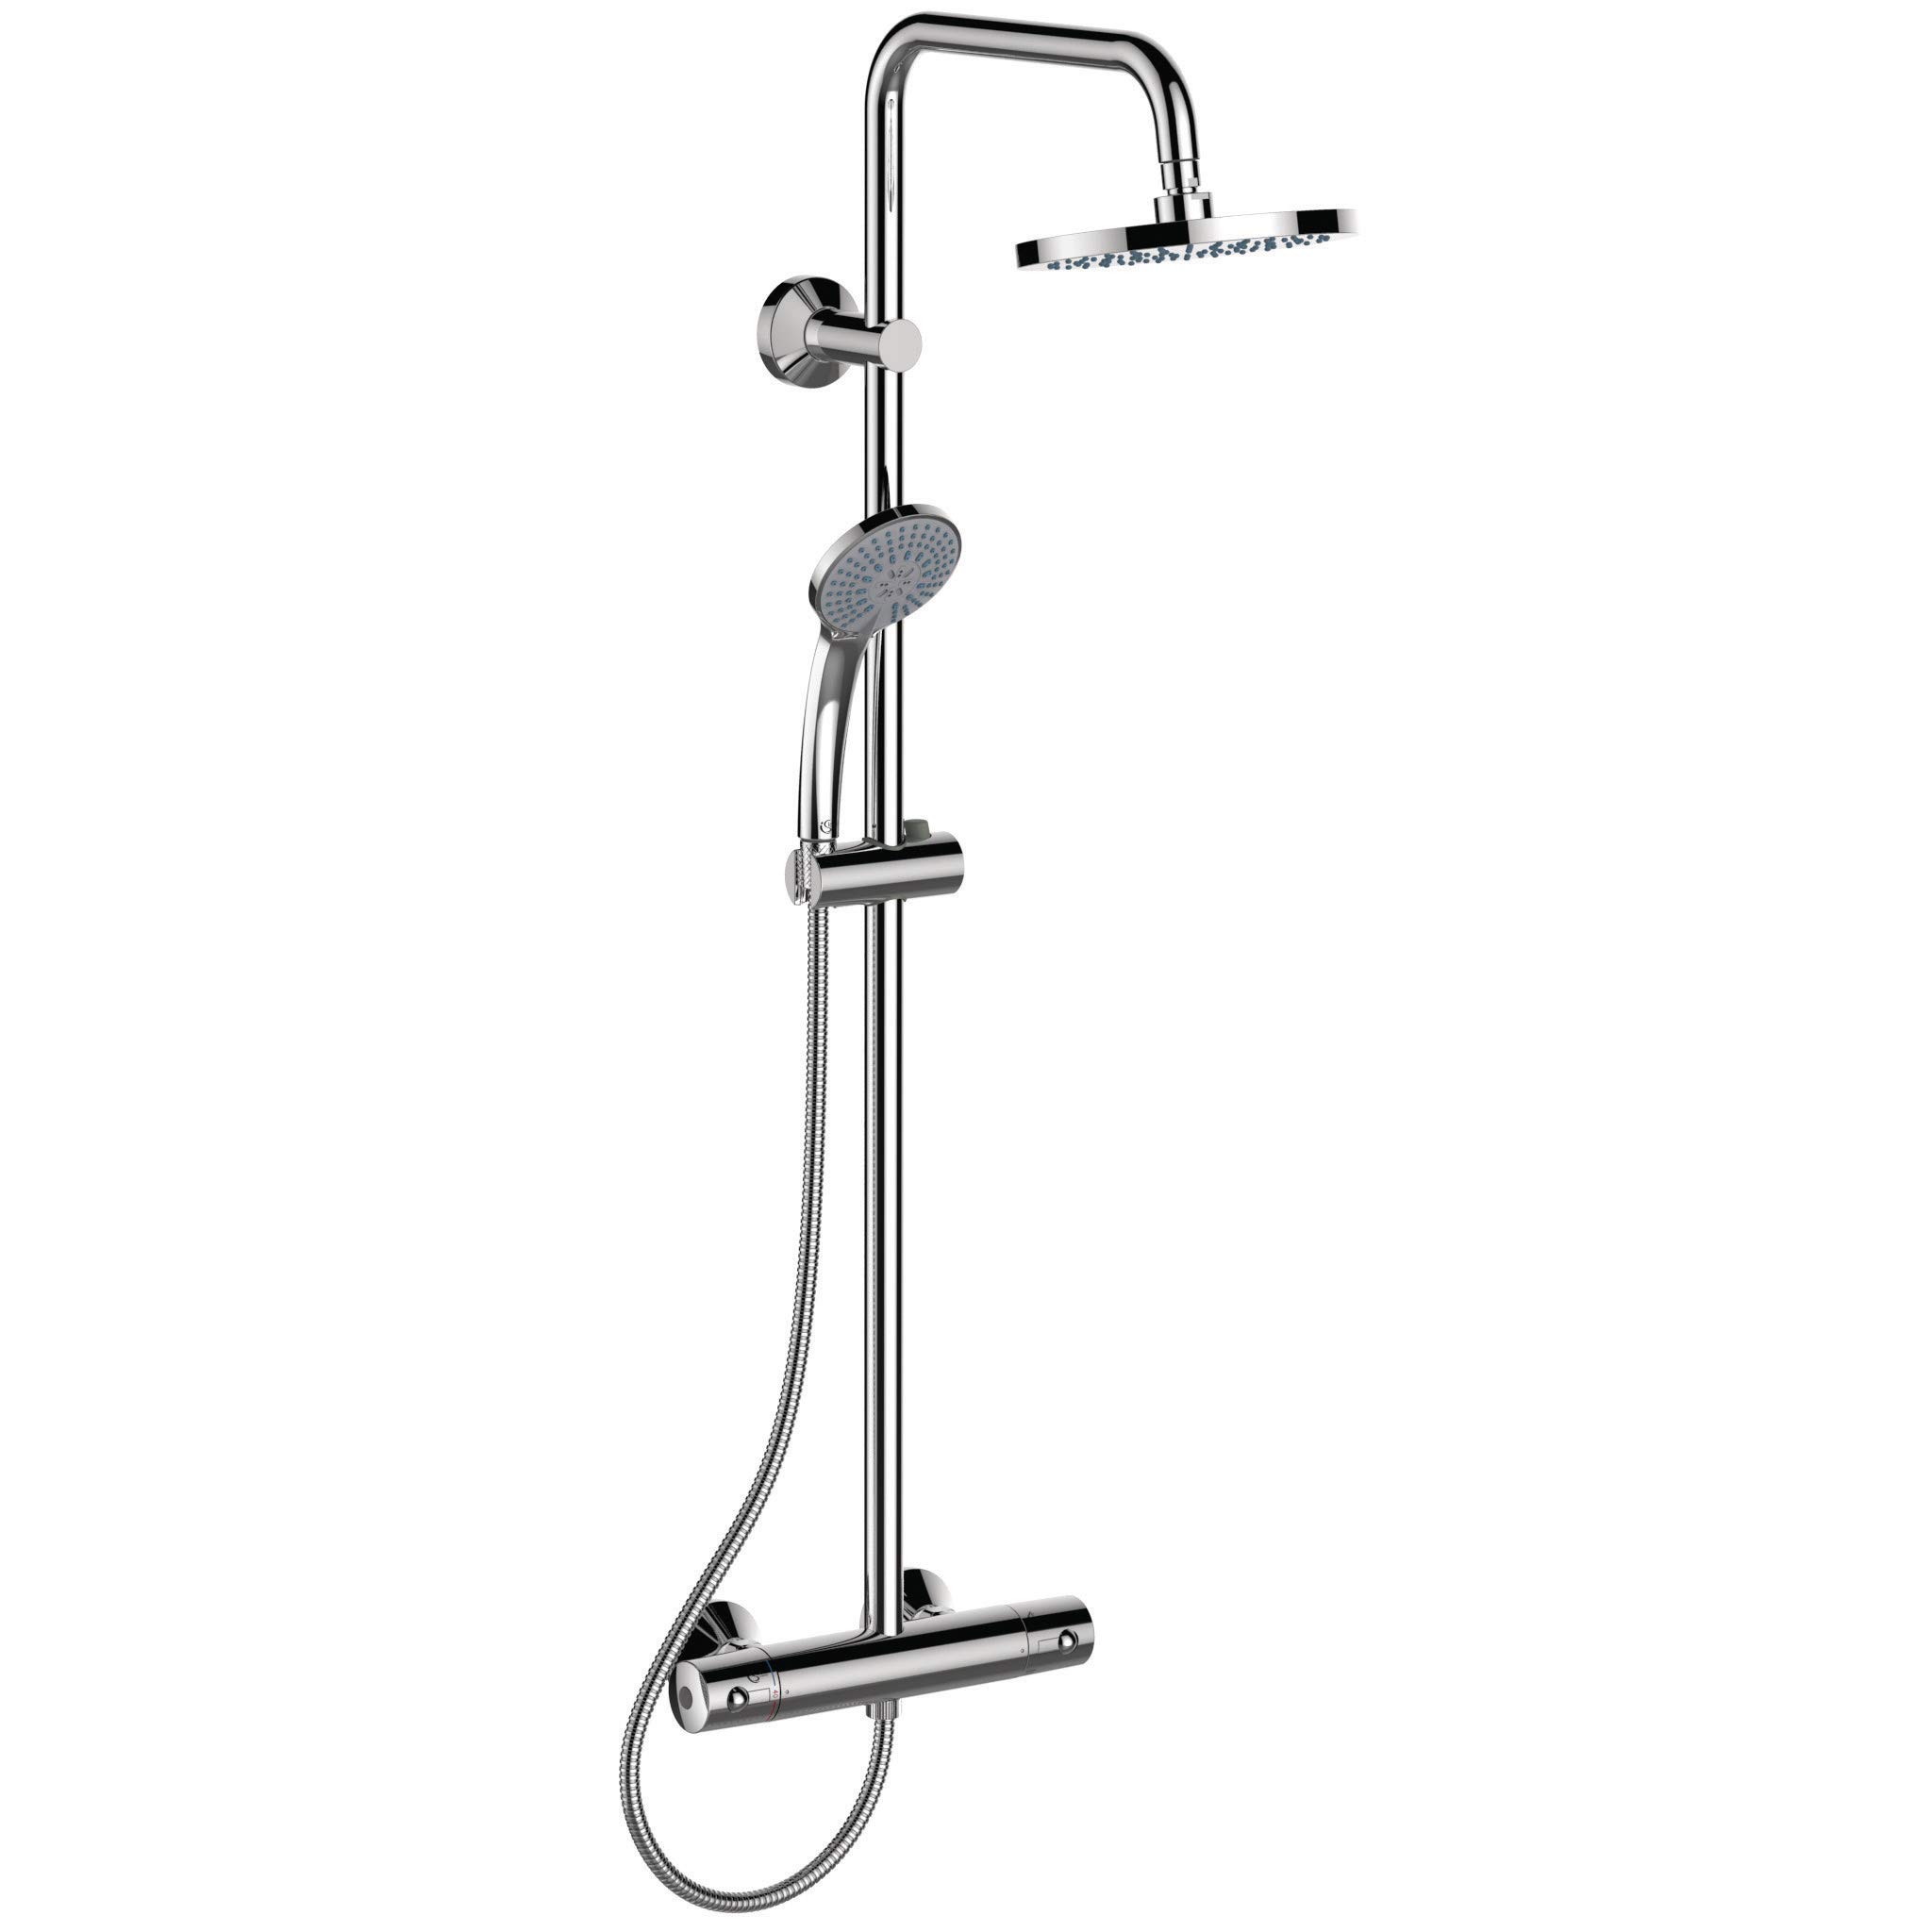
Figure 1: Ideal Standard Ceratherm 60 Shower System (Main Product View)
2. Components Included
The Ideal Standard Ceratherm 60 Shower System package typically includes the following components:
- Thermostatic Shower Mixer (exposed)
- Shower Head (Ø 200 mm, chrome jet plate)
- Hand Shower (Ø 100 mm, 3 functions: rain, rain and massage)
- Shower Bar with pivoting push button
- Idealflex Shower Hose (1600 mm)
- Mounting hardware and seals
3. Setup and Installation
Installation of the Ceratherm 60 Shower System requires basic plumbing knowledge. If you are unsure, it is recommended to consult a qualified professional. Ensure water supply is turned off before beginning installation.
3.1. Technical Drawing and Dimensions

Figure 2: Technical drawing showing key dimensions and connections for installation.
- Total Height: 1050 mm
- Shower Bar Height (from mixer to top support): 845 mm
- Shower Head Diameter: Ø 200 mm
- Shower Head Projection (from wall): 309 mm
- Wall Mount Distance (for shower bar): 85-95 mm
- Thermostatic Mixer Width: 305 mm
- Thermostatic Mixer Inlet Spacing: 137-163 mm (adjustable)
- Inlet Connection: G 1/2
- Total Projection (from wall to end of shower head): 497 mm
3.2. Installation Steps (General)
- Prepare the Wall: Ensure the wall surface is clean and suitable for mounting. Mark the drilling points according to the technical drawing for the thermostatic mixer and the shower bar support.
- Mount the Thermostatic Mixer: Install the concealed G1/2 connectors into the wall. Attach the thermostatic mixer, ensuring it is level and securely fastened. The inlet spacing is adjustable between 137-163 mm.
- Install the Shower Bar: Secure the shower bar to the wall using the provided mounting hardware. Ensure the bar is vertical and the pivoting push button mechanism is functional.
- Attach Shower Head and Hand Shower: Connect the shower head to the overhead arm and the hand shower to the Idealflex hose. Connect the hose to the thermostatic mixer.
- Test for Leaks: Turn on the water supply and check all connections for leaks.
4. Operating Instructions
4.1. Thermostatic Mixer
The thermostatic mixer maintains a constant water temperature, even with fluctuations in water pressure. Use the temperature control handle to set your desired water temperature. A safety stop is typically present to prevent accidental scalding, usually at 38°C (100°F), which can be overridden by pressing a button on the handle.
4.2. Hand Shower Functions
The hand shower features three distinct spray patterns:
- Rain: A soft, full spray for a relaxing shower experience.
- Rain and Massage: A combination spray, offering both gentle rain and invigorating massage jets.
- Massage: Concentrated, pulsating jets for a stimulating massage.
Rotate the spray selector on the hand shower head to switch between these functions.
4.3. Shower Bar Adjustment
The hand shower holder on the shower bar can be adjusted vertically by pressing the pivoting push button and sliding it to the desired height. It can also be angled for optimal spray direction.
5. Maintenance
Regular cleaning and maintenance will ensure the longevity and optimal performance of your Ideal Standard Ceratherm 60 Shower System.
5.1. Cleaning Chrome Surfaces
- Clean chrome surfaces with a soft cloth and mild soap or a non-abrasive cleaner specifically designed for bathroom fixtures.
- Avoid using abrasive sponges, harsh chemicals, or cleaners containing acid, alcohol, or chlorine, as these can damage the chrome finish.
- Rinse thoroughly with clean water and dry with a soft cloth to prevent water spots.
5.2. Anti-Limescale Function
The shower head and hand shower are equipped with an anti-limescale function. To remove limescale deposits from the nozzles, gently rub them with your finger or a soft brush. This should be done regularly, especially in areas with hard water, to maintain optimal spray performance.
6. Troubleshooting
If you encounter issues with your shower system, refer to the following common troubleshooting tips:
- Low Water Pressure:
- Check if the main water supply is fully open.
- Inspect shower head and hand shower nozzles for limescale buildup and clean them using the anti-limescale function.
- Ensure the shower hose is not kinked.
- Temperature Fluctuations:
- Verify that the hot and cold water supplies are correctly connected to the mixer.
- Ensure sufficient hot water supply from your water heater.
- If the thermostatic cartridge is faulty, professional service may be required.
- Leaks:
- Check all connections for tightness. Do not overtighten.
- Inspect seals and O-rings for damage and replace if necessary.
For persistent issues, contact a qualified plumber or Ideal Standard customer service.
7. Specifications
| Feature | Detail |
|---|---|
| Brand | Ideal Standard |
| Model Number | A6648AA |
| Finish | Chrome |
| Material | Metal, Plastic |
| Number of Handles | 1 |
| Handle Material | Plastic |
| Mounting Type | Wall Mount |
| Included Components | Shower head, hand shower, shower bar, shower hose, exposed thermostatic shower mixer |
| Shower Head Diameter | Ø 200 mm |
| Hand Shower Diameter | Ø 100 mm (3 functions) |
| Shower Hose Length | 1600 mm (Idealflex) |
| Total Projection | 497 mm |
| Inlet Connection | G 1/2 |
| Thermostatic Mixer Inlet Spacing | 137-163 mm |
| Batteries Required | No |
8. Warranty Information
For detailed warranty information regarding your Ideal Standard Ceratherm 60 Shower System, please refer to the official warranty documentation provided with your purchase or visit the Ideal Standard website. Warranty terms and conditions may vary by region.
9. Customer Support
If you require further assistance, have questions about installation, operation, or maintenance, or need to report a product issue, please contact Ideal Standard customer service. Contact details can typically be found on the official Ideal Standard website or in the packaging materials.


