
1. Introduction
This manual provides essential instructions for the installation, operation, and maintenance of your Toro T7 Series NPT Rotor with Low-Flow. The T7 rotor is engineered for durability and reliability in demanding irrigation environments such as municipal, sports fields, and commercial applications. It features a 1-inch NPT connection and is designed to deliver efficient watering, including low-flow versions for smaller radius and lower flow requirements.
Please read these instructions thoroughly before installation and retain this manual for future reference.
2. Setup and Installation
The Toro T7 Series NPT Rotor is designed for straightforward installation. No assembly is required for the rotor unit itself.
2.1 Pre-Installation Checks
- Ensure the irrigation system's water supply is turned off before beginning installation.
- Verify that the existing piping is compatible with a 1-inch NPT connection.
- Confirm the desired location for the rotor provides adequate coverage and is free from obstructions.
2.2 Installation Steps
- Excavation: Dig a hole at the desired location, ensuring it is deep enough to allow the top of the rotor to be flush with the finished grade when installed.
- Connection: Thread the 1-inch NPT inlet of the rotor onto the lateral pipe. Use thread sealant tape or pipe dope to ensure a watertight connection. Hand-tighten, then use a wrench for an additional 1 to 2 turns. Avoid overtightening.
- Backfill: Carefully backfill the soil around the rotor, ensuring it remains vertical and the top is level with the ground surface.
- Flush System: Before turning on the main water supply, temporarily remove the nozzle or flush cap (if applicable) and flush the system to remove any debris that may have entered during installation. Reinstall the nozzle/cap after flushing.
- Water Supply: Slowly turn on the main water supply to the irrigation system.
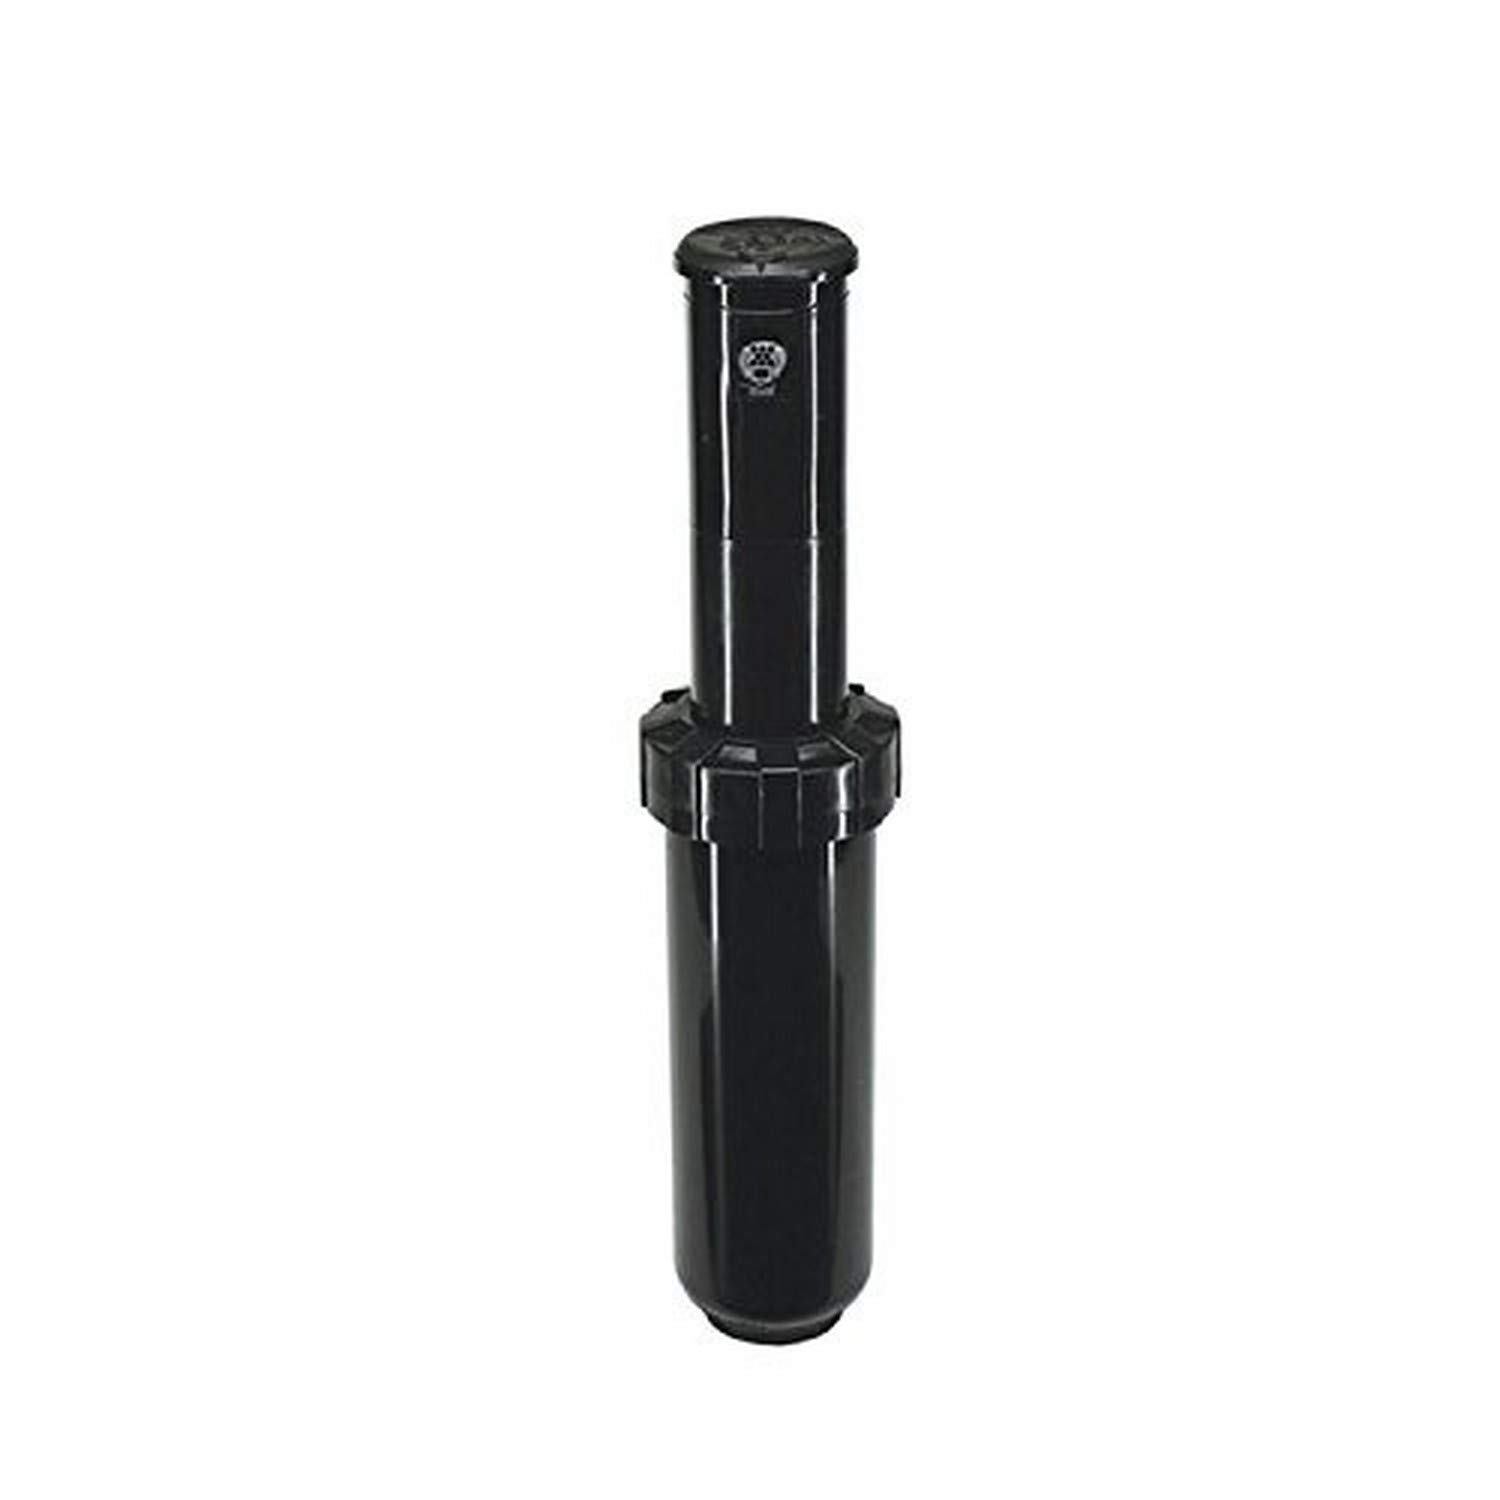
Image 1: The Toro T7 Series NPT Rotor with Low-Flow, 1 inch. This image displays the complete rotor unit, highlighting its robust construction and standard 1-inch NPT connection point at the base. The pop-up stem and nozzle are visible at the top.
3. Operating Instructions
The Toro T7 rotor is designed for integration into an automatic irrigation system. Its operation primarily involves setting the arc and radius to match your landscape's watering requirements.
3.1 Arc Adjustment
The arc (the degree of rotation) of the T7 rotor can be adjusted to cover a specific area. Refer to the markings on the rotor head for arc indicators. Typically, a special adjustment tool (often provided with the rotor or available separately) is used to rotate an adjustment screw or collar on the top of the rotor to increase or decrease the arc. The rotor is capable of full-circle (360°) or part-circle operation.
3.2 Radius Adjustment
The watering radius can be adjusted to control the distance the water sprays. This is usually done by turning a radius reduction screw located on the top of the rotor head. Turning the screw clockwise will decrease the radius, while turning it counter-clockwise will increase it. The T7 Low-Flow versions are specifically designed for smaller radius applications, offering precise watering for areas like baseball infields or smaller turf sections.
3.3 Nozzle Selection (If Applicable)
The T7 rotor may come with a pre-installed nozzle or a selection of nozzles. Ensure the correct nozzle is installed for your specific flow and radius requirements. Nozzle replacement typically involves pulling up the riser and unscrewing the existing nozzle.
4. Maintenance
Regular maintenance ensures optimal performance and longevity of your Toro T7 rotor.
- Inspect for Debris: Periodically check the rotor head and nozzle for any debris (e.g., grass clippings, dirt, sand) that may obstruct the spray pattern or prevent proper rotation. Clean as necessary.
- Check for Leaks: Inspect around the base of the rotor for any signs of leaks, which may indicate a loose connection or damaged seal.
- Verify Arc and Radius: Occasionally observe the rotor in operation to ensure the arc and radius settings are still correct and providing uniform coverage. Adjust if needed.
- Winterization: In regions subject to freezing temperatures, it is crucial to properly winterize your irrigation system, including the T7 rotors. This typically involves blowing out the system with compressed air to remove all water, preventing freeze damage. Consult your irrigation system's main manual for detailed winterization procedures.
5. Troubleshooting
This section addresses common issues you might encounter with your Toro T7 rotor.
| Problem | Possible Cause | Solution |
|---|---|---|
| Rotor not rotating or rotating slowly. |
|
|
| Uneven spray pattern or short radius. |
|
|
| Water leaking from base of rotor. |
|
|
6. Specifications
| Feature | Detail |
|---|---|
| Brand | Toro |
| Model Number | T7P-02L |
| Connection Type | 1" NPT (National Pipe Taper) |
| Flow Type | Low-Flow |
| Pop-Up Height | 5 3/4" (as per product description) |
| Item Weight | 0.9 Pounds |
| UPC | 090258055693 |
| GTIN | 00090258055693 |
7. Warranty and Support
For detailed warranty information regarding your Toro T7 Series NPT Rotor, please refer to the official Toro website or contact an authorized Toro dealer. Warranty terms and conditions may vary by region and product.
If you require technical assistance, have questions about installation, or need to troubleshoot issues not covered in this manual, please contact Toro customer support or your local authorized service center. Contact information can typically be found on the official Toro website (www.toro.com).