1. Introduction and Safety Information
This manual provides essential instructions for the safe assembly, operation, maintenance, and troubleshooting of your RYOBI Subaru EA175 2700-PSI 2.3-GPM Gas Pressure Washer. Please read and understand all instructions before operating the unit. Failure to follow these instructions may result in serious injury or property damage.
General Safety Warnings:
- Always wear appropriate personal protective equipment, including eye protection (safety glasses or goggles) and hearing protection, during operation.
- Ensure the work area is well-ventilated to prevent carbon monoxide poisoning from engine exhaust.
- Never operate the pressure washer indoors or in an enclosed space.
- Handle gasoline with extreme care. Store fuel in an approved container in a well-ventilated area away from ignition sources.
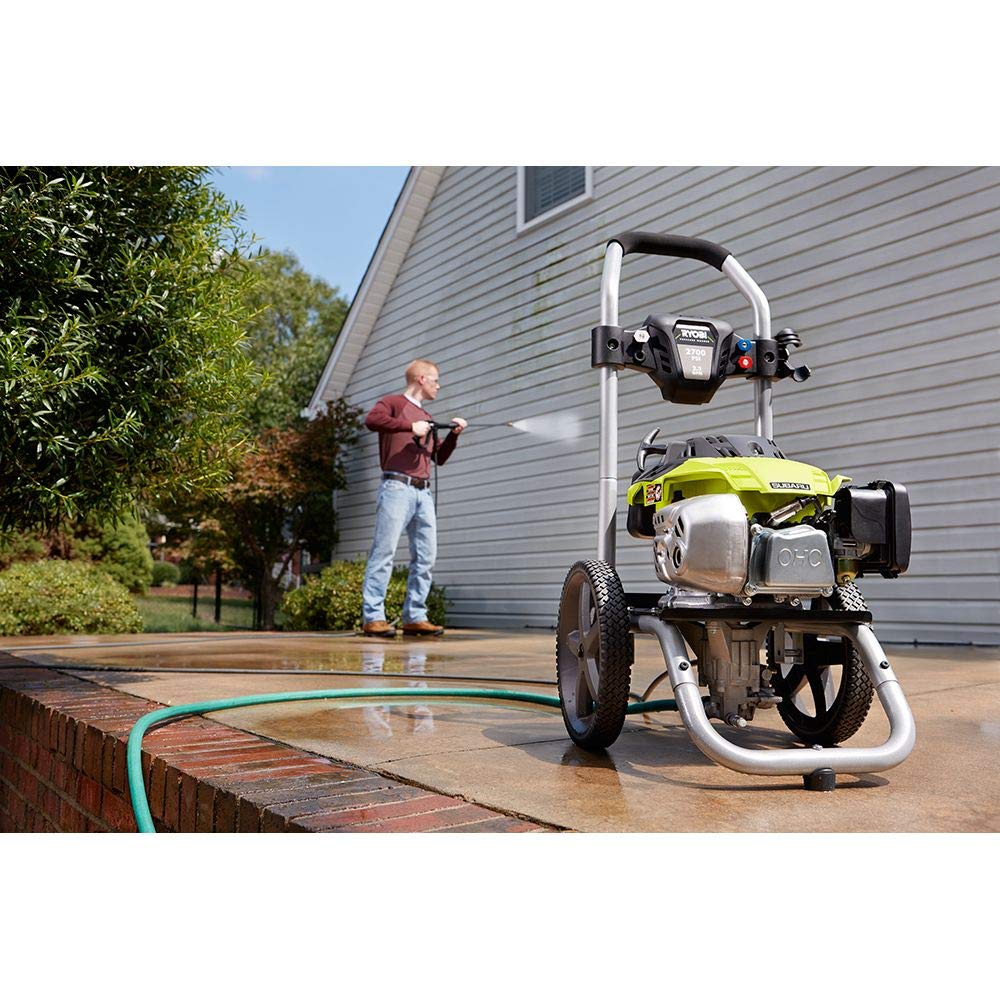
- Do not point the spray gun at people, pets, or electrical devices. The high-pressure spray can cause severe injury.
- Keep children and bystanders away from the operating area.
- Always disconnect the spark plug wire before performing any maintenance or adjustments.
2. Package Contents
Verify that all items listed below are included in your package. If any parts are missing or damaged, do not assemble or operate the pressure washer. Contact customer service for assistance.
- Pressure Washer Unit (with Subaru EA175 engine)
- High-Pressure Hose
- Spray Gun with Wand
- Quick-Connect Nozzles (various degrees)
- Engine Oil (initial fill)
- Operator's Manual
3. Assembly
Follow these steps to assemble your pressure washer. Refer to the image for visual guidance.
- Attach the Handle: Slide the upper handle assembly onto the lower frame until the spring buttons lock into place. Secure with provided bolts and knobs if applicable.
- Install the Wheels: Attach the wheels to the axle using the provided washers and cotter pins.
- Connect the High-Pressure Hose: Securely attach one end of the high-pressure hose to the pump outlet and the other end to the spray gun. Ensure connections are tight to prevent leaks.
- Attach the Spray Wand: Thread the spray wand onto the spray gun until it is hand-tight.
- Insert Nozzles: Select the desired quick-connect nozzle and insert it into the end of the spray wand until it clicks into place.

4. Setup
Before starting the engine, ensure proper fluid levels and connections.
- Add Engine Oil: Remove the oil fill cap/dipstick and add the provided engine oil until it reaches the 'FULL' mark on the dipstick. Do not overfill.
- Add Fuel: Fill the fuel tank with fresh, unleaded gasoline (minimum 87 octane). Do not use E85 or mixed fuels. Leave a small space for expansion. Securely replace the fuel cap.
- Connect Water Supply: Attach a standard garden hose (minimum 5/8 inch diameter) to the water inlet on the pressure washer pump. Ensure the garden hose is free of kinks and has a steady water flow.
- Purge Air from Pump: With the water supply turned ON, squeeze the trigger on the spray gun to allow water to flow through the pump and hose, expelling any trapped air. Continue until a steady stream of water emerges from the nozzle. This prevents damage to the pump.
5. Operating Instructions
Follow these steps for safe and effective operation of your pressure washer.
Starting the Engine:
- Ensure the water supply is connected and turned on, and the pump has been purged of air.
- Set the engine switch to 'ON'.
- Move the choke lever to the 'FULL CHOKE' position (cold engine) or 'HALF CHOKE' (warm engine).
- Set the throttle lever to the 'FAST' position.
- Grip the starter handle firmly and pull the rope slowly until resistance is felt, then pull quickly and smoothly. Repeat until the engine starts.
- Once the engine starts, gradually move the choke lever to the 'RUN' position.
Using the Pressure Washer:
- Select the appropriate quick-connect nozzle for your task. Different nozzles provide different spray patterns and pressures.
- Hold the spray gun firmly with both hands.
- Maintain a safe distance from the surface being cleaned. Start with a wider spray pattern and move closer as needed.
- Always keep the spray moving to avoid damaging the surface.
Stopping the Engine:
- Release the spray gun trigger.
- Turn the engine switch to 'OFF'.
- Turn off the water supply.
- Squeeze the spray gun trigger to relieve any remaining pressure in the system.
6. Maintenance
Regular maintenance ensures optimal performance and extends the life of your pressure washer.
After Each Use:
- Clean the exterior of the unit.
- Flush the pump with clean water to remove any detergent residue.
- Relieve all pressure from the system.
Before Each Use:
- Check engine oil level and add if necessary.
- Inspect the air filter for dirt and debris. Clean or replace if needed.
- Check all hoses and connections for leaks or damage.
Seasonal Maintenance:
- Spark Plug: Inspect and clean or replace the spark plug annually.
- Fuel System: Drain the fuel tank and carburetor if storing for more than 30 days, or use a fuel stabilizer.
- Pump Winterization: Use a pump protector/antifreeze solution if storing in freezing temperatures.
7. Troubleshooting
This section addresses common issues you might encounter with your pressure washer.
| Problem | Possible Cause | Solution |
|---|---|---|
| Engine will not start |
|
|
| Low pressure |
|
|
| Pulsating pressure |
|
|
8. Specifications
Key technical specifications for the RYOBI Subaru EA175 Gas Pressure Washer.
- Model: EA175
- Pressure Rating: 2700 PSI (Pounds per Square Inch)
- Flow Rate: 2.3 GPM (Gallons per Minute)
- Engine Type: Subaru EA175 Gas Engine
- Dimensions (L x W x H): 50.8 cm x 93.98 cm x 38.1 cm (approximately 20 in x 37 in x 15 in)
- Fuel Type: Unleaded Gasoline (minimum 87 octane)
9. Warranty and Support
For specific warranty information, please refer to the warranty card included with your product or visit the official RYOBI website. Warranty terms typically cover defects in materials and workmanship for a specified period from the date of purchase.
If you require technical assistance, replacement parts, or have questions not covered in this manual, please contact RYOBI customer support. Have your model number and serial number ready when contacting support.
RYOBI Official Website: www.ryobitools.com