
1. Introduction
This document provides essential instructions for the installation, operation, and maintenance of the Henny Penny 140115 Timer Replacement Kit. This kit is a genuine OEM replacement part designed to restore functionality to compatible Henny Penny equipment. It is crucial to read and understand all instructions before proceeding with installation or maintenance.
2. Safety Information
Always prioritize safety when working with electrical components and commercial kitchen equipment. Failure to follow safety guidelines can result in injury or damage to equipment.
- Disconnect Power: Always ensure the main power supply to the equipment is disconnected and locked out before attempting any installation, maintenance, or repair.
- Qualified Personnel: Installation and service should only be performed by qualified and authorized service technicians.
- Genuine Parts: Use only genuine OEM replacement parts to ensure safety, reliability, and optimal performance.
- Electrical Hazards: Be aware of potential electrical shock hazards. Do not touch live wires or components.
- Static Discharge: Electronic components can be sensitive to electrostatic discharge. Handle the timer board by its edges and avoid touching exposed circuitry.
3. Product Overview
The Henny Penny 140115 Timer Replacement Kit is a circuit board assembly designed to replace the existing timer module in compatible Henny Penny equipment. It features 13 individual timer settings, allowing for precise control over various cooking or holding processes.

Figure 1: Overall view of the Henny Penny 140115 Timer Replacement Kit, showing the main circuit board, attached wiring harness, and various connectors. This board is designed for precise timing functions within commercial kitchen equipment.

Figure 2: A detailed view of the wiring harness and various red and yellow connectors supplied with the kit. These connectors facilitate the electrical integration of the timer board into the main appliance system.
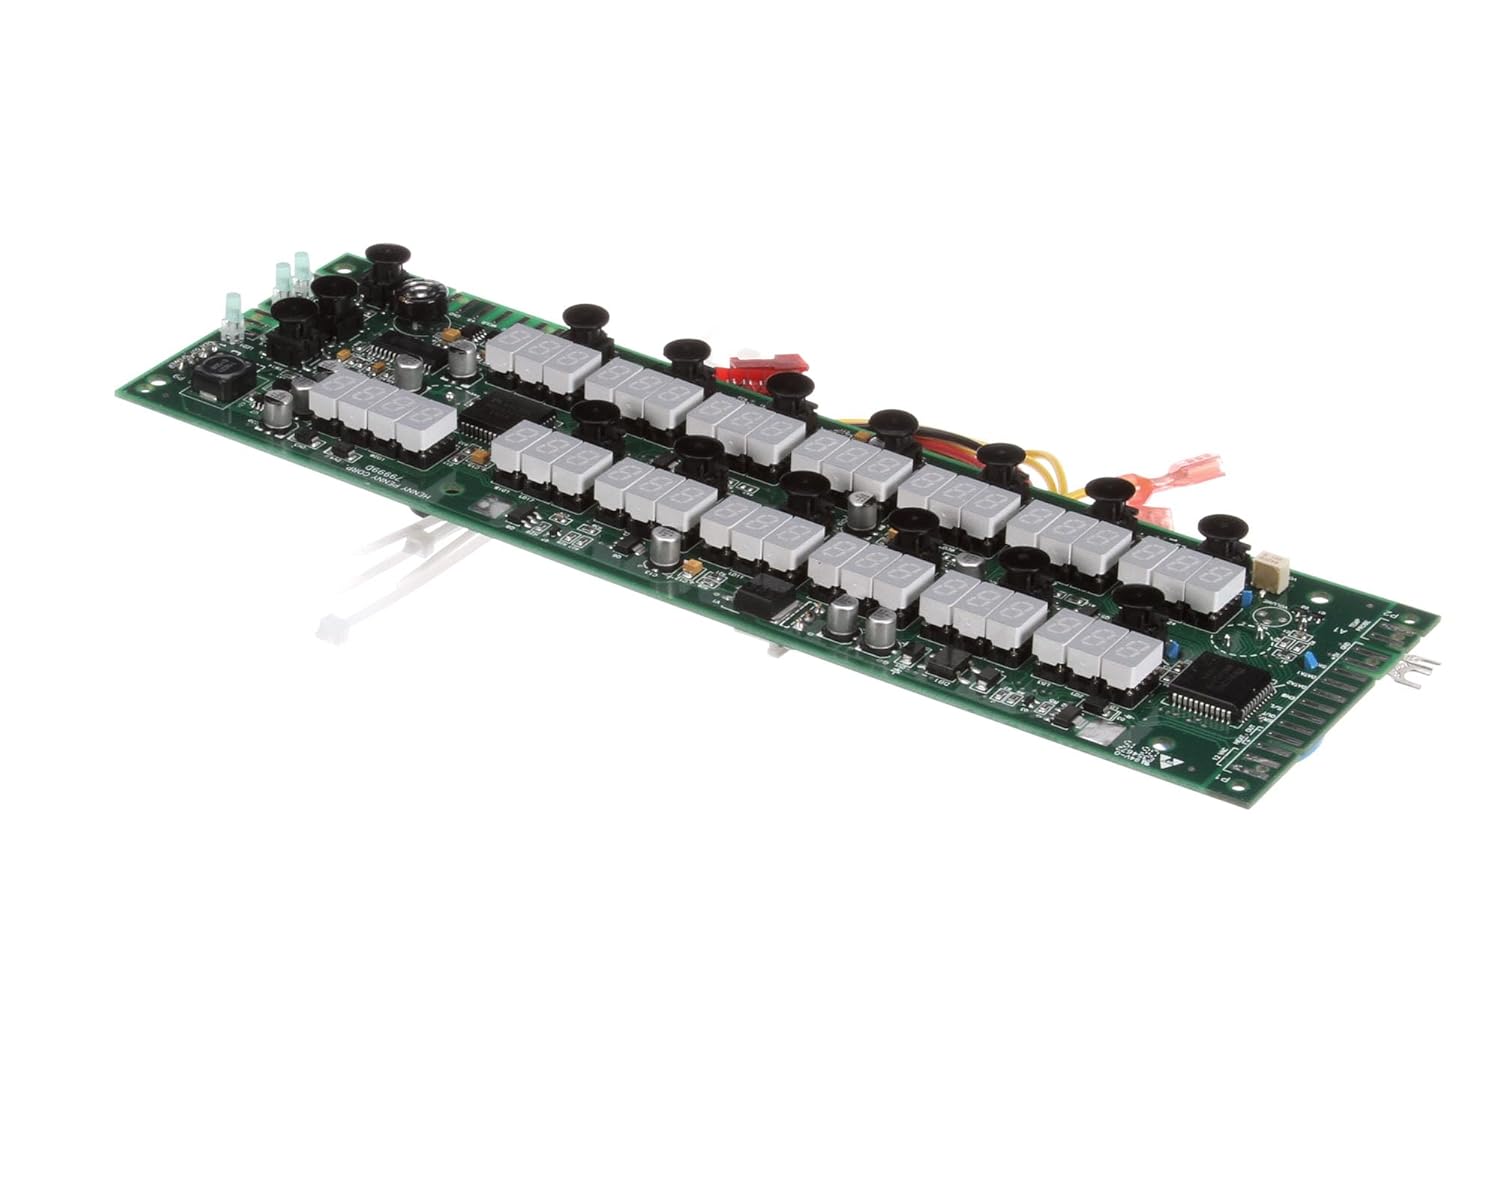
Figure 3: Top-down perspective of the circuit board, clearly showing the array of 13 digital timer displays. Each display corresponds to an individual timer setting, crucial for multi-stage cooking or holding operations.

Figure 4: Another angled view of the timer board, providing a clearer look at the various electronic components, including a prominent blue capacitor, which are integral to the board's functionality.
4. Setup and Installation
Installation of the 140115 Timer Replacement Kit requires technical expertise. It is strongly recommended that this procedure be performed by a certified Henny Penny service technician.
4.1. Pre-Installation Steps
- Ensure the equipment is completely powered off and disconnected from its power source.
- Access the area where the existing timer board is located, typically behind a control panel.
- Document the existing wiring connections with photographs or diagrams before disconnection.
4.2. Removal of Old Timer Board
- Carefully disconnect all wiring harnesses and connectors from the old timer board.
- Unmount the old timer board from its housing.
4.3. Installation of New Timer Board
- Mount the new Henny Penny 140115 Timer Replacement Kit into the designated housing, ensuring it is securely fastened.
- Reconnect all wiring harnesses and connectors to the new board, matching them precisely to the documentation created during removal. Ensure all connections are firm and correct.
- Verify that no wires are pinched or obstructing moving parts.
4.4. Post-Installation Steps
- Carefully close and secure any access panels or covers.
- Restore power to the equipment.
- Perform functional tests as outlined in the main equipment's service manual to confirm proper operation of the new timer board.
5. Operating Instructions
The 140115 Timer Replacement Kit is a component part of a larger Henny Penny appliance. Its operation is integrated into the overall control system of that appliance.
For detailed operating instructions regarding the specific functions and settings of the 13 timers, please refer to the comprehensive instruction manual provided with your primary Henny Penny equipment. This replacement kit restores the timer functionality; it does not alter the operational procedures of the main unit.
6. Maintenance
Proper maintenance ensures the longevity and reliable performance of the timer replacement kit.
- Regular Inspection: Periodically inspect the timer board and its connections for any signs of wear, corrosion, or loose wiring.
- Cleaning: If necessary, gently clean the surface of the board with a soft, dry brush or compressed air to remove dust and debris. Ensure power is disconnected before cleaning. Do not use liquid cleaners directly on the circuit board.
- Environmental Conditions: Ensure the equipment operates within recommended environmental conditions (temperature, humidity) to prevent damage to electronic components.
7. Troubleshooting
If the equipment experiences issues related to timer functionality after installing the 140115 Timer Replacement Kit, consider the following troubleshooting steps:
- Power Check: Verify that the equipment is receiving power and that all internal power connections to the timer board are secure.
- Wiring Connections: Double-check all wiring connections to the timer board against your documentation or the equipment's wiring diagram. Loose or incorrect connections are a common cause of malfunction.
- Main Appliance Manual: Consult the troubleshooting section of the main Henny Penny appliance's instruction manual for specific diagnostic procedures related to timer errors or system faults.
- Professional Assistance: If issues persist after basic checks, contact a qualified Henny Penny service technician for further diagnosis and repair.
8. Specifications
| Specification | Detail |
|---|---|
| Brand | Henny Penny |
| Model Number | HEN140115 |
| Product Dimensions | 12.05 x 3.85 x 2.4 inches |
| Item Weight | 0.6 Pounds (9.6 ounces) |
| Number of Settings | 13 |
| UPC | 220215062413 |
| Manufacturer | Henny Penny |
| Country of Origin | United States |
9. Warranty and Support
As a genuine OEM replacement part, the Henny Penny 140115 Timer Replacement Kit is manufactured to the highest standards. For specific warranty information, please refer to the warranty documentation provided with your original Henny Penny equipment or contact Henny Penny directly.
For technical support, service inquiries, or to locate an authorized service technician, please visit the official Henny Penny website or contact their customer service department.
Henny Penny Official Website: www.hennypenny.com