1. Introduction
Thank you for choosing the Philips CVR608 Dashcam. This device is designed to provide reliable video recording of your journeys, enhancing road safety and providing crucial evidence in case of incidents. This manual will guide you through the installation, operation, and maintenance of your dashcam.
2. Product Overview
2.1 Key Features
- Dual Camera System: 4K Ultra HD front camera and 1080P Full HD rear camera for comprehensive coverage.
- Integrated WiFi: Seamless connection to a dedicated mobile application for real-time viewing, playback, and downloading.
- 3-inch IPS Display: High-definition screen for clear preview and playback.
- 140° Wide-Angle Lens: Captures multiple lanes, reducing blind spots.
- Superior Night Vision: Advanced image sensors and processing technology ensure clear recordings in low-light conditions.
- Loop Recording: Automatically overwrites older footage when the memory card is full, except for locked emergency videos.
- G-Sensor: Detects sudden impacts or vibrations and automatically locks the current video segment.
- 24-Hour Parking Monitoring: Records automatically upon detecting a collision while parked (requires dedicated hardwire kit, included).
- Compact Design: Discreet and easy to install without obstructing driving visibility.
2.2 What's in the Box
- Philips CVR608 Front Dashcam Unit
- 1080P Rear Camera
- Car Charger Power Cable
- Hardwire Kit (for 24-hour parking monitoring)
- Mounting Bracket (adhesive)
- Cable Clips
- User Manual
- 32GB MicroSD Card

Figure 1: Philips CVR608 Dashcam and its key features.
3. Setup & Installation
3.1 Mounting the Front Dashcam
- Clean the windshield area where the dashcam will be mounted. Ensure it does not obstruct your view.
- Attach the adhesive mount to the dashcam.
- Remove the protective film from the adhesive and firmly press the dashcam onto the chosen spot on the windshield.
3.2 Connecting Power
- Connect the car charger power cable to the dashcam's power input port.
- Route the cable neatly along the windshield edge and dashboard, using the provided cable clips.
- Plug the car charger into your vehicle's 12V power outlet (cigarette lighter socket).
3.3 Installing the Rear Camera
- Mount the rear camera on the rear windshield, ensuring a clear view.
- Connect the rear camera cable to the main dashcam unit.
- Route the cable discreetly along the vehicle's interior trim.
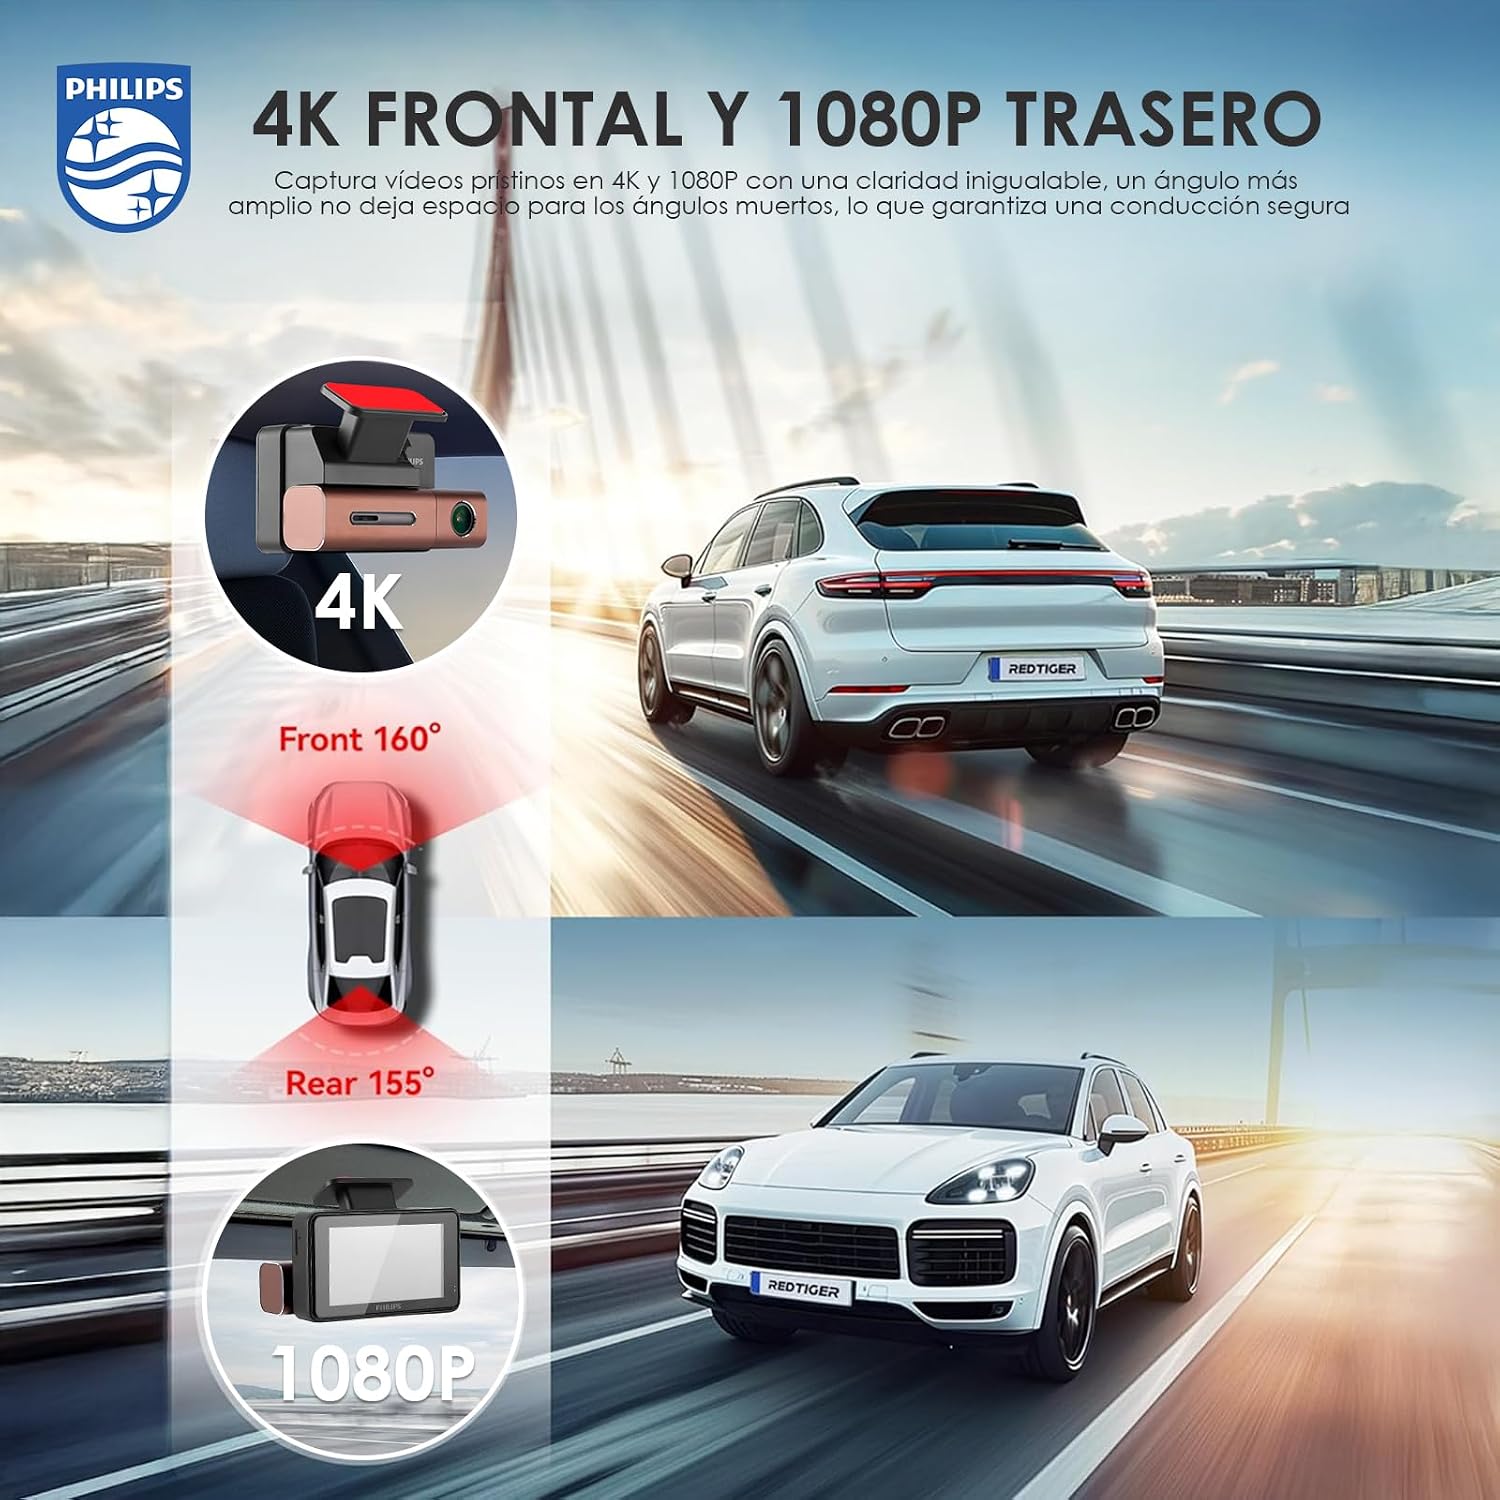
Figure 2: Front (4K) and Rear (1080P) camera views.
Video 1: Installation guide for the Philips Dashcam, demonstrating mounting and wiring.
4. Operation
4.1 Power On/Off
The dashcam will automatically power on and begin recording when your vehicle's ignition is turned on. It will power off automatically when the ignition is turned off.
4.2 Recording Modes
- Continuous Loop Recording: The dashcam records continuously in short segments (e.g., 1, 3, or 5 minutes). When the memory card is full, the oldest unlocked footage is automatically overwritten.
- Emergency Recording (G-Sensor): In the event of a sudden impact or collision, the built-in G-Sensor will detect the event and automatically lock the current video segment, preventing it from being overwritten.
- Parking Monitoring: With the hardwire kit installed, the dashcam can monitor your vehicle for impacts even when parked, recording automatically if a collision is detected. Professional installation is recommended for this feature.

Figure 3: Super Night Vision and Loop Recording features.
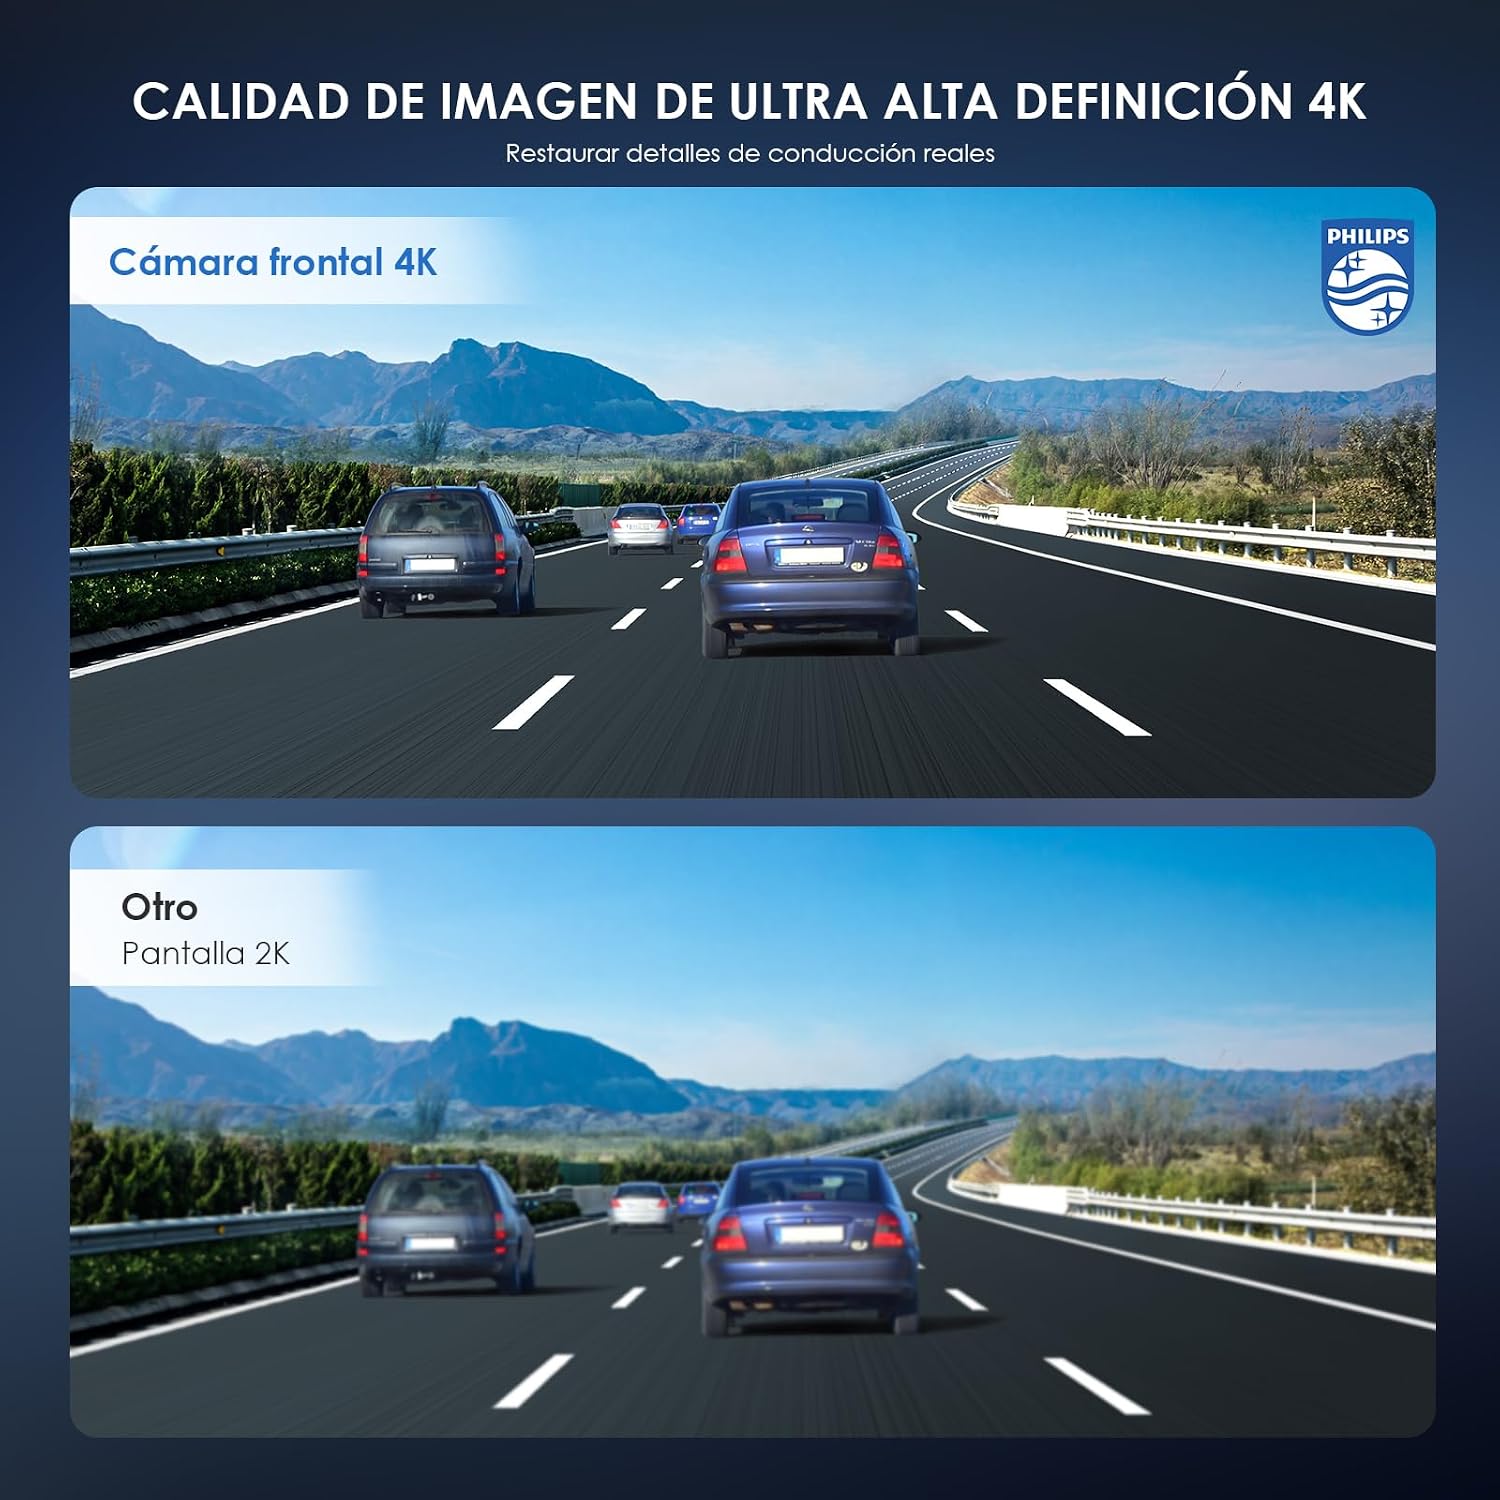
Figure 4: Demonstrating 4K Ultra HD image quality.
5. Connectivity (WiFi & App)
The Philips CVR608 Dashcam features built-in WiFi for seamless connection to a dedicated mobile application. This allows you to control the dashcam, view live footage, play back recorded videos, download files to your phone, and share memorable moments.
5.1 App Download and Connection
- Download the dedicated Philips dashcam application from your smartphone's app store (compatible with iPhone and Android devices).
- Turn on the dashcam and enable its WiFi function through the device settings.
- On your smartphone, connect to the dashcam's WiFi network (SSID and password can be found on the dashcam screen or in the manual).
- Open the application and follow the on-screen instructions to connect to your dashcam.
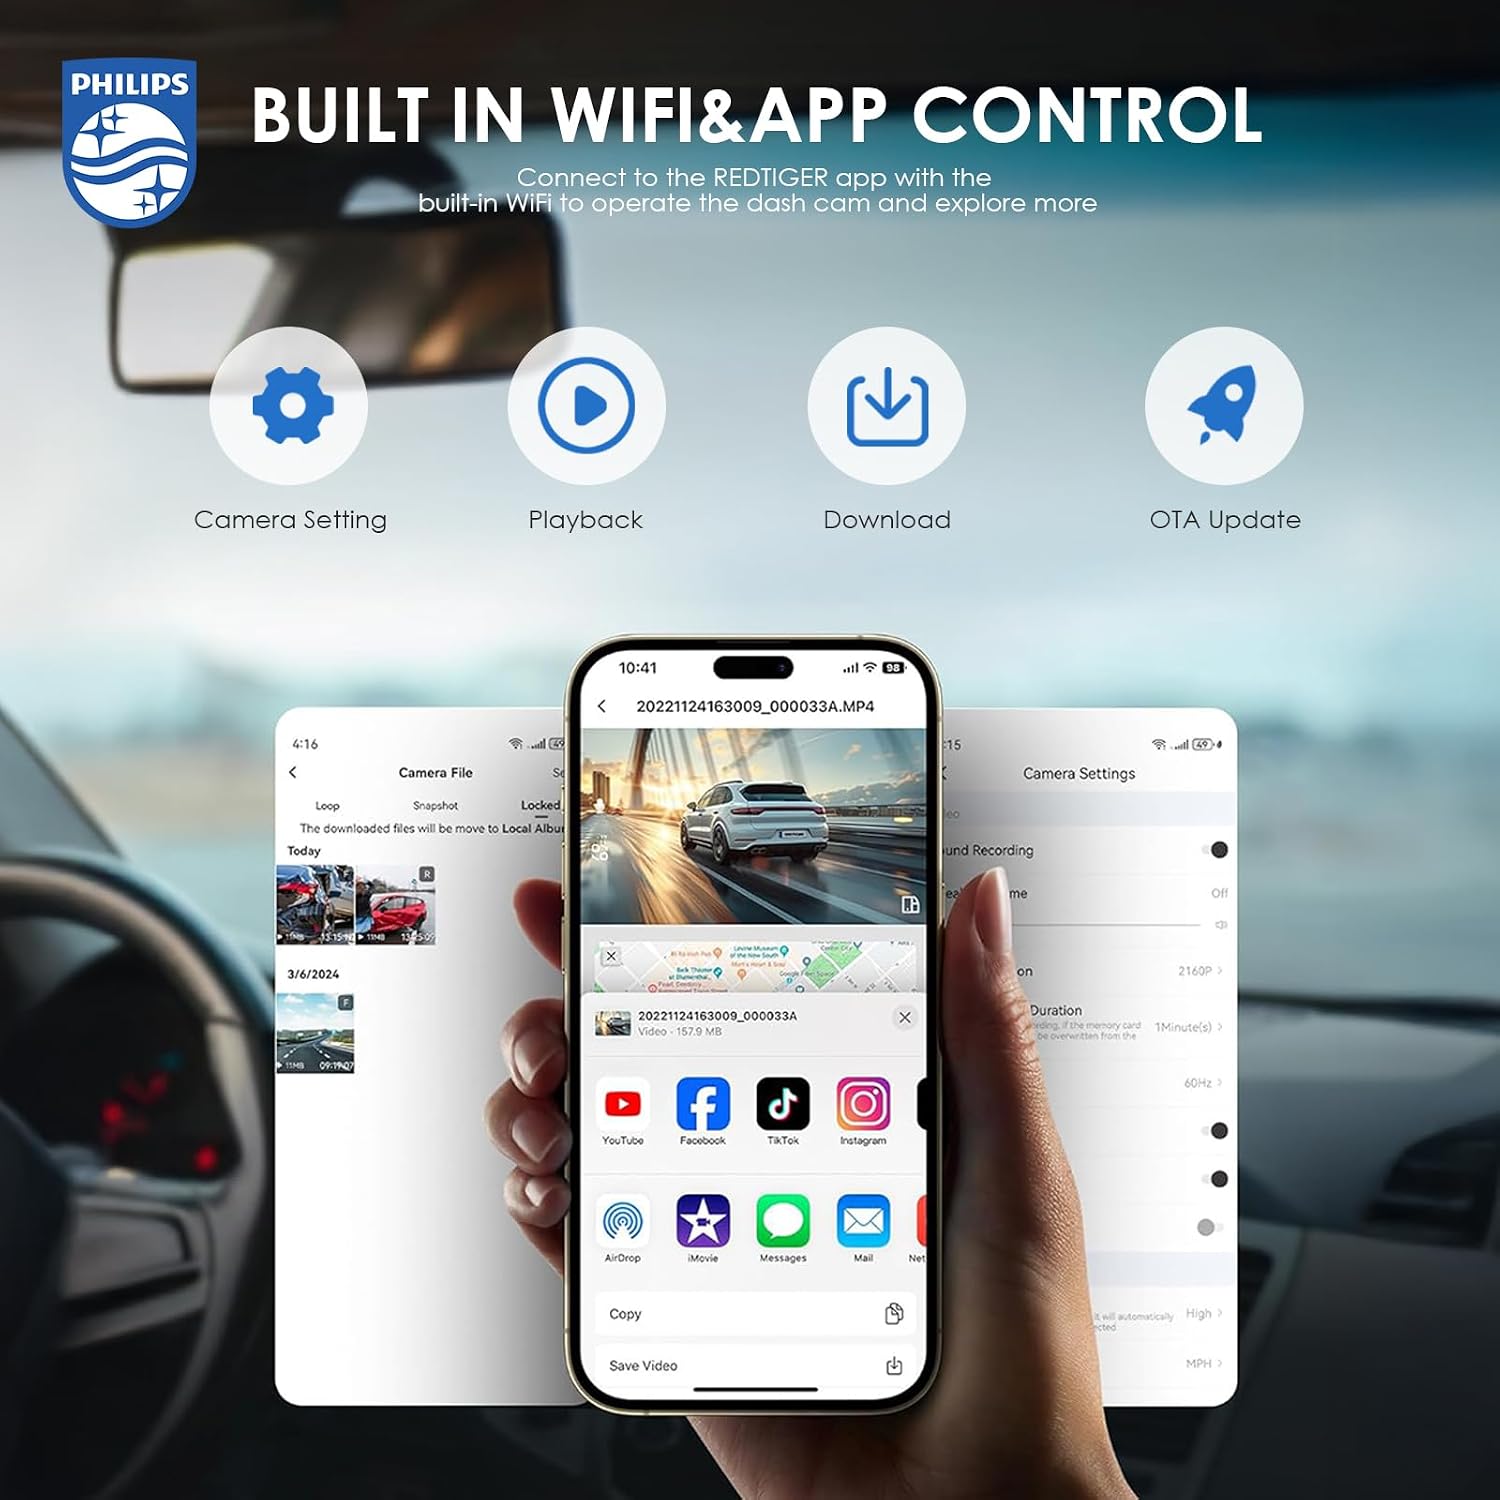
Figure 5: Built-in WiFi and App Control interface.
Video 2: Tutorial on connecting the dashcam to the mobile application.
6. Specifications
| Feature | Specification |
|---|---|
| Brand | Philips |
| Model | CVR608 |
| Video Capture Resolution | 4K (Front) + 1080P (Rear) |
| Display Type | IPS |
| Screen Size | 3 inches |
| Real Angle of View | 140 Degrees |
| Connectivity Technology | Wi-Fi |
| Special Features | App Control, Blind Spot Detection, Compact Design, G-Sensor, Night Vision, Built-in WiFi |
| Mounting Type | Lighter Mount (Adhesive) |
| Product Dimensions | 15 x 8 x 14 cm; 680 g |
7. Troubleshooting
- Dashcam not powering on: Ensure the power cable is securely connected to both the dashcam and the vehicle's 12V outlet. Check if the vehicle's ignition is on.
- Recording issues: Verify that a compatible MicroSD card is inserted and formatted. Check the memory card for errors or if it's full (unless loop recording is active).
- WiFi connection problems: Ensure WiFi is enabled on the dashcam and your smartphone. Re-enter the WiFi password if necessary. Try restarting both devices.
- Poor video quality: Clean the camera lenses. Ensure the dashcam is securely mounted and not vibrating. Check resolution settings in the menu or app.
- Parking monitoring not working: Confirm the hardwire kit is correctly installed and connected. Professional installation is recommended for this feature.
8. Maintenance
- Cleaning: Use a soft, dry cloth to clean the dashcam lenses and screen. Avoid abrasive cleaners.
- Memory Card: Regularly format the MicroSD card (e.g., every 2-4 weeks) to ensure optimal performance and prevent data corruption. Back up important footage before formatting.
- Firmware Updates: Check the Philips website or the mobile application for available firmware updates to ensure your dashcam has the latest features and improvements.
9. Warranty & Support
For warranty information, technical support, or service inquiries, please refer to the warranty card included in your product packaging or visit the official Philips support website. Keep your purchase receipt as proof of purchase.


