1. Introduction
This manual provides essential information for the safe and efficient operation of your APC BK350 Back-UPS System (CS 350). This Uninterruptible Power Supply (UPS) is designed to provide battery backup power and surge protection for electronic equipment, ensuring continuous operation during power outages and protecting against damaging power surges.
The APC BK350 features 6 outlets, with 3 providing UPS/surge protection and 3 offering surge-only protection. It includes RJ11 modem/fax/DSL protection, an audible alarm, and an LED status display for easy monitoring. The unit is USB compatible and comes with PowerChute software for advanced power management.
2. Safety Information
WARNING: This product can expose you to chemicals including Lead, which is known to the State of California to cause cancer and birth defects or other reproductive harm. For more information go to www.P65Warnings.ca.gov.
- Read all instructions before operating the UPS.
- Do not open or disassemble the UPS. There are no user-serviceable parts inside except for the battery.
- Connect the UPS to a grounded outlet only.
- Do not use the UPS in direct sunlight, near heat sources, or in areas with excessive humidity.
- Ensure proper ventilation around the UPS. Do not block ventilation openings.
- The battery inside the UPS is user-replaceable. Refer to the Maintenance section for battery replacement instructions.
3. Product Overview
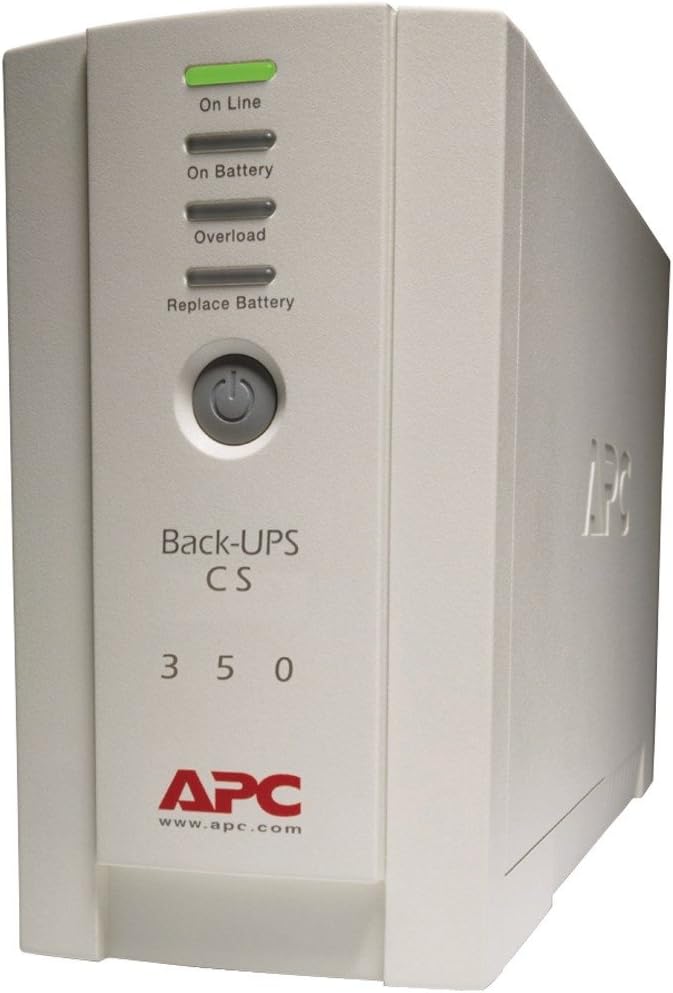
This image displays the front of the APC BK350 Back-UPS System. It is a beige unit with a vertical panel featuring four LED indicators: 'On Line', 'On Battery', 'Overload', and 'Replace Battery'. Below these indicators is a circular power button. The text 'Back-UPS CS 350' is visible, along with the APC logo and website 'www.apc.com' at the bottom.
Front Panel Indicators:
- On Line (Green LED): Illuminates when the UPS is supplying conditioned utility power to connected equipment.
- On Battery (Amber LED): Illuminates when the UPS is supplying battery power to connected equipment during a power outage or brownout.
- Overload (Red LED): Illuminates when the connected equipment exceeds the UPS's capacity. An audible alarm may also sound.
- Replace Battery (Red LED): Illuminates when the battery needs to be replaced.
Rear Panel Connections:
- Battery Backup & Surge Protected Outlets (3): These outlets provide battery power during outages and surge protection. Connect critical equipment like your computer, monitor, and external hard drive here.
- Surge Only Outlets (3): These outlets provide surge protection only. Connect non-critical equipment like printers or scanners here.
- RJ11 Modem/Fax/DSL Protection: Ports for protecting phone/data lines from surges.
- USB Port: For connecting the UPS to your computer to use PowerChute software.
- Input Power Cord: Connects the UPS to a wall outlet.
4. Setup
- Unpack and Inspect: Carefully unpack the UPS and inspect it for any shipping damage.
- Connect Battery: The battery may be disconnected for shipping. Refer to the battery compartment instructions (usually on the bottom or rear of the unit) to connect the internal battery.
- Initial Charge: Plug the UPS power cord into a grounded wall outlet. Allow the UPS to charge for at least 8 hours before connecting equipment to ensure full battery capacity. The 'On Line' indicator should illuminate.
- Connect Equipment:
- Plug your computer, monitor, and other critical equipment into the Battery Backup & Surge Protected outlets.
- Plug non-critical equipment (e.g., printer, scanner) into the Surge Only outlets.
- For phone/data line protection, connect your phone line from the wall to the 'IN' port on the UPS, and then from the 'OUT' port on the UPS to your phone/modem.
- Install PowerChute Software (Optional but Recommended): Connect the supplied USB cable from the UPS to your computer. Install the PowerChute software from the included CD or download it from the APC website. This software allows for automatic shutdown of your computer during extended power outages and provides advanced power management features.
5. Operating Instructions
- Turning On the UPS: Press the power button on the front panel. The 'On Line' indicator should light up.
- Turning Off the UPS: Press and hold the power button until the UPS powers down. All indicators will turn off.
- Power Outage: During a power outage, the UPS will automatically switch to battery power. The 'On Battery' indicator will illuminate, and the unit will emit an audible alarm (beeping).
- Managing Alarms: The audible alarm can typically be silenced by a short press of the power button, but the UPS will continue to provide battery power. The alarm will reactivate if the battery runs low.
- Battery Runtime: The typical run time for the BK350 is approximately 20 minutes at half load (105W) and 5 minutes at full load (210W). This provides sufficient time to save work and safely shut down your equipment.
6. Maintenance
Battery Replacement:
The APC BK350 Back-UPS System features user-replaceable batteries. The 'Replace Battery' LED will illuminate when the battery needs to be replaced. It is recommended to replace the battery every 3-5 years, or when the 'Replace Battery' indicator is active.
- Power Down: Turn off the UPS and disconnect all connected equipment.
- Unplug: Disconnect the UPS from the wall outlet.
- Access Battery: Locate the battery compartment, usually accessible from the bottom or front panel. Follow the specific instructions for your model to open the compartment.
- Disconnect Old Battery: Carefully disconnect the battery terminals (usually red and black wires).
- Remove Old Battery: Slide the old battery out of the compartment.
- Insert New Battery: Insert the new replacement battery, ensuring correct orientation.
- Connect New Battery: Reconnect the battery terminals (red to red, black to black).
- Close Compartment: Securely close the battery compartment.
- Recharge: Plug the UPS back into the wall outlet and allow it to charge for 8-12 hours before resuming normal operation.
Note: Always dispose of old batteries properly at a recycling facility. Do not dispose of batteries in household waste.
7. Troubleshooting
| Problem | Possible Cause | Solution |
|---|---|---|
| UPS does not turn on. | Battery not connected or low charge. | Ensure battery is connected. Plug UPS into wall outlet and charge for 8 hours. |
| UPS beeps continuously and 'Overload' LED is on. | Too much equipment connected. | Disconnect non-essential equipment from battery backup outlets until 'Overload' LED turns off. |
| 'Replace Battery' LED is on. | Battery needs replacement. | Replace the battery as per the Maintenance section. |
| UPS runs on battery frequently. | Poor utility power or frequent brownouts. | This is normal operation. Consider contacting your utility provider if issues persist. |
| No power to connected equipment. | UPS is off or circuit breaker tripped. | Ensure UPS is on. Check and reset the circuit breaker on the rear of the UPS if present. |
8. Specifications
| Feature | Specification |
|---|---|
| Model | BK350 (CS 350) |
| Output Power Capacity | 350VA / 210W |
| Input Voltage | 120 Volts |
| Outlets | 6 (3 UPS/Surge, 3 Surge Only) |
| Surge Energy Rating | 1020 Joules |
| Typical Run Time (Half Load) | 20 minutes (105W) |
| Typical Run Time (Full Load) | 5 minutes (210W) |
| Battery Type | Lead Acid (User-replaceable) |
| Communication Port | USB |
| Data Line Protection | RJ11 Modem/Fax/DSL (2-wire single line) |
| Color | Beige |
| Item Weight | 31.1 pounds |
| Manufacturer | UPS Battery Co. |
9. Warranty and Support
Warranty:
The APC BK350 Back-UPS System comes with a 3-Year Manufacturer's Warranty. This warranty covers defects in materials and workmanship under normal use.
Equipment Protection Policy:
APC offers a Lifetime $100,000 Equipment Protection Policy. This policy provides coverage for equipment connected to the UPS that is damaged by a power surge or lightning strike while properly connected and protected by the UPS.
Technical Support:
Free Technical Support is available for this product. For assistance with setup, operation, troubleshooting, or warranty claims, please refer to the contact information provided with your product packaging or visit the official APC website for support resources and contact details.


