Introduction
This manual provides detailed instructions for the installation, operation, and maintenance of your Planet Audio PL2500.1M Monoblock Car Amplifier. Designed for high-output audio systems, this amplifier delivers 2500 Watts Max Power and features a MOSFET power supply, variable low-pass crossover, and bass boost. Please read this manual thoroughly before attempting installation or operation to ensure proper use and maximum performance.

Image: Front view of the Planet Audio PL2500.1M Monoblock Car Amplifier, showcasing the brand logo and model number.
Safety Information
Always observe the following safety precautions during installation and operation:
- Professional Installation Recommended: Due to the complexity of car audio systems and the high power output of this amplifier, professional installation is strongly recommended.
- Disconnect Battery: Before starting any wiring, disconnect the vehicle's negative battery terminal to prevent electrical shorts and damage.
- Proper Wiring: Use appropriate gauge wiring for power, ground, and speaker connections as specified in the installation section. Incorrect wiring can lead to overheating, fire, or damage to the amplifier and vehicle.
- Ventilation: Ensure the amplifier is mounted in a location with adequate ventilation to prevent overheating. Do not block cooling fins.
- Fuse Protection: Always use the correct fuse ratings as specified. Never replace a fuse with one of a higher amperage.
- Avoid Moisture: Do not expose the amplifier to moisture or water.
- Secure Mounting: Mount the amplifier securely to prevent it from becoming a projectile in the event of a sudden stop or accident.
Key Features
The Planet Audio PL2500.1M Monoblock Amplifier incorporates several features designed for enhanced audio performance and system integration:

MOSFET Power Supply: Provides efficient power conversion and stable output for consistent performance.

Class A/B Topology: Combines the sound quality of Class A with the efficiency of Class B amplifiers.

2 Ohm Stable: Capable of driving speakers with a 2-ohm impedance, allowing for flexible speaker configurations.

High & Low Level Inputs: Allows connection to both factory and aftermarket head units.

Variable Low-Pass Crossover: Adjusts the frequency range sent to the subwoofer for optimal bass reproduction.

Variable Bass Boost: Provides adjustable bass enhancement for customized sound.

Variable Gain Control: Matches the amplifier's input sensitivity to the output of the head unit.

Short Protection: Built-in circuitry protects the amplifier from damage due to short circuits.
Setup and Installation
Proper installation is crucial for the performance and longevity of your amplifier. It is highly recommended to have this product professionally installed.
Mounting Location
Choose a mounting location that provides adequate ventilation, is protected from moisture, and is secure. Avoid mounting on carpet or in enclosed spaces without airflow. Ensure the amplifier is easily accessible for wiring and adjustments.
Wiring Connections
Refer to the diagrams below for proper wiring. Always use high-quality, appropriate gauge wiring.

Image: Rear view of the amplifier showing power input terminals (REMOTE, GND, +12V), fuse slots, and speaker output terminals.
- Power (+12V): Connect to the positive terminal of the car battery using a heavy gauge wire (e.g., 4 AWG or larger for this amplifier). An inline fuse holder with the correct amperage fuse (2 x 30 Amp ATO Blade fuses are required for the amplifier itself, ensure your main power wire fuse is appropriately rated for the entire system) should be installed within 18 inches of the battery.
- Ground (GND): Connect to a clean, unpainted metal surface of the vehicle chassis. Ensure a solid, low-resistance connection. Use the same gauge wire as the power wire.
- Remote (REM): Connect to the remote turn-on lead from your head unit. This wire turns the amplifier on and off with your car's audio system.
- Speaker Output: Connect your subwoofer(s) to the speaker output terminals. Ensure correct polarity (+ to + and - to -). This amplifier is designed for monoblock operation, typically driving a single subwoofer or multiple subwoofers wired to a 2-ohm stable load.
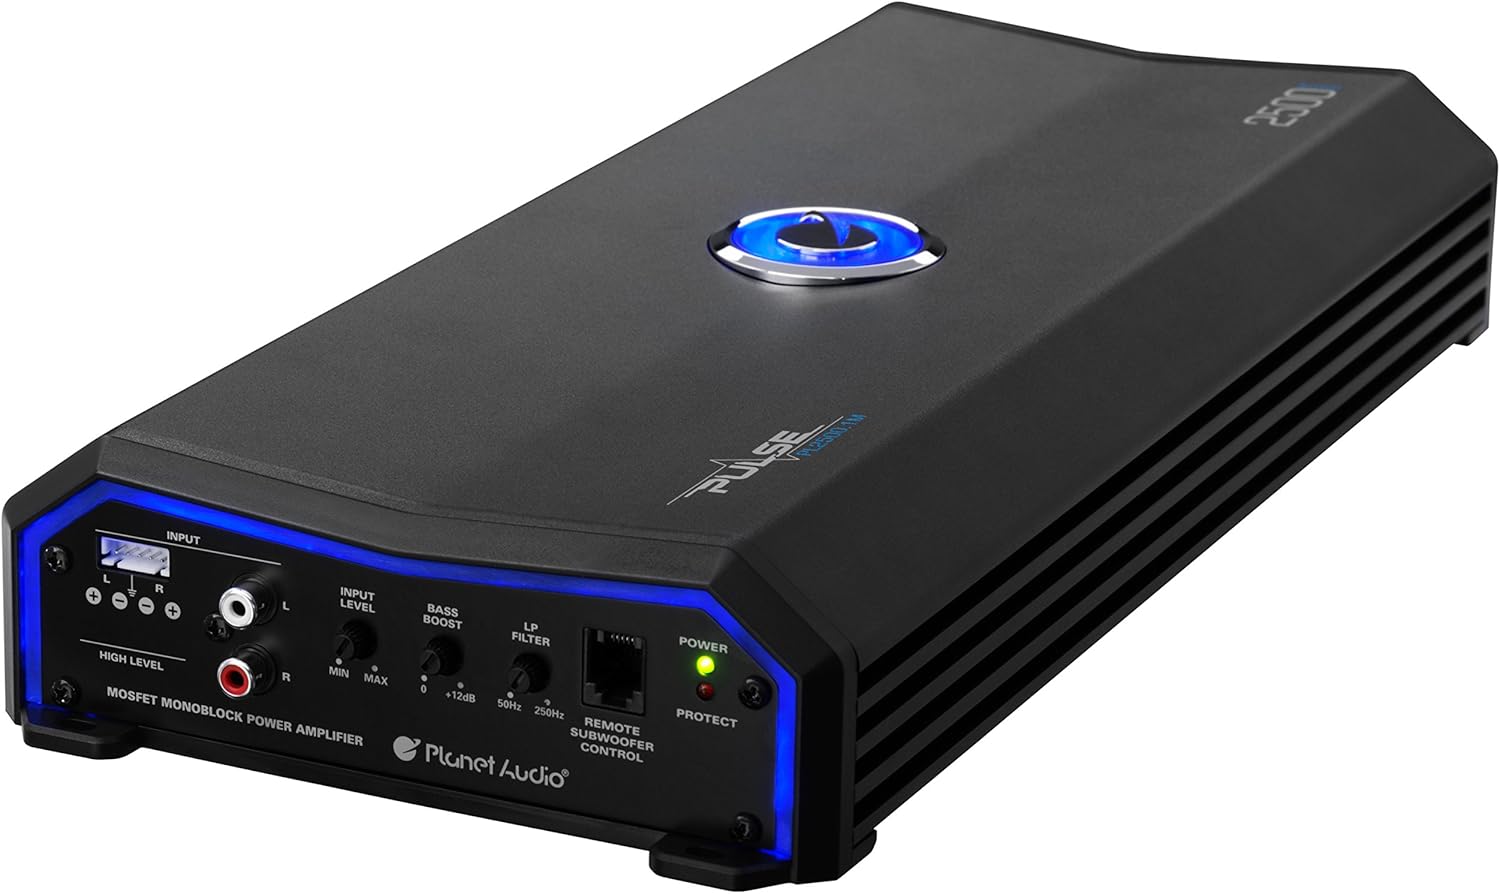
Image: Front view of the amplifier showing input connections (High Level, RCA) and control knobs (Input Level, Bass Boost, LP Filter) and Remote Subwoofer Control port.
- Low Level Inputs (RCA): For connecting to aftermarket head units with RCA pre-outs. Use high-quality RCA cables to minimize noise.
- High Level Inputs: For connecting to factory head units or those without RCA pre-outs. Connect the speaker wires from the head unit directly to these inputs.
- Remote Subwoofer Control: Connect the included remote bass knob here for convenient bass level adjustment from the driver's seat.
Operating Instructions
Once installed, adjust the amplifier settings for optimal sound performance.
- Input Level (Gain Control): This knob matches the amplifier's input sensitivity to the output voltage of your head unit. Start with the gain control at minimum. Play a familiar track at about 75% of your head unit's maximum volume. Slowly increase the amplifier's gain until you hear distortion, then back off slightly. This is not a volume control.
- Bass Boost: Adjust this control to enhance the low-frequency output. Start at 0dB and increase gradually to achieve desired bass impact. Excessive bass boost can lead to distortion and potential speaker damage.
- LP Filter (Low-Pass Crossover): This filter allows only frequencies below the set point to pass through to the subwoofer. Adjust the knob between 50Hz and 250Hz to blend the subwoofer's output seamlessly with your main speakers. A common starting point is around 80Hz-100Hz.
- Remote Subwoofer Control: Use the wired remote to conveniently adjust the subwoofer's output level from your listening position.
Troubleshooting
If you experience issues with your amplifier, consult the following table before contacting support.
| Problem | Possible Cause | Solution |
|---|---|---|
| No Power / Amplifier does not turn on | Blown fuse, poor power/ground connection, no remote turn-on signal. | Check amplifier fuses and inline battery fuse. Verify +12V, Ground, and Remote connections. Ensure head unit is on and sending a remote signal. |
| No Sound Output | Incorrect input/output wiring, gain too low, speaker wires disconnected, amplifier in protect mode. | Check RCA/High-level input connections. Verify speaker wiring polarity and connection. Increase gain. Check if the PROTECT light is on (see next row). |
| PROTECT light is on | Overheating, speaker short circuit, impedance too low. | Allow amplifier to cool down. Check speaker wiring for shorts (bare wires touching). Ensure speaker impedance is 2 ohms or higher. |
| Distorted Sound | Gain set too high, bass boost too high, poor ground connection, damaged speaker. | Reduce gain. Reduce bass boost. Check ground connection for corrosion or looseness. Test speaker with another amplifier if possible. |
| Engine Noise / Whining | Poor ground, RCA cables too close to power wires, faulty RCA cables. | Ensure a solid, clean ground connection. Route RCA cables away from power wires. Try different RCA cables. |
Specifications
Below are the technical specifications for the Planet Audio PL2500.1M Monoblock Car Amplifier:
| Specification | Value |
|---|---|
| Power Output (Max) | 2500 Watts x 1 @ 2 Ohms |
| Power Output (RMS) | 1250 Watts x 1 @ 4 Ohms |
| Amplifier Class | Class A/B |
| Speaker Impedance | 2 to 8 Ohm |
| THD @ RMS Output | 0.01% |
| S/N Ratio | 103 dB |
| Frequency Response | 9 Hz to 250 Hz |
| Low-Pass Crossover | Variable |
| Bass Boost | Variable |
| Maximum Supply Voltage | 30 Volts (DC) |
| Supply Current | 78.17 Amps |
| Fuse Quantity | 2 x 30 Amp ATO Blade |
| Dimensions (L x W x H) | 15.88 x 7 x 2.39 inches |
| Item Weight | 8 pounds |
Maintenance
To ensure the longevity and optimal performance of your amplifier, follow these simple maintenance guidelines:
- Keep Clean: Regularly wipe the amplifier's exterior with a soft, dry cloth to remove dust and debris. Avoid using harsh chemicals or abrasive cleaners.
- Check Connections: Periodically inspect all power, ground, remote, and speaker connections to ensure they are secure and free from corrosion. Loose connections can lead to poor performance or damage.
- Ensure Ventilation: Confirm that the amplifier's cooling fins are not obstructed and that there is adequate airflow around the unit.
- Fuse Inspection: If the amplifier stops working, check the fuses. Replace only with fuses of the exact same type and amperage rating.
Warranty and Support
Planet Audio provides a 6 Year Platinum Online Dealer Warranty for this product, provided the purchase is made through Amazon.Com. This warranty covers defects in materials and workmanship under normal use.
For warranty claims or technical support, please contact Planet Audio customer service directly. Keep your proof of purchase for warranty validation.
Important Note: Professional installation of this product is strongly encouraged to ensure proper and safe functionality, and to avoid issues that may void your warranty.


