1. Introduction
This manual provides essential information for the safe and efficient operation, installation, and maintenance of your Daitsu ADDH10 Digital Dehumidifier. Please read these instructions thoroughly before using the appliance and retain them for future reference.
The Daitsu ADDH10 is designed to reduce humidity levels in indoor environments, helping to prevent mold, mildew, and other moisture-related issues. It features a digital display and automatic functions for user convenience.
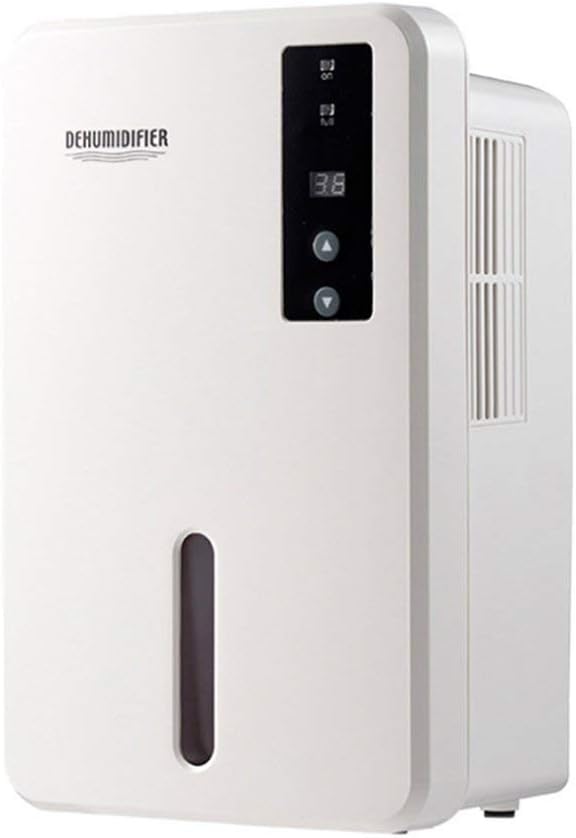
Image 1.1: Front view of the Daitsu ADDH10 Digital Dehumidifier, showing the control panel and water tank window.
2. Safety Information
Always follow basic safety precautions when using electrical appliances to reduce the risk of fire, electric shock, and injury.
- Read all instructions before using the dehumidifier.
- Ensure the power supply matches the voltage specified on the rating label.
- Do not operate the dehumidifier with a damaged cord or plug.
- Keep the appliance away from heat sources, direct sunlight, and flammable materials.
- Do not block the air inlet or outlet. Ensure adequate air circulation around the unit.
- Always place the dehumidifier on a stable, level surface.
- Unplug the unit before cleaning, maintenance, or when not in use for extended periods.
- This appliance is not intended for use by persons (including children) with reduced physical, sensory or mental capabilities, or lack of experience and knowledge, unless they have been given supervision or instruction concerning use of the appliance by a person responsible for their safety.

Image 2.1: Illustration of the dehumidifier's double security protection, including automatic shut-off when the water tank is full and over-temperature protection (auto-stop if heat sink exceeds 80°C).
3. Product Components and Features
Familiarize yourself with the main parts of your dehumidifier:
- Control Panel: Digital display and buttons for operation.
- Air Inlet: Where humid air is drawn into the unit.
- Air Outlet: Where dry air is expelled.
- Water Tank: Collects condensed water. Features a transparent window to monitor water level.
- Water Tank Handle/Lid: For easy removal and emptying.

Image 3.1: Diagram showing the key components: Air outlet, Control panel, Air inlet, and the 1.5L water tank capacity.
The dehumidifier has a 1.5-liter water tank capacity and features automatic shut-off when the tank is full, indicated by a float sensor. It also includes over-temperature protection.
4. Setup and Installation
4.1 Unpacking
- Carefully remove the dehumidifier from its packaging.
- Remove all packing materials, tapes, and protective films.
- Inspect the unit for any signs of damage. If damaged, do not operate and contact your retailer.
4.2 Placement
- Place the dehumidifier on a firm, level surface that can support its weight when the water tank is full.
- Ensure there is at least 20 cm (8 inches) of space around the air inlet and outlet for proper air circulation.
- Avoid placing the unit near walls, furniture, or curtains that could obstruct airflow.
- Do not place the unit in direct sunlight or near heat-generating appliances.
- For optimal performance, operate the dehumidifier in an enclosed area. Close all doors and windows in the room.
4.3 Power Connection
- Ensure your hands are dry before plugging in the unit.
- Plug the power cord into a properly grounded electrical outlet.
5. Operating Instructions
5.1 Control Panel Overview
The control panel features a digital display and control buttons:
- Digital Display: Shows current humidity level or settings.
- Power Button: Turns the unit on or off.
- Up/Down Buttons: Adjust desired humidity level or other settings.

Image 5.1: Various angles of the dehumidifier, highlighting the digital control panel with up/down buttons and the transparent water tank.
5.2 Basic Operation
- Turn On: Press the Power button to turn on the dehumidifier. The digital display will light up, showing the current room humidity.
- Set Desired Humidity: Use the Up and Down buttons to set your desired humidity level. The unit will operate until the room humidity reaches the set level, then cycle on and off to maintain it.
- Turn Off: Press the Power button again to turn off the dehumidifier.
5.3 Emptying the Water Tank
When the water tank is full, the dehumidifier will automatically stop operating, and an indicator light (if available) may illuminate. The unit will not resume operation until the tank is emptied and reinserted correctly.
- Gently pull out the water tank from the front of the unit.
- Carefully carry the tank to a sink or drain.
- Remove the tank lid (if applicable) and pour out the collected water.
- Replace the lid securely and slide the empty water tank back into the dehumidifier until it clicks into place.
- The unit will resume operation automatically if the power is on and the desired humidity level has not been reached.

Image 5.2: The transparent water tank, designed for easy removal and emptying.
6. Maintenance
Regular maintenance ensures optimal performance and extends the lifespan of your dehumidifier. Always unplug the unit before performing any maintenance.
6.1 Cleaning the Water Tank
- Clean the water tank regularly (e.g., every few weeks) to prevent mold and bacteria growth.
- Remove the water tank as described in Section 5.3.
- Wash the tank with mild detergent and warm water. Rinse thoroughly.
- Dry the tank completely before reinserting it into the unit.
6.2 Cleaning the Exterior
- Wipe the exterior of the dehumidifier with a soft, damp cloth.
- Do not use abrasive cleaners, solvents, or harsh chemicals, as these can damage the surface.
- Ensure no water enters the internal components.
6.3 Storage
- If storing the dehumidifier for an extended period, ensure the water tank is empty and clean.
- Clean the exterior of the unit.
- Store the unit in an upright position in a cool, dry place, away from direct sunlight and extreme temperatures.
7. Troubleshooting
Before contacting customer support, please refer to the following troubleshooting guide for common issues:
| Problem | Possible Cause | Solution |
|---|---|---|
| Dehumidifier does not turn on. | No power supply. Power cord not securely plugged in. |
Check if the power outlet is working. Ensure the power cord is firmly plugged into the unit and the wall outlet. |
| Unit is running but not collecting water. | Room humidity is already low. Temperature is too low. Airflow is blocked. |
Check the current humidity level on the display. If it's below your set point, the unit will not collect water. Dehumidifiers are less effective in very cold environments. Ensure air inlet and outlet are not obstructed. |
| Unit stops operating and indicator light is on. | Water tank is full. Water tank is not properly inserted. |
Empty the water tank. Reinsert the water tank correctly until it clicks into place. |
| Unusual noise during operation. | Unit is not on a level surface. Internal component issue. |
Ensure the unit is placed on a stable, level surface. If noise persists, discontinue use and contact customer support. |
8. Specifications
| Feature | Specification |
|---|---|
| Brand | Daitsu |
| Model Number | ADDH10 (Technical Model: bb_S0403263) |
| Color | White |
| Item Weight | 10 Kilograms |
| Product Dimensions (approx.) | 286mm (Height) x 180mm (Width) x 134mm (Depth) |
| Water Tank Capacity | 1.5 Liters |
| Operating Mode | Automatic |
| Included Components | Dehumidifier |

Image 8.1: Diagram illustrating the dimensions of the dehumidifier: 286mm height, 180mm width, and 134mm depth.
9. Warranty and Support
For warranty information, please refer to the documentation included with your product packaging or visit the official Daitsu website. Warranty terms and conditions may vary by region and retailer.
If you encounter issues not covered in the troubleshooting section or require further assistance, please contact your retailer or the manufacturer's customer support. Have your model number (ADDH10) and purchase details ready when contacting support.


