Introduction
Thank you for purchasing the Technoline WT 537 Projection Alarm Clock. This manual provides detailed instructions for setting up, operating, and maintaining your new device. Please read this manual thoroughly before use to ensure proper function and longevity of the product.
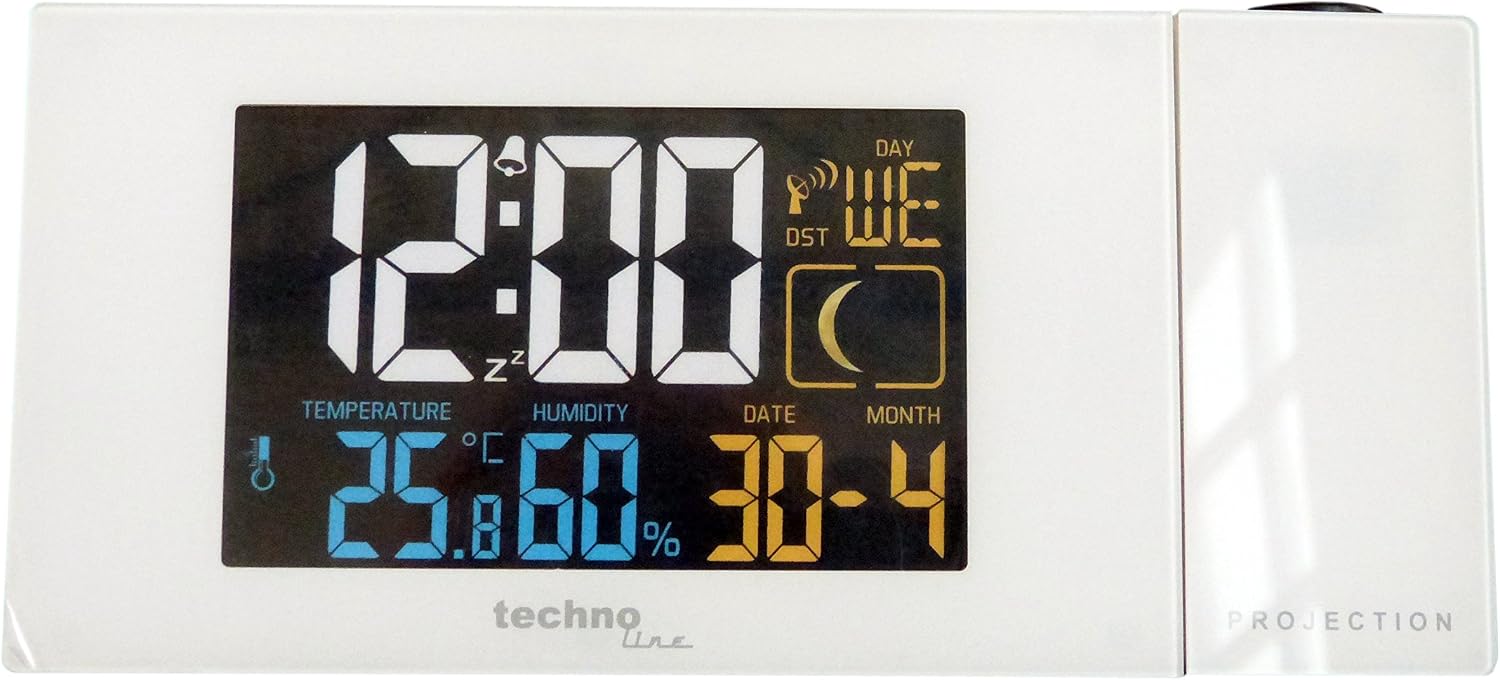
Figure 1: Front view of the Technoline WT 537 Projection Alarm Clock. The display shows the time (12:00), day of the week (WE), DST indicator, moon phase, temperature (25.8°C), humidity (60%), and date (30-4).
Package Contents
- Technoline WT 537 Projection Alarm Clock
- Power Adapter
- User Manual (this document)
Setup
1. Power Connection
- Unpack the alarm clock and its power adapter.
- Insert the small end of the power adapter into the DC IN port located on the back of the alarm clock.
- Plug the other end of the power adapter into a standard electrical outlet. The display will illuminate.
2. Initial Setup and Radio Control Time Synchronization
Upon initial power-up, the clock will attempt to synchronize with the radio-controlled time signal (DCF77). This process may take several minutes. Ensure the clock is placed away from electronic interference for best reception.
- A radio signal icon will flash on the display during synchronization.
- Once synchronized, the icon will become solid, and the time, date, and day of the week will be automatically set.
- If synchronization fails, you may need to manually set the time (see "Operating" section).
Operating Instructions
1. Display Brightness Adjustment
The display features adjustable brightness. Press the LIGHT/SNOOZE button (usually located on top) to cycle through different brightness levels or to turn off the display backlight for undisturbed sleep.
2. Setting the Alarm
- Press the ALARM button to enter alarm setting mode.
- Use the +/- buttons to adjust the hour, then press ALARM again to confirm.
- Use the +/- buttons to adjust the minute, then press ALARM to confirm and exit.
- Press the ALARM ON/OFF button to activate or deactivate the alarm. An alarm icon will appear on the display when active.
3. Snooze Function
When the alarm sounds, press the LIGHT/SNOOZE button to activate the snooze function. The alarm will pause for approximately 5 minutes and then sound again.
4. Projection Feature
The WT 537 can project the time and indoor temperature onto a wall or ceiling. The projection lens is located on the side of the unit.
- To activate/deactivate the projection, press the PROJECTION button.
- Rotate the projection lens to adjust the angle of the projected image.
- Adjust the focus wheel (if present, typically near the lens) to sharpen the projected image.
5. Temperature Unit Selection
To switch between Celsius (°C) and Fahrenheit (°F) for temperature display, locate the °C/°F button (often on the back or bottom) and press it.
6. Manual Time/Date Setting (if radio control fails)
If the radio control signal is weak or unavailable, you can manually set the time and date.
- Press and hold the MODE/SET button for a few seconds to enter manual setting mode.
- Use the +/- buttons to adjust the flashing value (e.g., hour, minute, year, month, day).
- Press MODE/SET to confirm the current setting and move to the next.
- Continue until all desired settings are adjusted, then press MODE/SET to exit.
Maintenance
Cleaning
- Wipe the clock's surface with a soft, dry cloth.
- For stubborn marks, use a slightly damp cloth with mild soap, then wipe dry immediately.
- Do not use abrasive cleaners, solvents, or chemical sprays, as these can damage the casing or display.
- Keep the projection lens clean and free of dust for optimal clarity.
General Care
- Avoid placing the clock in direct sunlight or near heat sources.
- Protect the device from extreme temperatures and high humidity.
- Do not drop the clock or subject it to strong impacts.
Troubleshooting
| Problem | Possible Cause | Solution |
|---|---|---|
| Display is blank or dim. | Power adapter not connected properly; display brightness set too low. | Ensure power adapter is securely plugged in. Press LIGHT/SNOOZE button to adjust brightness. |
| Time is incorrect or not setting automatically. | Poor radio signal reception; interference. | Relocate the clock to an area with better signal. Avoid placing near other electronics. Manually set time if necessary. |
| Projection is blurry or not visible. | Lens out of focus; projection angle incorrect; room too bright. | Adjust the focus wheel on the projection lens. Rotate the lens to change the angle. Ensure the room is sufficiently dark. |
| Alarm does not sound. | Alarm not activated; volume too low (if adjustable). | Ensure the alarm icon is visible on the display. Check alarm settings. |
Specifications

Figure 2: Dimensions of the Technoline WT 537 Projection Alarm Clock.
- Model: WT 537
- Brand: Technoline
- Display Type: Digital
- Color: White
- Material: Plastic
- Power Source: Corded Electric
- Product Dimensions (approx.): 6.5" (Length) x 2.2" (Width) x 3.0" (Height) / 16.5 cm (Length) x 5.6 cm (Width) x 7.5 cm (Height)
- Item Weight: 10.8 ounces (305 grams)
- Special Features: Alarm, Projection, Temperature Display, Humidity Display, Date Display, Radio Controlled Time
- Indoor/Outdoor Usage: Indoor
Warranty and Support
Technoline products are designed for reliability and performance. This product comes with a standard manufacturer's warranty against defects in materials and workmanship. For specific warranty terms and conditions, please refer to the warranty card included with your purchase or visit the official Technoline website.
For technical support, troubleshooting assistance, or to inquire about replacement parts, please contact Technoline customer service. Contact information can typically be found on the manufacturer's website or on the product packaging.
Please retain your proof of purchase for warranty claims.


