
Product Overview
The Xprite Amber 6 LED Emergency Strobe Lights Kit features an ultra-thin, flush-mount design with 6 high-intensity LED chips per unit. These lights are engineered to provide super bright illumination and enhanced visibility for various vehicles. The kit includes four LED light heads, designed for durability and performance in diverse conditions.

Image: The Xprite Amber 6 LED Emergency Strobe Lights Kit, showing four individual light units and one installed on a vehicle's front grille, emitting amber light.
Key Features:
- Ultra-Thin Flush Mount Design: Allows for discreet and integrated installation.
- Super Bright Illumination: Each unit contains 6 high-intensity LED chips with a flood lens for maximum coverage and high visibility day or night.
- 18 Strobe Patterns: Offers a variety of flashing modes, including steady, random, and alternating patterns.
- Last Pattern Memory Recall: Retains the last selected strobe pattern upon power cycle.
- Durable Construction: Features an aluminum alloy base with a PC lens, designed to be weatherproof (IP68 rated), shock, and vibration resistant.
- Wide Compatibility: Suitable for vehicles with a 12V DC power source, including cars, pickup trucks, vans, and trailers.
Setup and Installation
Proper installation is crucial for the performance and longevity of your Xprite LED Strobe Lights. Ensure the vehicle's power is off before beginning installation.
Included Components:
- 4 x LED Light Heads
- 4 x Mounting Gaskets
- Mounting Hardware (screws and nuts)

Image: An Xprite LED light head, its wiring harness, a mounting gasket, and two screws with nuts, demonstrating the components for installation.
Wiring Diagram:
The lights feature a 5-wire connection system. Identify each wire before connecting:
- Red Wire: Positive (+) connection.
- Black Wire: Negative (-) connection.
- Yellow Wire: Used to change flashing patterns. Briefly touch to positive to cycle patterns.
- White Wire: Sync wire. Connect white wires from multiple units together for synchronized flashing.
- Gray Wire: Solid / Steady mode. Connect to positive for a constant on light.

Image: A bundle of five wires (red, black, yellow, white, gray) with stripped ends, illustrating the wiring for the strobe lights.
Installation Steps:
- Choose Mounting Location: Select a flat surface on your vehicle (e.g., grille, bumper, side marker area) that allows for flush mounting and clear visibility.
- Prepare Surface: Clean the mounting area thoroughly. Use the included gasket as a template to mark drilling points for screws and the central wire pass-through hole.
- Drill Holes: Carefully drill pilot holes for the mounting screws and a larger hole for the wiring.
- Secure Light: Place the gasket, then the light unit, over the drilled holes. Secure with the provided screws and nuts. Ensure a snug fit to prevent moisture ingress.
- Connect Wiring: Route the wires to your 12V DC power source. Connect the red wire to positive (+), the black wire to negative (-). Connect the yellow, white, and gray wires according to your desired operation (see Operating section).
- Test Functionality: Once all connections are secure, turn on the vehicle's power and test the lights and various strobe patterns.
Operating Instructions
The Xprite Amber 6 LED Emergency Strobe Lights offer multiple flashing patterns and a memory recall function.
Changing Strobe Patterns:
To cycle through the 18 available strobe patterns, briefly touch the yellow wire to the positive (+) power source. Each brief touch will advance to the next pattern. The lights feature a last pattern memory recall function, meaning they will power on to the last selected pattern.
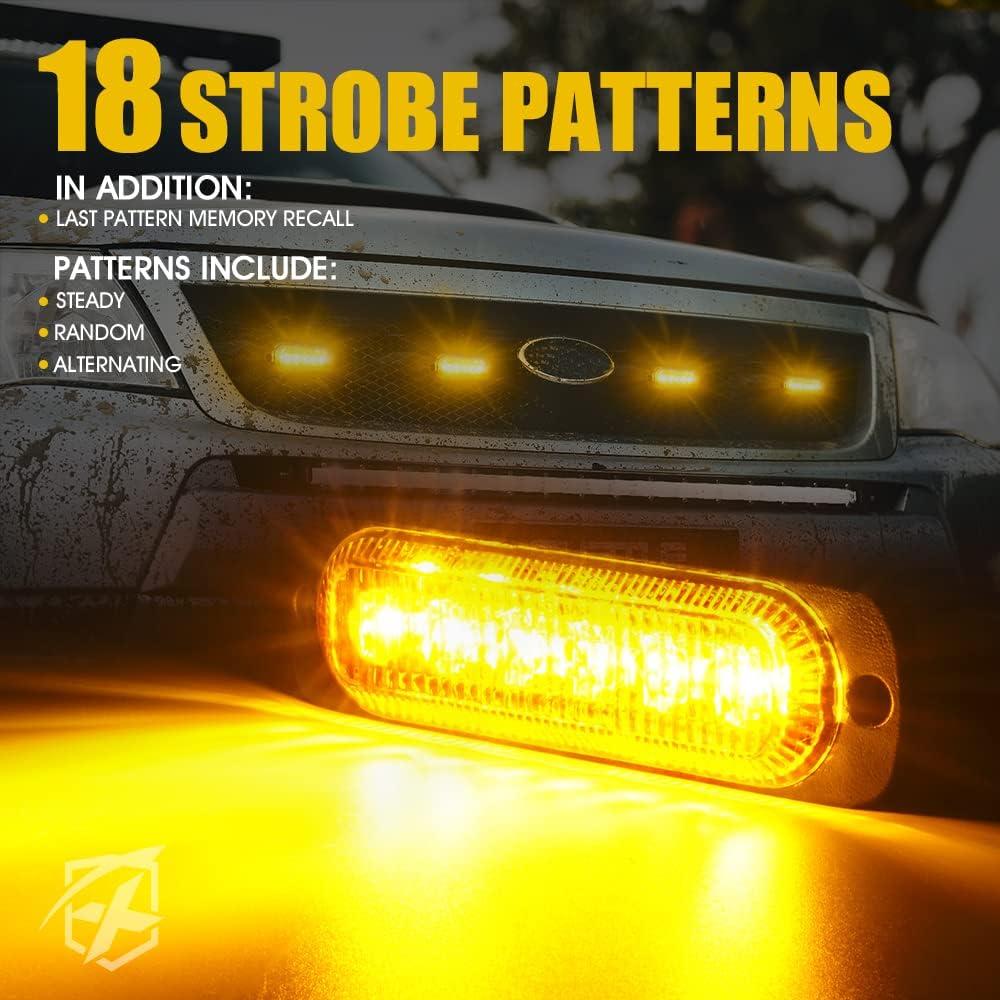
Image: An Xprite LED strobe light flashing on a vehicle, highlighting the 18 available patterns and memory recall feature.
Synchronization:
For multiple light units to flash in a synchronized manner, connect the white wires of all units together. Ensure all other wiring (red to positive, black to negative) is consistent across all units.
Steady On Mode:
To activate a constant, non-flashing light (steady on mode), connect the gray wire directly to the positive (+) power source.
Video: An official Xprite video demonstrating the Alert Series Amber 6 LED Flush Mount Grill Strobe Light, showcasing its 18 flashing patterns and overall functionality.
Maintenance and Care
The Xprite Amber 6 LED Emergency Strobe Lights are designed for durability and minimal maintenance.
Cleaning:
Clean the lens periodically with a soft cloth and mild soap and water to ensure optimal light output. Avoid abrasive cleaners or solvents that could damage the lens material.
Weather Resistance:
These lights are IP68 rated, indicating they are highly resistant to dust and water ingress. They are designed to withstand harsh weather conditions, including rain, snow, and dust. Ensure all connections are properly sealed during installation to maintain this resistance.

Image: An Xprite LED strobe light being sprayed with water, emphasizing its waterproof and shock/vibration resistant design for harsh weather conditions.
Troubleshooting
If you encounter issues with your Xprite LED Strobe Lights, refer to the following common troubleshooting steps:
- Lights Not Turning On:
- Check all wiring connections (red to positive, black to negative) for proper contact and secure fit.
- Verify the power source (12V DC) is active and providing sufficient voltage.
- Inspect for any blown fuses in the vehicle's electrical system that might affect the light circuit.
- Lights Not Flashing/Stuck on One Pattern:
- Ensure the yellow wire is correctly connected and briefly touched to positive to cycle patterns.
- If using the gray wire for steady mode, disconnect it from positive to enable flashing patterns.
- Lights Not Synchronized:
- Confirm that the white wires of all units intended for synchronization are securely connected together.
- Check for any loose connections or breaks in the white sync wire.
- Dim or Intermittent Lighting:
- Check for corrosion or loose connections at the power source or light unit.
- Ensure the vehicle's battery voltage is stable and sufficient.
If these steps do not resolve the issue, contact Xprite customer support for further assistance.
Product Specifications

Image: A detailed diagram of the Xprite LED strobe light, illustrating its physical dimensions and key specifications.
| Specification | Detail |
|---|---|
| Model Number | 52026T-6-Y-4PC |
| Brand | Xprite |
| Light Source Type | LED |
| Number of LEDs per Unit | 6 |
| Color | Amber |
| Voltage | 12V / 24V DC |
| Wattage | 6 watts (per unit) |
| Strobe Patterns | 18 |
| Material | Aluminum Alloy Base with Polycarbonate (PC) Lens |
| Waterproof Rate | IP68 |
| Cable Length | 7.5 Inches |
| Lifespan | Over 50,000 Hours |
| Dimensions (Approx.) | 3.99 in (Length) x 1.11 in (Height) x 0.37 in (Depth) |
| Vehicle Service Type | Off-road, Universal 12V vehicles |
Warranty and Support
Manufacturer's Warranty:
This Xprite product is covered by a 1-Year Warranty from the date of purchase. This warranty covers manufacturing defects and material flaws under normal use. It does not cover damage caused by improper installation, misuse, accidents, or unauthorized modifications.
Customer Support:
For technical assistance, warranty claims, or any questions regarding your Xprite Amber 6 LED Emergency Strobe Lights Kit, please contact Xprite customer service. Refer to the product packaging or the official Xprite website for the most current contact information.