1. Product Overview
The Polk Audio V60 In-Ceiling Speaker is designed to deliver high-quality audio for both music and movies. It features a 6.5-inch Dynamic Balance Polypropylene Cone Driver and a 0.75-inch aimable silk dome tweeter, providing clear midrange, deep bass, and crisp imaging. This speaker is suitable for various rooms, including damp and humid environments like bathrooms, kitchens, or utility areas. Its slim bezel magnetic grille allows for seamless integration into your ceiling.

Image 1: The Polk Audio V60 In-Ceiling Speaker with its grille removed, revealing the 6.5-inch woofer and the central tweeter. The speaker is designed for flush mounting in ceilings.
2. Package Contents
- Polk Audio V60 In-Ceiling Speaker
- Polk’s Wafer-thin Sheer Grille™ (White, Paintable)

Image 2: The Polk Audio V60 In-Ceiling Speaker with its magnetic grille attached, presenting a clean, minimalist appearance suitable for blending into a ceiling.
3. Key Features
- Premium Sound Quality: 6.5" Dynamic Balance Polypropylene Cone Driver and 0.75" aimable silk dome tweeter for clear midrange, deep bass, and crisp imaging.
- Versatile Placement: Suitable for various rooms, including damp and humid environments.
- Seamless Integration: Slim bezel magnetic grille blends harmoniously with decor.
- Easy Installation: Patented Rotating Cam System ensures secure, vibration-free mounting.
- Durable Construction: Made with high-quality materials and rigorous testing for performance and longevity.
4. Setup and Installation
The Polk V60 speaker features a patented Rotating Cam System for straightforward installation in both new and existing construction. Pre-construction brackets are sold separately if needed.
4.1. Preparing the Installation Area
Ensure the chosen ceiling location is free from obstructions such as electrical wiring, plumbing, or structural elements. Use a stud finder to locate joists and avoid cutting into them.
4.2. Cutting the Opening
Use the provided cutout template to mark the exact opening size on your ceiling. Carefully cut along the marked line using a drywall saw or appropriate cutting tool.
4.3. Wiring the Speaker
Run speaker wire from your amplifier or receiver to the cutout opening. Connect the speaker wires to the binding posts on the V60 speaker, ensuring correct polarity (positive to positive, negative to negative).
4.4. Mounting the Speaker
Insert the speaker into the cutout opening. The Rotating Cam System will engage with the drywall. Tighten the mounting screws on the front baffle of the speaker. As you tighten, the cams will rotate outwards and clamp firmly onto the ceiling material, securing the speaker in place. Do not overtighten.
4.5. Attaching the Grille
The wafer-thin Sheer Grille™ is magnetically attached. Simply align the grille with the speaker frame and it will snap into place. The grille is paintable to match your ceiling color.
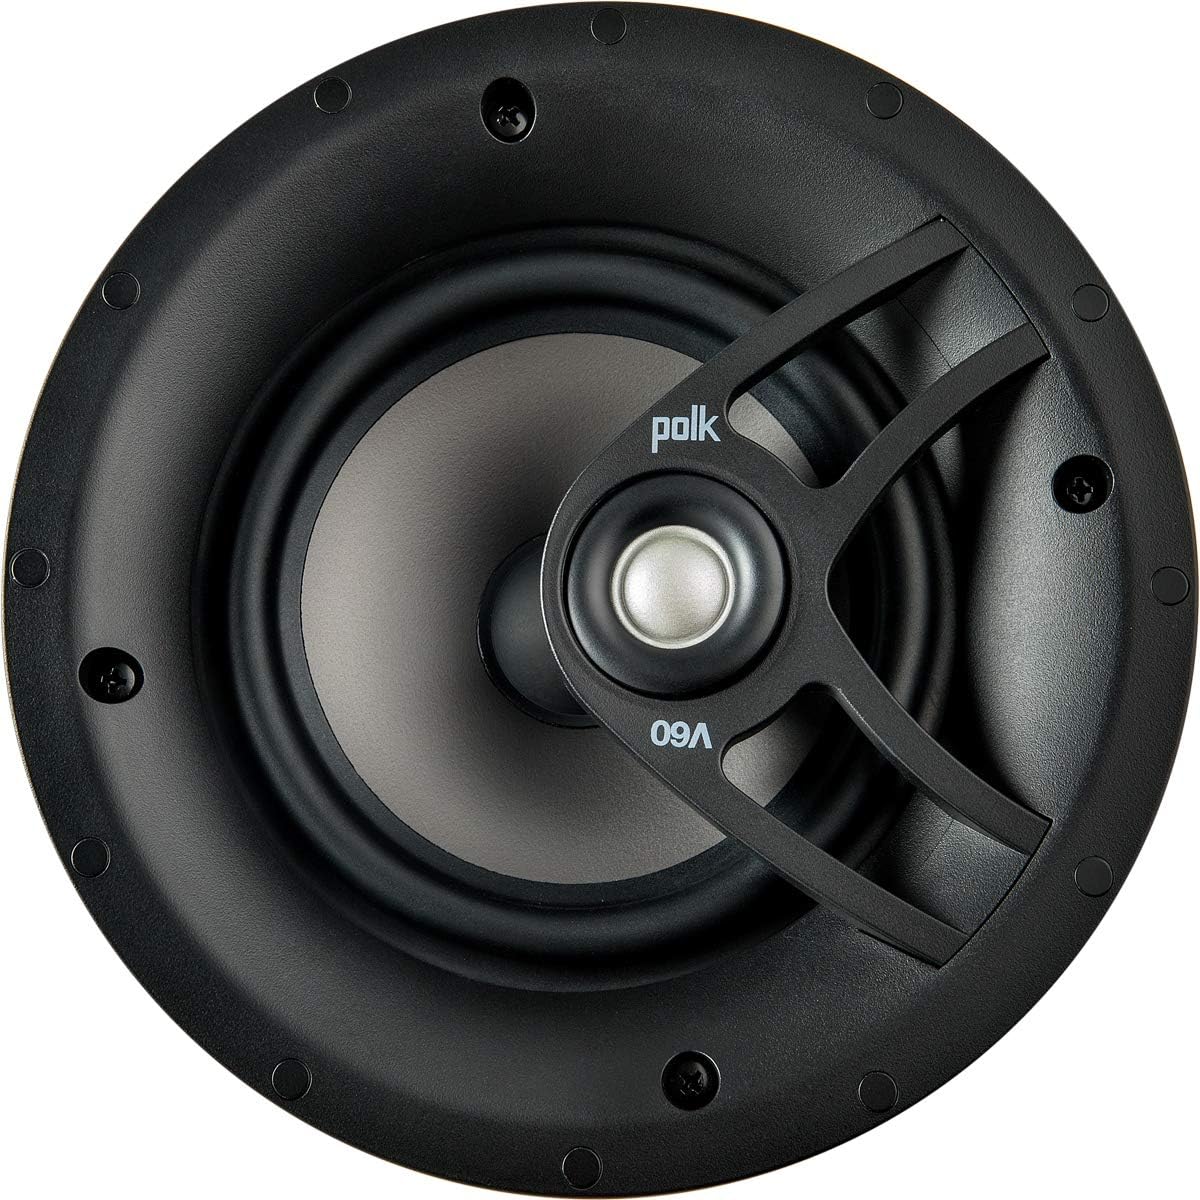
Image 3: A detailed view of the Polk Audio V60's internal components, including the tweeter and part of the woofer, highlighting the speaker's construction.
4.6. Installation Video (General In-Ceiling Speaker Installation)
Video 1: This video demonstrates the general installation process for architectural speakers, which often utilize a similar cam-locking system for in-ceiling mounting. While not specific to the Polk V60, the principles of template placement, cutting, and securing the speaker are applicable.
5. Operating the Speaker
Once installed and connected to an appropriate amplifier or receiver, the Polk V60 In-Ceiling Speaker will reproduce audio from your source.
- Audio Source: Connect your audio source (e.g., TV, media player, streaming device) to your amplifier/receiver.
- Power On: Turn on your amplifier/receiver and select the appropriate input.
- Volume Control: Adjust the volume level on your amplifier/receiver to your desired listening level.
- Aimable Tweeter: The 0.75-inch silk dome tweeter is aimable, allowing you to direct high-frequency sound towards your primary listening area for optimized soundstage and imaging. Gently pivot the tweeter to adjust its direction.
5.1. Understanding Power Port Technology
The Polk V60 benefits from Polk's Power Port technology, which is designed to smoothly transition airflow from the speaker's port into your listening area. This reduces turbulence and distortion, resulting in louder, cleaner bass compared to conventional ported speakers.
Video 2: This video explains Polk's Power Port Technology, illustrating how it enhances bass performance by reducing port noise and turbulence. This technology contributes to the V60's clear and punchy bass output.
6. Maintenance
- Cleaning: The grille can be gently wiped with a soft, dry cloth. For stubborn dirt, a slightly damp cloth can be used, but ensure no moisture enters the speaker components.
- Painting the Grille: If you wish to paint the grille to match your ceiling, remove it from the speaker. Use a thin coat of spray paint, ensuring the perforations remain clear. Allow to dry completely before reattaching.
- Inspection: Periodically check the mounting screws to ensure they remain tight and secure.
7. Troubleshooting
| Problem | Possible Cause | Solution |
|---|---|---|
| No Sound | Loose speaker wire connections; incorrect amplifier input selected; amplifier not powered on. | Check all speaker wire connections at both the speaker and amplifier. Ensure the amplifier is powered on and the correct input is selected. |
| Distorted Sound | Overdriven amplifier; loose speaker wires; damaged speaker. | Reduce amplifier volume. Check speaker wire connections for shorts or loose strands. If distortion persists, contact customer support. |
| Weak Bass | Incorrect amplifier settings; phase issues; poor speaker placement. | Check amplifier bass/tone settings. Ensure speaker polarity is correct. Consider adding a subwoofer for enhanced low-frequency response. |
8. Specifications
| Feature | Detail |
|---|---|
| Model Name | V60 |
| Mounting Type | In-Ceiling |
| Speaker Type | In Ceiling |
| Woofer Diameter | 6.5 Inches (Dynamic Balance Polypropylene Cone Driver) |
| Tweeter Diameter | 0.75 Inches (Aimable Silk Dome Tweeter) |
| Impedance | 8 Ohm |
| Speaker Maximum Output Power | 60 Watts |
| Frequency Response | 33 Hz (Lower limit, actual range will be wider) |
| Product Dimensions | 3.25"D x 8.19"W x 8.19"H |
| Item Weight | 3.98 pounds (1.81 Kilograms) |
| Color | Black (Paintable Grille) |
| Material | Wafer-thin Sheer-Grille™ with ultra-small 0.6mm perforations, magnetically attached and paintable. |
| Connectivity Technology | Coaxial (Wired) |
| Special Feature | Dolby Atmos compatible (as an overhead speaker) |
9. Warranty and Support
The Polk Audio V60 In-Ceiling Speaker comes with a Lifetime Warranty. For technical support, troubleshooting assistance, or warranty claims, please visit the official Polk Audio website or contact their customer service department. Ensure you have your proof of purchase and product model information available.
For additional resources and product information, visit the Polk Audio Store on Amazon.