1. Introduction
This manual provides essential information for the proper installation, operation, and maintenance of your KICKER CompQ12 Q-Class 12-Inch (30cm) Dual Voice Coil (DVC) 2-Ohm Subwoofer. Please read these instructions thoroughly before attempting installation or use to ensure optimal performance and longevity of your product.
The KICKER CompQ12 subwoofer is engineered for high-caliber bass reproduction, featuring oversized voice coils for significant power handling and robust magnets for high sound pressure levels (SPL). Its design incorporates advanced technology for precise control and durability under demanding conditions.
2. Safety Information
Always observe the following safety precautions:
- Disconnect the vehicle's battery before installing any audio components to prevent electrical shorts.
- Ensure all wiring is properly insulated and secured to prevent damage and short circuits.
- Avoid installing the subwoofer in locations where it may be exposed to moisture or excessive heat.
- Use appropriate gauge wiring for power and speaker connections to handle the subwoofer's power requirements.
- Prolonged exposure to high sound pressure levels can cause permanent hearing damage. Use caution when adjusting volume levels.
3. What's in the Box
Upon unpacking, verify that the following item is included:
- One KICKER CompQ 12-inch Subwoofer (Model: 42CWQ122)
4. Installation
4.1 Mounting Considerations
The KICKER CompQ12 subwoofer requires a suitable enclosure for optimal performance. Ensure the mounting location provides adequate space and structural integrity to support the subwoofer's weight and output.
- Mounting Depth: 7-1/8 inches (18.1 cm)
- Product Dimensions (Overall): Approximately 13.78"D x 13.78"W x 11.81"H (This refers to the overall package/product dimensions, not just the subwoofer itself. For mounting, the diameter and depth are key.)
- Speaker Size: 12 Inches
- Subwoofer Diameter: 12.5 Inches
 Figure 1: Kicker CompQ12 Subwoofer with key dimensions for installation.
Ensure the enclosure provides sufficient internal volume and is constructed from sturdy materials to prevent resonance and air leaks.
4.2 Wiring the Dual Voice Coil (DVC) Subwoofer
The CompQ12 features a Dual Voice Coil (DVC) design with a 2-Ohm impedance per coil. This allows for flexible wiring configurations to match various amplifier loads. Always verify your amplifier's stable impedance range before wiring.
Common Wiring Configurations for a DVC 2-Ohm Subwoofer:
- 1-Ohm Load (Parallel Wiring): Connect the positive terminals of both voice coils together, and the negative terminals of both voice coils together. Then connect the combined positive to the amplifier's positive output and the combined negative to the amplifier's negative output. This configuration results in a 1-Ohm load, suitable for amplifiers stable at 1-Ohm.
- 4-Ohm Load (Series Wiring): Connect the positive terminal of one voice coil to the negative terminal of the other voice coil. Then connect the remaining free positive terminal to the amplifier's positive output and the remaining free negative terminal to the amplifier's negative output. This configuration results in a 4-Ohm load, suitable for amplifiers stable at 4-Ohm.
 Figure 2: Angled view of the Kicker CompQ12 Subwoofer, showing the robust construction.
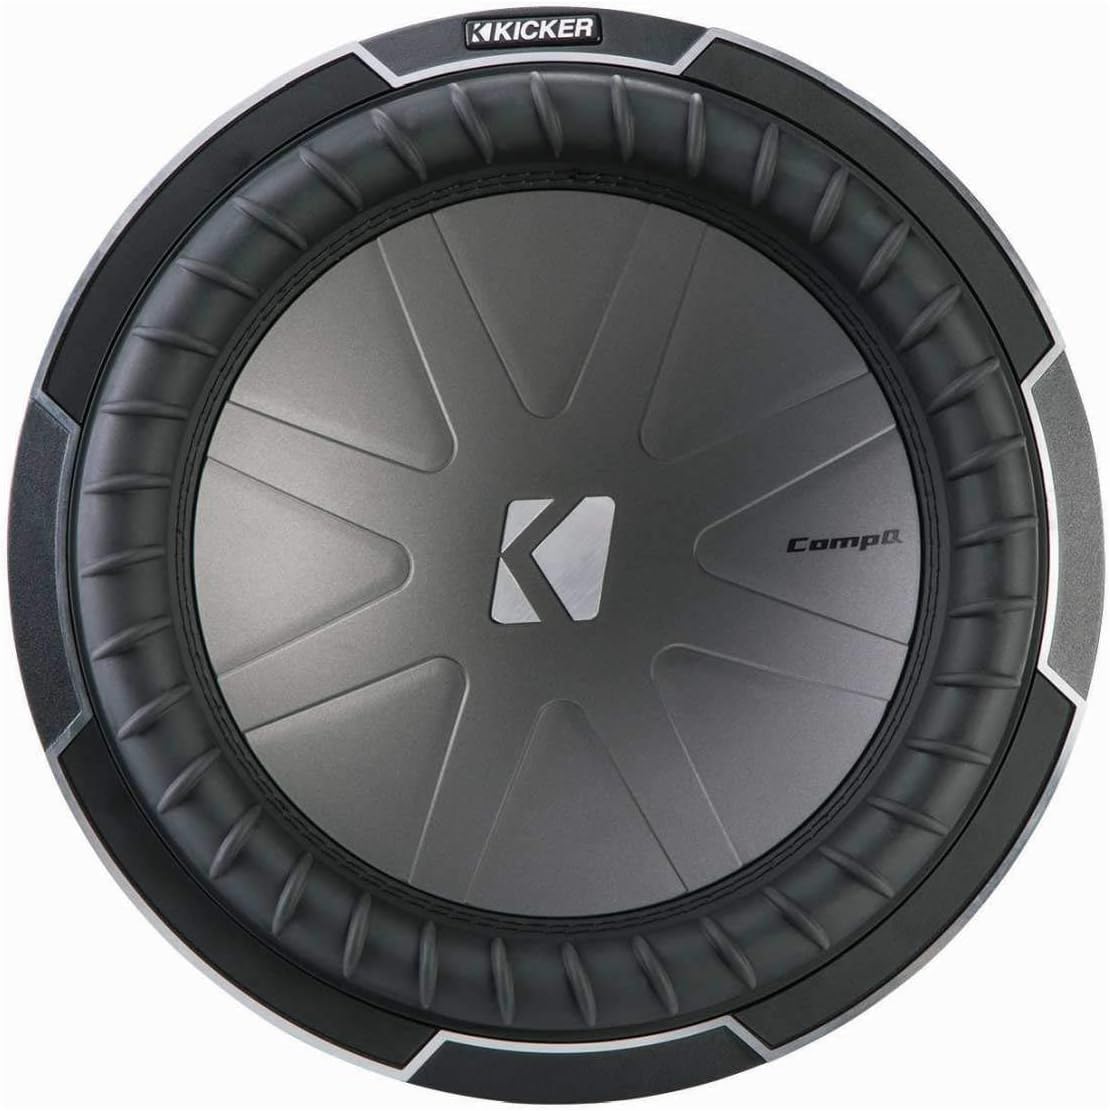 Figure 3: Front view of the Kicker CompQ12 Subwoofer, highlighting the cone and surround.
The subwoofer features high-capacity, dual voice-coil push terminals designed to accommodate up to 8-gauge wire for secure and efficient current flow.
5. Operation
Once properly installed and wired, the KICKER CompQ12 subwoofer is ready for operation. Ensure your amplifier settings (gain, crossover, bass boost) are correctly configured to prevent damage to the subwoofer and achieve desired sound quality.
- Continuous Power Handling (RMS): 850 Watts
- Frequency Response: 20 – 100 Hz
- Rated Impedance: 2 Ohms (per voice coil)
Start with low volume levels and gradually increase, listening for any signs of distortion. Adjust amplifier settings as needed. The subwoofer is designed to handle significant power, but exceeding its RMS rating or driving it into audible distortion can cause damage.
6. Maintenance
The KICKER CompQ12 subwoofer requires minimal maintenance. Follow these guidelines to ensure its longevity:
- Keep the subwoofer cone and surround free from dust and debris. Use a soft, dry cloth for cleaning.
- Avoid exposing the subwoofer to direct sunlight or extreme temperatures for extended periods.
- Regularly check all wiring connections to ensure they are secure and free from corrosion.
- Do not apply any chemicals or solvents to the subwoofer's cone or surround.
7. Troubleshooting
If you experience issues with your KICKER CompQ12 subwoofer, refer to the following common problems and solutions:
| Problem | Possible Cause | Solution |
|---|---|---|
| No sound from subwoofer |
|
|
| Distorted or unclear bass |
|
|
| Subwoofer cuts out intermittently |
|
|
8. Specifications
| Feature | Specification |
|---|---|
| Model Name | 42CWQ122 |
| Speaker Type | Subwoofer |
| Speaker Size | 12 Inches |
| Subwoofer Diameter | 12.5 Inches |
| Mounting Depth | 7-1/8 inches (18.1 cm) |
| Continuous Power Handling (RMS) | 850 Watts |
| Peak Power Handling | 1700 Watts |
| Rated Impedance | 2 Ohms (Dual Voice Coil) |
| Frequency Response | 20 – 100 Hz |
| Item Weight | 29.7 Pounds (13.47 kg) |
| Product Dimensions (Overall) | 13.78"D x 13.78"W x 11.81"H |
| Compatible Devices | Car Stereo, MP3 Player, Laptop |
| Connectivity Technology | Wired |
| Manufacturer | Kicker |
| UPC | 713034073574 |
9. Warranty and Support
The KICKER CompQ12 Subwoofer comes with a Limited Warranty. For specific warranty terms and conditions, please refer to the warranty card included with your product or visit the official KICKER website.
For technical support, troubleshooting assistance, or to inquire about service, please contact KICKER customer support or visit the official KICKER store online:


