1. Product Overview
The Naturewater 5-Stage Reverse Osmosis System is designed to provide purified drinking water by filtering tap water through a multi-stage process. This system utilizes a semi-permeable membrane to separate pure water from dissolved minerals and pollutants, which are then flushed away as wastewater. An integrated booster pump enhances water pressure, allowing the system to produce up to 180 liters of purified water per day. This physical purification method operates without the need for chemical additives.
The system features five distinct filtration stages:
- Stage 1: 5-Micron Sediment Filter
Serves as the initial pre-filter, removing sand, lime, rust, and other particles down to 5 microns in size. - Stage 2: Activated Carbon Filter
Filters a significant portion of toxins from raw water, including pesticides, asbestos fibers, chlorine, chlorine degradation products, and multicellular microorganisms. - Stage 3: Granulated Activated Carbon Sediment Filter
Filters very fine particles and protects the RO membrane from clogging. - Stage 4: Reverse Osmosis Membrane
The core of the system, this membrane removes approximately 96% of foreign pollutants such as aluminum, ammonia, calcium, chromium, cyanide, zinc, cadmium, manganese, magnesium, copper, nickel, lead, silver, strontium, iron, uranium, pesticides, bacteria, viruses, drug residues, algae, and spores. - Stage 5: Post-Activated Carbon Filter
In the final stage, this filter removes residual chlorine and neutralizes any changes in odor and taste.

Image 1: The Naturewater 5-Stage Reverse Osmosis System, showing the main unit with booster pump and filter housings.
2. Installation and Setup
This system is designed for under-sink installation and includes a direct connection for the water line and a wall mount. For optimal performance and to prevent leaks, ensure all connections are securely tightened.
Installation Steps:
- Prepare the Installation Area: Ensure sufficient space under the sink for the main unit and the storage tank.
- Mount the System: Use the included wall mount to secure the main filter unit in a stable position.
- Connect Input Water: Shut off the main water supply. Connect the input water line to the system's inlet.
- Install Dispensing Faucet: Drill a hole in the sink or countertop (if not already present) and install the dedicated dispensing faucet.
- Connect Product Water Line: Connect the purified water output from the RO system to the dispensing faucet.
- Connect Drain Line: Connect the wastewater line from the RO system to the drain pipe using the provided saddle valve.
- Connect Storage Tank: Connect the pressurized holding tank to the product water line. Ensure the tank valve is closed initially.
- Power Connection: Connect the booster pump to a suitable electrical outlet.
- Flush the System: Before first use, flush the system according to the operating instructions to remove any manufacturing residues.
- Check for Leaks: Slowly turn on the main water supply and carefully inspect all connections for any leaks. Tighten as necessary.

Image 2: Installation diagram showing connections for input water, dispensing faucet, drain, and storage tank.

Image 3: Various installation accessories provided with the system, such as the dispensing faucet, tubing, and connectors.
3. Operating Instructions
Once installed, the Naturewater RO system operates largely automatically. The booster pump ensures consistent water pressure for efficient filtration.
Initial Startup:
- Ensure all connections are secure and the main water supply is on.
- Open the valve on the storage tank.
- Open the dispensing faucet and allow water to flow until it runs clear and all air is purged from the system. This may take several minutes.
- Close the dispensing faucet and allow the storage tank to fill completely. This can take 1-2 hours.
- After the tank is full, open the dispensing faucet again and drain the entire tank. This initial flush helps condition the filters and membrane.
- Repeat the filling and draining process 2-3 times to ensure optimal water quality.
Daily Use:
Simply open the dispensing faucet to draw purified water. The system will automatically refill the storage tank as water is consumed.
Wastewater Ratio:
The system operates with a typical wastewater ratio of 1:3, meaning for every 1 part of pure water produced, approximately 3 parts of water are used to flush contaminants away.
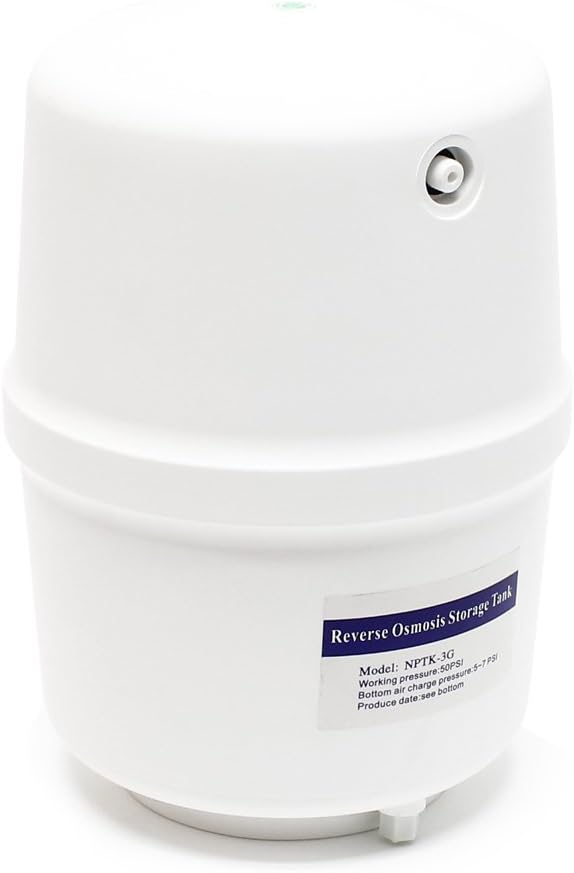
Image 4: The pressurized Reverse Osmosis Storage Tank, which holds purified water.
4. Maintenance
Regular maintenance, primarily filter replacement, is crucial for the continued efficiency and water quality of your RO system. The lifespan of filters depends heavily on the quality of your incoming water. The cleaner the source water, the longer the filter media will last.
Filter Replacement Schedule:
- Sediment and Carbon Pre-filters (Stages 1, 2, 3): Replace every 6-12 months, depending on water quality and usage.
- RO Membrane (Stage 4): Replace every 2-3 years, or when water production significantly decreases or water quality declines.
- Post-Activated Carbon Filter (Stage 5): Replace every 12 months.
Replacement Procedure:
- Shut off the main water supply to the RO system and close the valve on the storage tank.
- Open the dispensing faucet to relieve pressure in the system.
- Use the provided filter wrench to unscrew the filter housings.
- Remove old filters and dispose of them properly.
- Clean the inside of the filter housings with mild soap and water, then rinse thoroughly.
- Insert new filters, ensuring they are correctly oriented.
- Screw the filter housings back on, hand-tightening first, then using the wrench for a snug fit (do not overtighten).
- Slowly turn on the main water supply and open the storage tank valve.
- Flush the system as described in the 'Initial Startup' section to remove air and carbon fines from new filters.

Image 5: The RO system with replacement filters and the filter wrench, essential tools for maintenance.

Image 6: A close-up of the VONTRON Reverse Osmosis Membrane Element, Model ULP1812-50.
5. Troubleshooting
This section addresses common issues you might encounter with your Naturewater RO system.
| Problem | Possible Cause | Solution |
|---|---|---|
| Low or No Water Production |
|
|
| Water Leaks |
|
|
| Poor Water Taste or Odor |
|
|
| Excessive Wastewater |
|
|
If you encounter issues not listed here or require further assistance, please contact customer support.
6. Specifications
| Feature | Detail |
|---|---|
| Model Number | 51078 |
| Brand | Naturewater |
| Dimensions (L x W x H) | 37 x 19.5 x 45 cm |
| Weight | 11.2 Kilograms |
| Storage Tank Capacity | 11.35 Liters |
| Daily Production Capacity | Up to 180 Liters/day |
| Power | 20 Watts |
| Material | Polypropylene |
| Purification Method | 5-Stage Reverse Osmosis |
| Power Source | Electric Cable |
| Wastewater Ratio | 1:3 (Pure Water : Wastewater) |
| Installation Type | Under-sink |
7. Warranty and Support
For warranty information, please refer to the documentation provided at the time of purchase or contact your retailer. Spare parts availability information is not explicitly provided. For technical support, troubleshooting assistance, or to inquire about replacement parts, please contact Naturewater customer service through their official channels or your point of purchase.


