
Introduction
This manual provides comprehensive instructions for the safe and efficient operation, setup, and maintenance of your POWERMATIC Model 23 1/2-inch Wood Shaper. It also includes a detailed parts list and exploded view diagrams to assist with identification and replacement of components. Please read this manual thoroughly before operating the machine to ensure proper use and to prevent injury or damage.
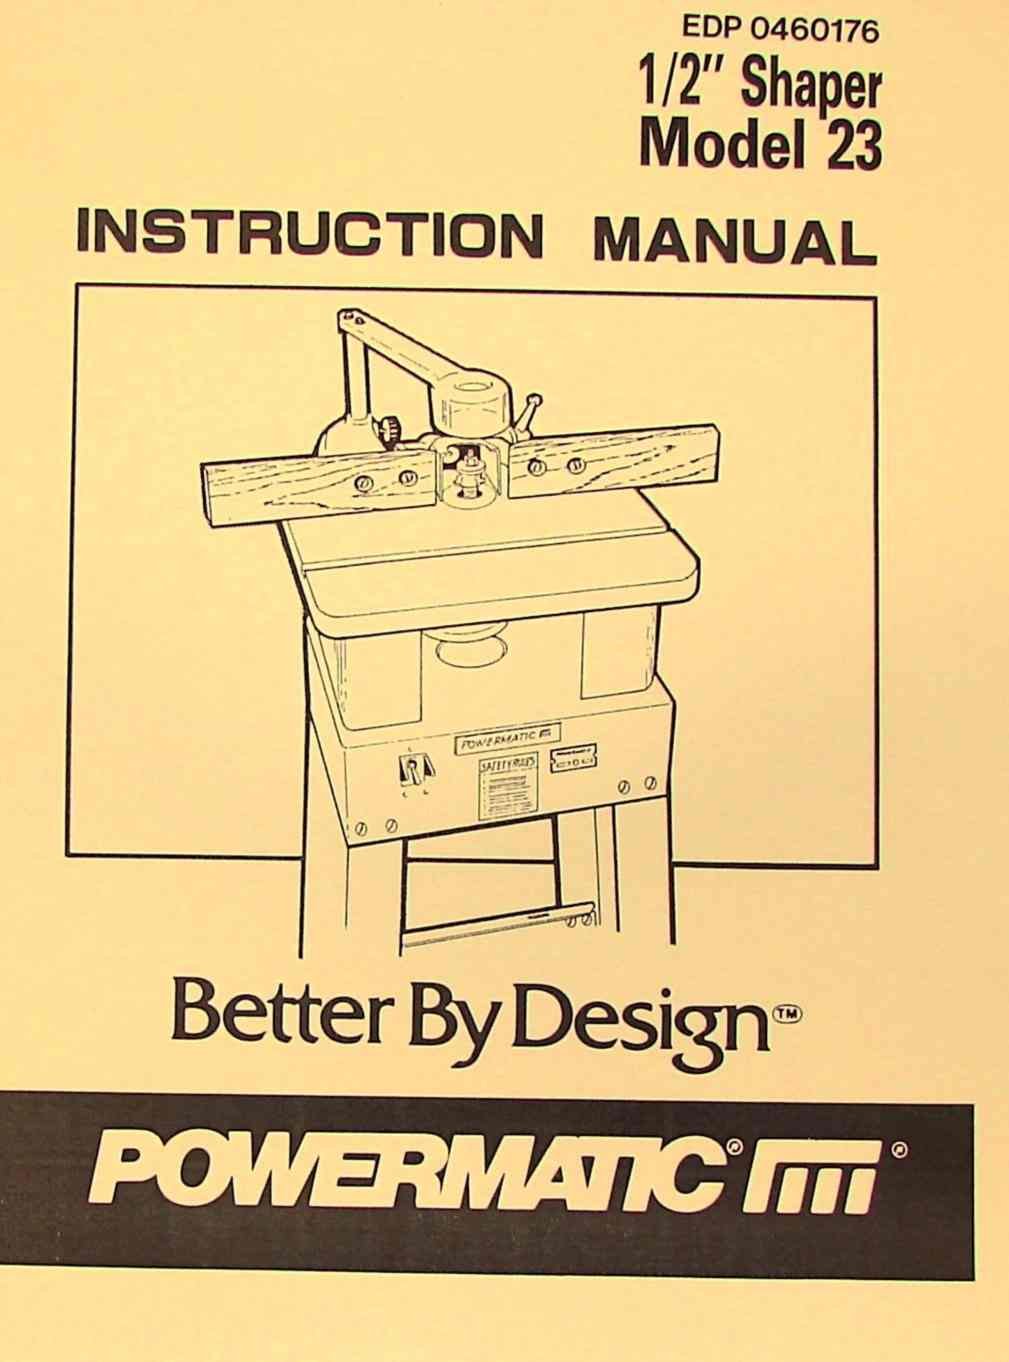
Image: Cover of the POWERMATIC Model 23 1/2-inch Wood Shaper Operator and Parts Manual.
Safety Instructions
Always prioritize safety when operating machinery. This section outlines critical safety precautions to protect the operator and prevent damage to the equipment.
- Read and understand all instructions before operation.
- Wear appropriate personal protective equipment (PPE), including eye protection, hearing protection, and dust masks.
- Ensure the work area is clean, well-lit, and free from obstructions.
- Disconnect power before performing any adjustments, maintenance, or when changing cutters.
- Never operate the shaper without all guards in place.
- Keep hands clear of the cutterhead during operation.
- Use push sticks or push blocks for small workpieces.
- Securely fasten all workpieces before shaping.
- Do not wear loose clothing, gloves, or jewelry that could become entangled in moving parts.
- Ensure proper ventilation to manage wood dust.
Setup
Proper setup is crucial for accurate and safe operation. Follow these steps to prepare your shaper for use.
- Unpacking and Inspection: Carefully remove the shaper from its packaging. Inspect for any shipping damage. Report any damage immediately.
- Mounting: Securely mount the shaper to a stable workbench or stand using appropriate fasteners. Ensure the machine is level.
- Electrical Connection: Connect the shaper to a grounded electrical outlet with the correct voltage and amperage as specified on the motor plate.
- Cutterhead Installation: Select the appropriate cutter for your task. Ensure the cutter is clean and sharp. Install the cutter securely onto the spindle, following the manufacturer's guidelines for direction and torque.
- Fence Adjustment: Adjust the fence to the desired depth of cut. Ensure the fence is parallel to the spindle or angled as required for specific operations.
- Guard Placement: Position all safety guards, including the spindle guard and fence guards, correctly before operation.
Operating Instructions
This section details the procedures for operating the POWERMATIC Model 23 Wood Shaper safely and effectively.
- Pre-Operation Checks: Before starting, verify all adjustments are secure, guards are in place, and the workpiece is ready.
- Starting the Machine: Turn on the power switch. Allow the shaper to reach full speed before feeding the workpiece.
- Feeding the Workpiece: Feed the workpiece smoothly and consistently against the fence and table. Always feed against the rotation of the cutter. Use push sticks for safety.
- Depth of Cut: Avoid taking excessively deep cuts, especially on hard materials. Multiple shallow passes are safer and produce better results.
- Stopping the Machine: Turn off the power switch. Wait for the cutterhead to come to a complete stop before leaving the machine or performing any further actions.
- Specific Operations: Refer to detailed diagrams and instructions within the original manual for specific shaping operations, such as straight cuts, profile cuts, and tenoning.
Maintenance
Regular maintenance ensures the longevity and optimal performance of your shaper. Always disconnect power before performing maintenance.
- Cleaning: After each use, clean the machine thoroughly, removing sawdust and debris from the table, fence, and cutterhead area.
- Lubrication: Periodically lubricate moving parts as indicated in the lubrication schedule (refer to the original manual for specific points and lubricants).
- Cutter Inspection: Regularly inspect cutters for sharpness, damage, or wear. Replace dull or damaged cutters promptly.
- Belt Tension: Check and adjust drive belt tension as needed to prevent slippage and ensure efficient power transfer.
- Electrical System: Inspect power cords and connections for damage. Ensure all electrical components are secure.
- Table and Fence: Keep the table and fence surfaces clean and free of rust. Apply a rust preventative if necessary.
Troubleshooting
This section provides solutions to common operational issues. For problems not listed, consult a qualified technician.
| Problem | Possible Cause | Solution |
|---|---|---|
| Machine does not start | No power, tripped circuit breaker, faulty switch | Check power supply, reset breaker, inspect switch |
| Excessive vibration | Unbalanced cutter, loose mounting, worn bearings | Ensure cutter is balanced and secure, check mounting bolts, inspect bearings |
| Poor cut quality (tear-out, burning) | Dull cutter, incorrect feed rate, too deep a cut | Sharpen or replace cutter, adjust feed rate, reduce depth of cut |
| Motor overheats | Overload, poor ventilation, faulty motor | Reduce load, ensure adequate ventilation, consult technician |
| Unusual noise | Loose components, worn bearings, foreign object | Inspect all parts for tightness, check bearings, remove any obstructions |
Parts List and Exploded View Diagrams
This section provides a comprehensive list of all components for the POWERMATIC Model 23 1/2-inch Wood Shaper, accompanied by exploded view diagrams. These diagrams illustrate the assembly of the machine and aid in identifying individual parts for ordering replacements or performing repairs.
Note: Due to the nature of this reproduction manual, specific diagrams and part numbers are contained within the physical document. Please refer to your copy for detailed illustrations and part identification.
Specifications
The following specifications apply to the POWERMATIC Model 23 1/2-inch Wood Shaper. These values are approximate and may vary slightly.
- Model: 23
- Spindle Size: 1/2 inch
- Power Requirement: (Refer to machine's motor plate for specific voltage/amperage)
- Table Dimensions: (Refer to original manual)
- Spindle Speed: (Refer to original manual)
- Weight: (Refer to original manual)
- Overall Dimensions: (Refer to original manual)
Note: Specific detailed specifications are typically found on the machine's data plate or within the original manual.
Warranty and Support
This manual is a reproduction of an original document and does not include warranty information for the POWERMATIC Model 23 1/2-inch Wood Shaper itself. For warranty details regarding the original machine, please consult the manufacturer or the original purchase documentation.
For support related to the content of this manual or for general inquiries about POWERMATIC products, please refer to official POWERMATIC resources or authorized service centers.
Contact Information:
- Manufacturer Website: www.powermatic.com (for current products and support)
- Historical Manuals: For older models, specialized forums or historical machinery groups may offer additional support.