Product Overview
The POWERMATIC Model 50 is a 6-inch jointer designed for woodworking tasks, specifically for flattening and squaring lumber. This manual provides detailed instructions for its setup, safe operation, and maintenance to ensure optimal performance and longevity.
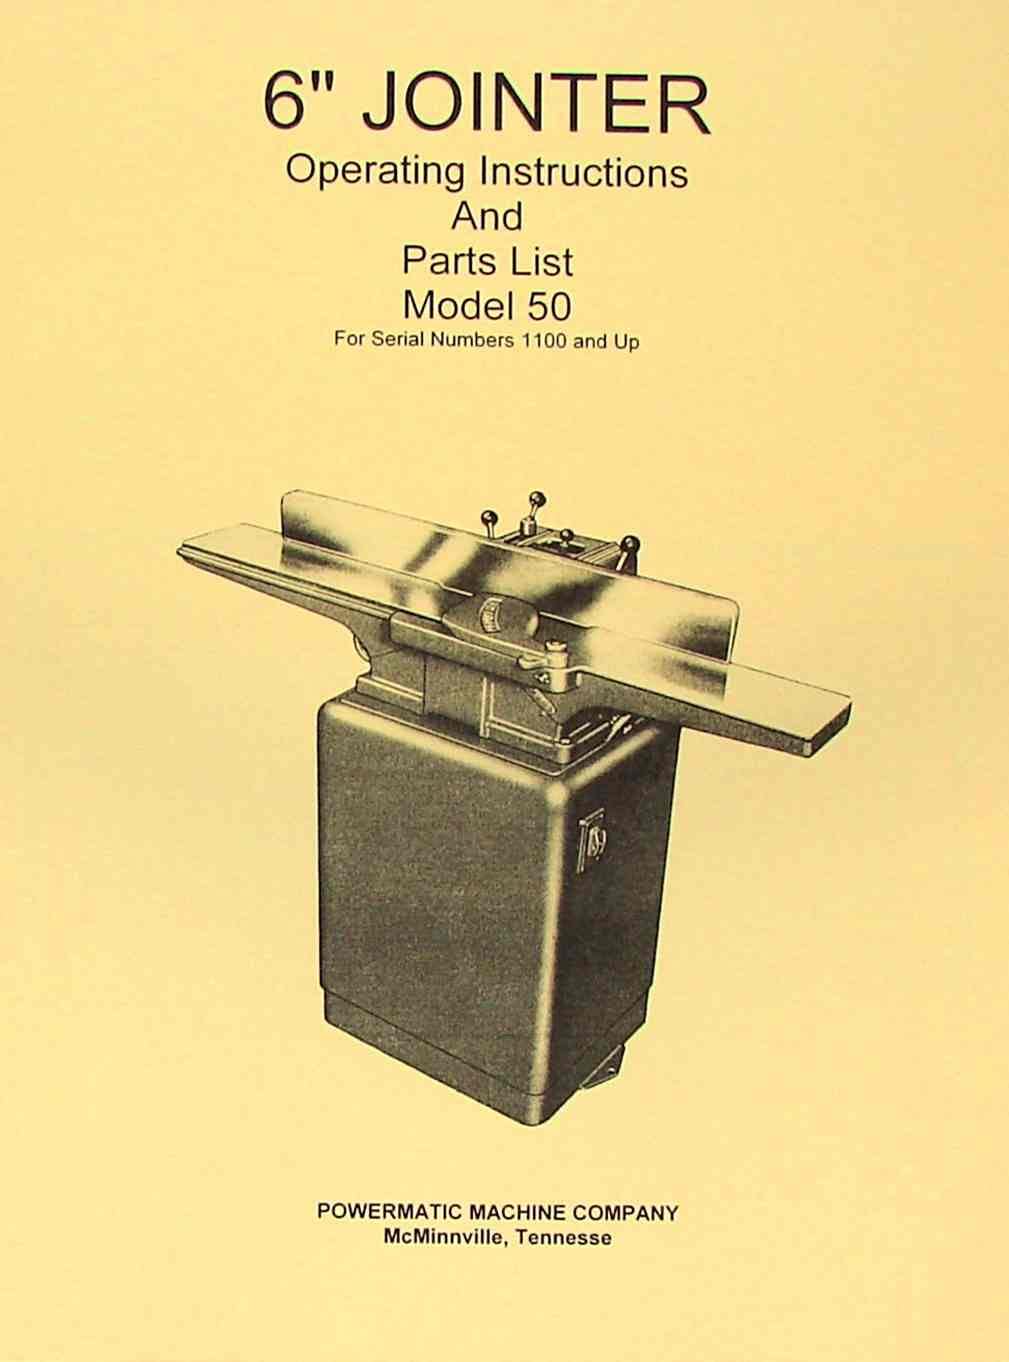
Image: Front view of the POWERMATIC Model 50 6-inch Jointer, showcasing its main components and robust construction.
General Setup and Alignment
Proper setup and alignment are crucial for accurate and safe operation of your jointer. Follow these steps carefully to prepare your machine for use.
Unpacking and Placement
- Carefully remove the jointer from its packaging.
- Place the jointer on a stable, level surface capable of supporting its weight. Ensure adequate working space around the machine.
- Inspect for any shipping damage. Report any damage to the carrier immediately.
Bed and Fence Alignment
The alignment of the infeed and outfeed tables, as well as the fence, directly impacts the quality of your cuts. Use precision tools for these adjustments.
- Outfeed Table Adjustment: Adjust the outfeed table so its surface is perfectly level with the highest point of the cutterhead knives at their apex.
- Infeed Table Adjustment: Set the infeed table to the desired depth of cut. Ensure it is parallel to the outfeed table.
- Fence Adjustment: Ensure the fence is square (90 degrees) to the table surface. Use a reliable square for verification. The fence should also be parallel to the cutterhead.
Note: An alignment diagram, typically found in the original manual, would visually illustrate the correct positioning of the tables and fence relative to the cutterhead. This diagram is essential for precise adjustments.
Dimensions
Understanding the physical dimensions of the POWERMATIC Model 50 jointer is important for workshop planning and ensuring proper clearance.
| Measurement | Value |
|---|---|
| Overall Length | [Specific Length, e.g., 42 inches] |
| Overall Width | [Specific Width, e.g., 20 inches] |
| Overall Height | [Specific Height, e.g., 38 inches] |
| Table Size | [Specific Table Size, e.g., 6" x 42"] |
| Weight | [Specific Weight, e.g., 250 lbs] |
Note: Exact dimensions may vary slightly. Refer to the original product specifications for precise measurements.
Parts Diagram
A detailed parts diagram is essential for identifying components, especially when ordering replacement parts or performing maintenance.
Note: A comprehensive parts diagram, typically included in the original manual, would display an exploded view of the jointer, labeling all major and minor components. This visual aid is critical for assembly, disassembly, and part identification.
Safety Hints
Operating any power tool, especially a jointer, requires strict adherence to safety guidelines to prevent injury. Read and understand all safety instructions before operating the machine.
- Always Wear Eye Protection: Safety glasses or a face shield are mandatory.
- Use Hearing Protection: Prolonged exposure to machine noise can cause hearing damage.
- Wear Appropriate Clothing: Avoid loose clothing, jewelry, and long hair that can get caught in moving parts.
- Keep Hands Clear: Never place hands directly over the cutterhead. Use push blocks for short or narrow stock.
- Ensure Proper Guarding: Always ensure the cutterhead guard is in place and functioning correctly.
- Maintain a Clean Work Area: Clutter can lead to accidents. Keep the floor clear of sawdust and scraps.
- Unplug Before Adjusting: Always disconnect power before making any adjustments, changing knives, or performing maintenance.
- Feed Stock Correctly: Feed wood with the grain, applying even pressure. Never joint against the grain.
- Avoid Small Pieces: Do not attempt to joint pieces that are too short or too narrow to be safely controlled.
- Know Your Machine: Understand the function of all controls and emergency stops.
Parts List
This section provides a list of key components for the POWERMATIC Model 50 jointer. Refer to this list when identifying parts for replacement or repair.
- Cutterhead Assembly
- Jointer Knives (Blades)
- Infeed Table
- Outfeed Table
- Fence Assembly
- Fence Adjustment Handle
- Cutterhead Guard
- Motor
- Drive Belt
- Dust Port
- Power Switch (On/Off)
- Base/Stand
Note: A complete parts list, typically found in the original manual, would include part numbers and potentially exploded diagrams to assist with ordering specific components.
Operating Instructions
Once the jointer is properly set up and aligned, you can begin operation. Always review the safety hints before starting any work.
- Set Depth of Cut: Adjust the infeed table to the desired depth of cut. For most operations, a shallow cut (1/32" to 1/16") is recommended.
- Position Fence: Set the fence to the desired angle (usually 90 degrees) and lock it securely.
- Prepare Stock: Ensure the workpiece is free of nails, screws, or other foreign objects.
- Start Machine: Turn on the jointer and allow the cutterhead to reach full speed.
- Feed Workpiece: Place the workpiece flat on the infeed table. Apply downward pressure on the infeed table and forward pressure against the fence.
- Use Push Blocks: For safety and control, always use push blocks, especially when jointing the face or short edges.
- Maintain Pressure: As the workpiece passes over the cutterhead, transfer downward pressure from the infeed table to the outfeed table. Maintain constant forward pressure against the fence.
- Complete Pass: Continue feeding until the entire length of the workpiece has passed over the cutterhead and is fully supported by the outfeed table.
- Turn Off Machine: Once finished, turn off the jointer and wait for the cutterhead to come to a complete stop before leaving the machine.
Maintenance
Regular maintenance ensures the longevity and safe operation of your POWERMATIC Model 50 jointer.
- Clean Regularly: After each use, clear sawdust and chips from the tables, fence, and cutterhead area. Use compressed air or a brush.
- Lubrication: Periodically lubricate moving parts as indicated in the original manual (e.g., table adjustment screws, fence slides).
- Knife Inspection and Replacement: Inspect jointer knives for dullness, nicks, or damage. Dull knives can cause tear-out and require more force. Replace or sharpen knives as needed. Always replace all knives in a set to maintain balance.
- Belt Tension: Check the drive belt for proper tension and wear. Adjust or replace if necessary.
- Electrical Connections: Periodically inspect the power cord and electrical connections for damage.
- Table Waxing: Apply a thin coat of paste wax to the jointer tables to reduce friction and prevent rust.
Troubleshooting
This section addresses common issues you might encounter with your jointer and provides potential solutions.
| Problem | Possible Cause | Solution |
|---|---|---|
| Wood "snipes" at end of cut | Outfeed table too low; insufficient pressure on outfeed table. | Adjust outfeed table to be level with cutterhead knives; ensure consistent downward pressure on outfeed table as workpiece exits. |
| Rough or torn surface finish | Dull or nicked knives; feeding against the grain; too deep a cut. | Replace or sharpen knives; always feed with the grain; reduce depth of cut. |
| Machine vibrates excessively | Unbalanced knives; loose mounting bolts; worn bearings. | Ensure knives are balanced and properly installed; tighten all mounting bolts; inspect and replace bearings if necessary. |
| Motor not starting | No power; tripped circuit breaker; faulty switch. | Check power supply; reset circuit breaker; inspect switch for damage. |
Specifications
Key technical specifications for the POWERMATIC Model 50 6-inch Jointer.
- Model: 50
- Jointer Size: 6-inch
- Motor: [e.g., 1 HP, 115V/230V, 1 Phase]
- Cutterhead Speed: [e.g., 5000 RPM]
- Number of Knives: [e.g., 3]
- Max. Depth of Cut: [e.g., 1/2 inch]
- Fence Tilt: [e.g., 45 degrees in and out]
- Dust Port Diameter: [e.g., 4 inches]
Note: Specific values for motor, speed, etc., are placeholders as they were not provided in the input. Always refer to the product's official data plate or original manual for precise specifications.
Warranty and Support
Information regarding product warranty and customer support was not available in the provided documentation. For details on your POWERMATIC Model 50 jointer's warranty coverage, technical support, or to order replacement parts, please refer to the original purchase documentation or contact POWERMATIC directly through their official website or customer service channels.
It is recommended to keep your purchase receipt and product serial number readily available when contacting support.