Introduction
This manual provides detailed instructions for the safe and efficient operation, setup, adjustment, and maintenance of your CRAFTSMAN 10-inch Radial Arm Saw, Model 113.23100. Please read this manual thoroughly before operating the saw to ensure proper use and to prevent injury or damage to the tool. Keep this manual accessible for future reference.
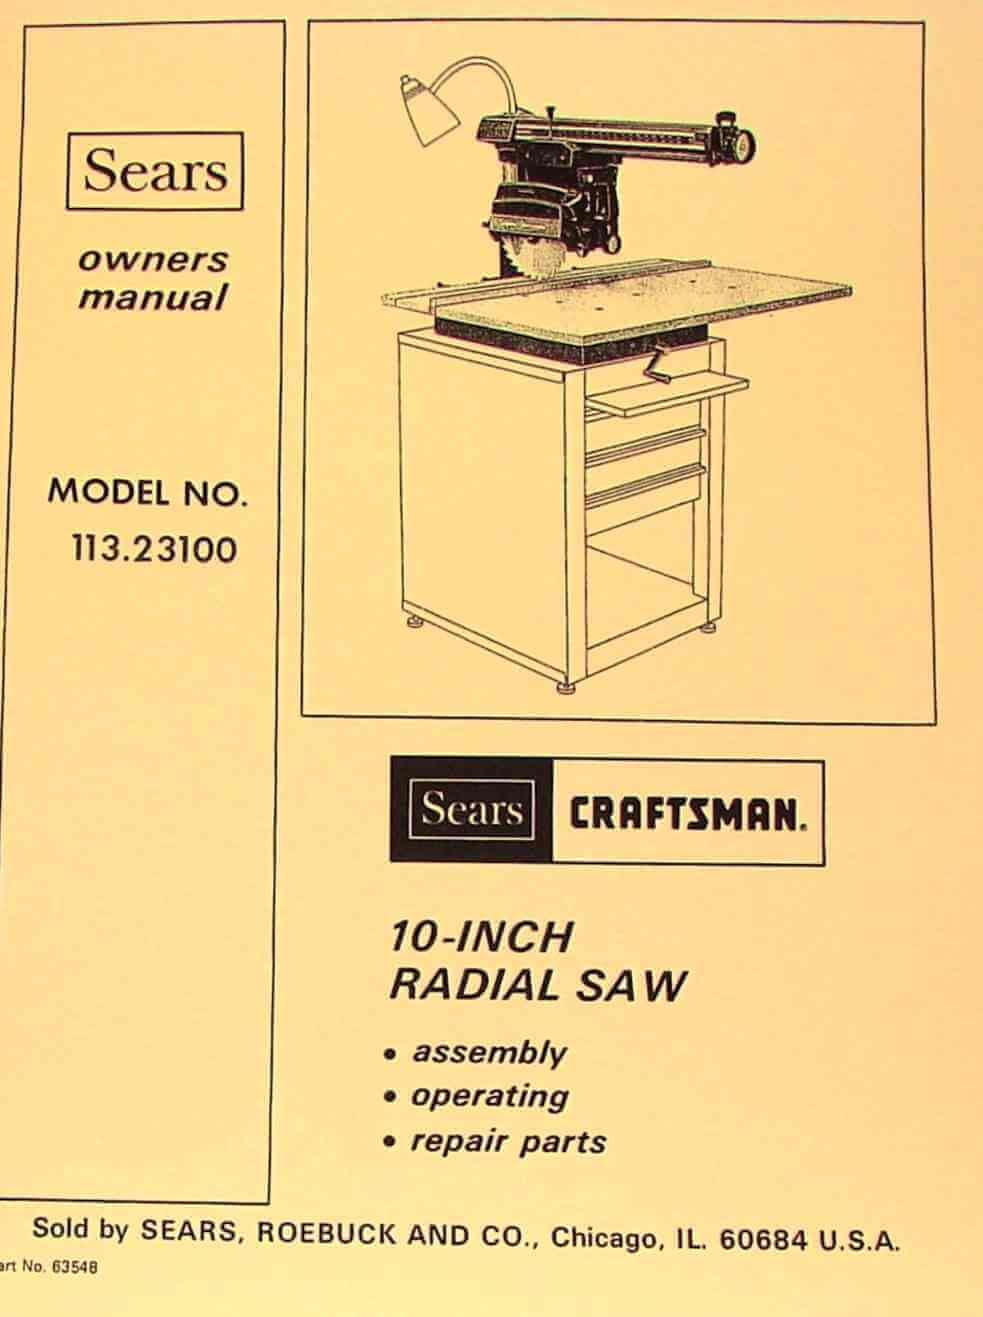
Image 1.1: Cover of the official CRAFTSMAN 10-inch Radial Arm Saw Model 113.23100 Owner's Manual.
Safety Information
Always follow basic safety precautions to reduce the risk of fire, electric shock, and personal injury. This section outlines critical safety guidelines specific to radial arm saw operation.
- Wear Eye Protection: Always wear safety glasses or a face shield.
- Keep Guards in Place: Ensure all safety guards are properly installed and functioning.
- Disconnect Power: Unplug the saw before making adjustments, changing blades, or performing maintenance.
- Maintain a Clear Work Area: Keep the work area clean, well-lit, and free of clutter.
- Use Proper Support: Always support long workpieces to prevent tipping.
Setup
Proper setup is crucial for the safe and accurate operation of your radial arm saw. Follow these steps carefully.
Unpacking and Assembly
- Carefully remove all components from the packaging.
- Verify all parts are present against the packing list.
- Assemble the stand (if applicable) according to the provided diagrams.
- Mount the saw unit securely to the stand or workbench.
Electrical Connection
Ensure the saw is connected to a grounded electrical outlet of the correct voltage and amperage. Refer to the saw's motor plate for specific requirements.
Aligning the Saw to the Table
Accurate alignment is essential for precise cuts. This procedure should be performed periodically and after any significant movement of the saw.
- Check for Squareness: Use a reliable square to check the blade's perpendicularity to the fence. Adjust if necessary using the appropriate adjustment bolts.
- Table Leveling: Ensure the saw table is level and flat. Shims may be required under the table supports.
- Arm Parallelism: Verify the radial arm is parallel to the table surface. Adjust the arm support bolts as needed.

Image 4.1: Illustration of blade and table alignment points.
Operating Instructions
This section covers the basic operation of your CRAFTSMAN radial arm saw for various cutting tasks.
Crosscutting
- Position the workpiece firmly against the fence.
- Lower the blade to the desired depth.
- Start the saw and allow the blade to reach full speed.
- Slowly pull the saw carriage forward through the workpiece.
- Return the saw carriage to the rear position before turning off the motor.
Rip Cutting
Note: Rip cutting with a radial arm saw requires extreme caution. Always use the anti-kickback fingers and blade guard.
- Rotate the motor and blade assembly to the rip position.
- Set the rip fence to the desired width.
- Adjust the blade height to just clear the workpiece.
- Feed the workpiece slowly and steadily into the blade.
Adjustments
Regular adjustments ensure the saw operates at peak performance and accuracy.
- Blade Depth Adjustment: Use the depth crank to set the desired cutting depth.
- Bevel Angle Adjustment: Loosen the bevel lock and tilt the motor to the desired angle.
- Miter Angle Adjustment: Release the miter lock and pivot the arm to the required angle.
Lubrication
Proper lubrication extends the life of your saw and ensures smooth operation. Refer to the lubrication points diagram.
- Motor Bearings: Apply a few drops of light machine oil to motor bearings every 50 hours of operation.
- Carriage Rails: Keep carriage rails clean and apply a thin coat of dry lubricant or wax.
- Pivot Points: Lubricate all pivot points with a general-purpose grease annually.

Image 7.1: Key lubrication points for the radial arm saw.
Maintenance
Regular maintenance is vital for safety and longevity.
- Blade Replacement: Always use the correct size and type of blade. Disconnect power before changing blades.
- Cleaning: Keep the saw free of sawdust and debris. Use compressed air for hard-to-reach areas.
- Belt Tension: Check drive belt tension periodically and adjust if necessary.
- Electrical Cord Inspection: Inspect the power cord for damage before each use.
Troubleshooting
This section provides solutions to common operational issues.
| Problem | Possible Cause | Solution |
|---|---|---|
| Saw does not start | No power, tripped circuit breaker, faulty switch | Check power supply, reset breaker, inspect switch |
| Inaccurate cuts | Misalignment, dull blade, loose components | Re-align saw, replace blade, tighten fasteners |
| Excessive vibration | Unbalanced blade, loose mounting, worn bearings | Check blade, secure mounting, inspect bearings |
Parts List and Exploded View Diagrams
This section contains detailed exploded view diagrams and a comprehensive parts list for the CRAFTSMAN 10-inch Radial Arm Saw Model 113.23100. Use these diagrams to identify specific components for replacement or repair.

Image 10.1: Exploded view of the main saw assembly.
Key Components (Partial List Example)
- Part 1: Motor Assembly
- Part 2: Blade Guard
- Part 3: Radial Arm
- Part 4: Saw Table
- Part 5: Carriage Assembly
For a complete list of parts and their corresponding numbers, please refer to the full manual.
Specifications
Technical specifications for the CRAFTSMAN 10-inch Radial Arm Saw Model 113.23100.
- Model Number: 113.23100
- Blade Diameter: 10 inches
- Motor: [Specific Motor Details, e.g., 1.5 HP, 120V, 60Hz]
- Crosscut Capacity: [Specific Measurement, e.g., 16 inches]
- Rip Capacity: [Specific Measurement, e.g., 24 inches]
- Language (Manual): English
- Number of Pages (Manual): 34
Note: Specific motor and capacity details are typical for this model but should be verified against your saw's nameplate.
Warranty and Support
This manual is a reproduction of the original CRAFTSMAN owner's and parts manual. For warranty information regarding your CRAFTSMAN 10-inch Radial Arm Saw Model 113.23100, please refer to the original purchase documentation or contact CRAFTSMAN customer support directly. This reproduction manual itself does not carry a separate warranty from the original manufacturer.
For technical assistance or to order replacement parts, please consult the contact information provided in your original saw documentation or visit the official CRAFTSMAN website.


