
1. Introduction
This manual provides essential information for the assembly, safe use, and maintenance of your tectake CD/DVD Storage Shelf, Model No. 401699. Please read these instructions carefully before beginning assembly and retain them for future reference. This 6-tier storage unit is designed to organize your CD and DVD collections efficiently.
2. Package Contents
Before assembly, verify that all components listed below are present and undamaged. If any parts are missing or damaged, please contact customer support.
- Side Panels (2)
- Top Panel (1)
- Bottom Panel (1)
- Adjustable Shelf Panels (6)
- Back Panel (1)
- Assembly Hardware (screws, dowels, shelf pins, anti-tip kit)
- Assembly Instructions (this document)

Image: Exploded view of the shelf components, showing individual panels and their dimensions.
3. Safety Information
To ensure safe use of your storage shelf, please observe the following safety guidelines:
- Anti-Tip Device: Always secure the shelf to a wall using the provided anti-tip kit. This prevents accidental tipping, especially in households with children or pets.
- Weight Distribution: Distribute items evenly across the shelves. Do not overload any single shelf or the entire unit. The maximum load capacity is approximately 21 kg.
- Stable Surface: Place the shelf on a flat, level, and stable surface to prevent wobbling or instability.
- Assembly: Follow all assembly instructions carefully. Ensure all screws and fasteners are tightened securely before use.
- Children: Do not allow children to climb on or play with the shelf.
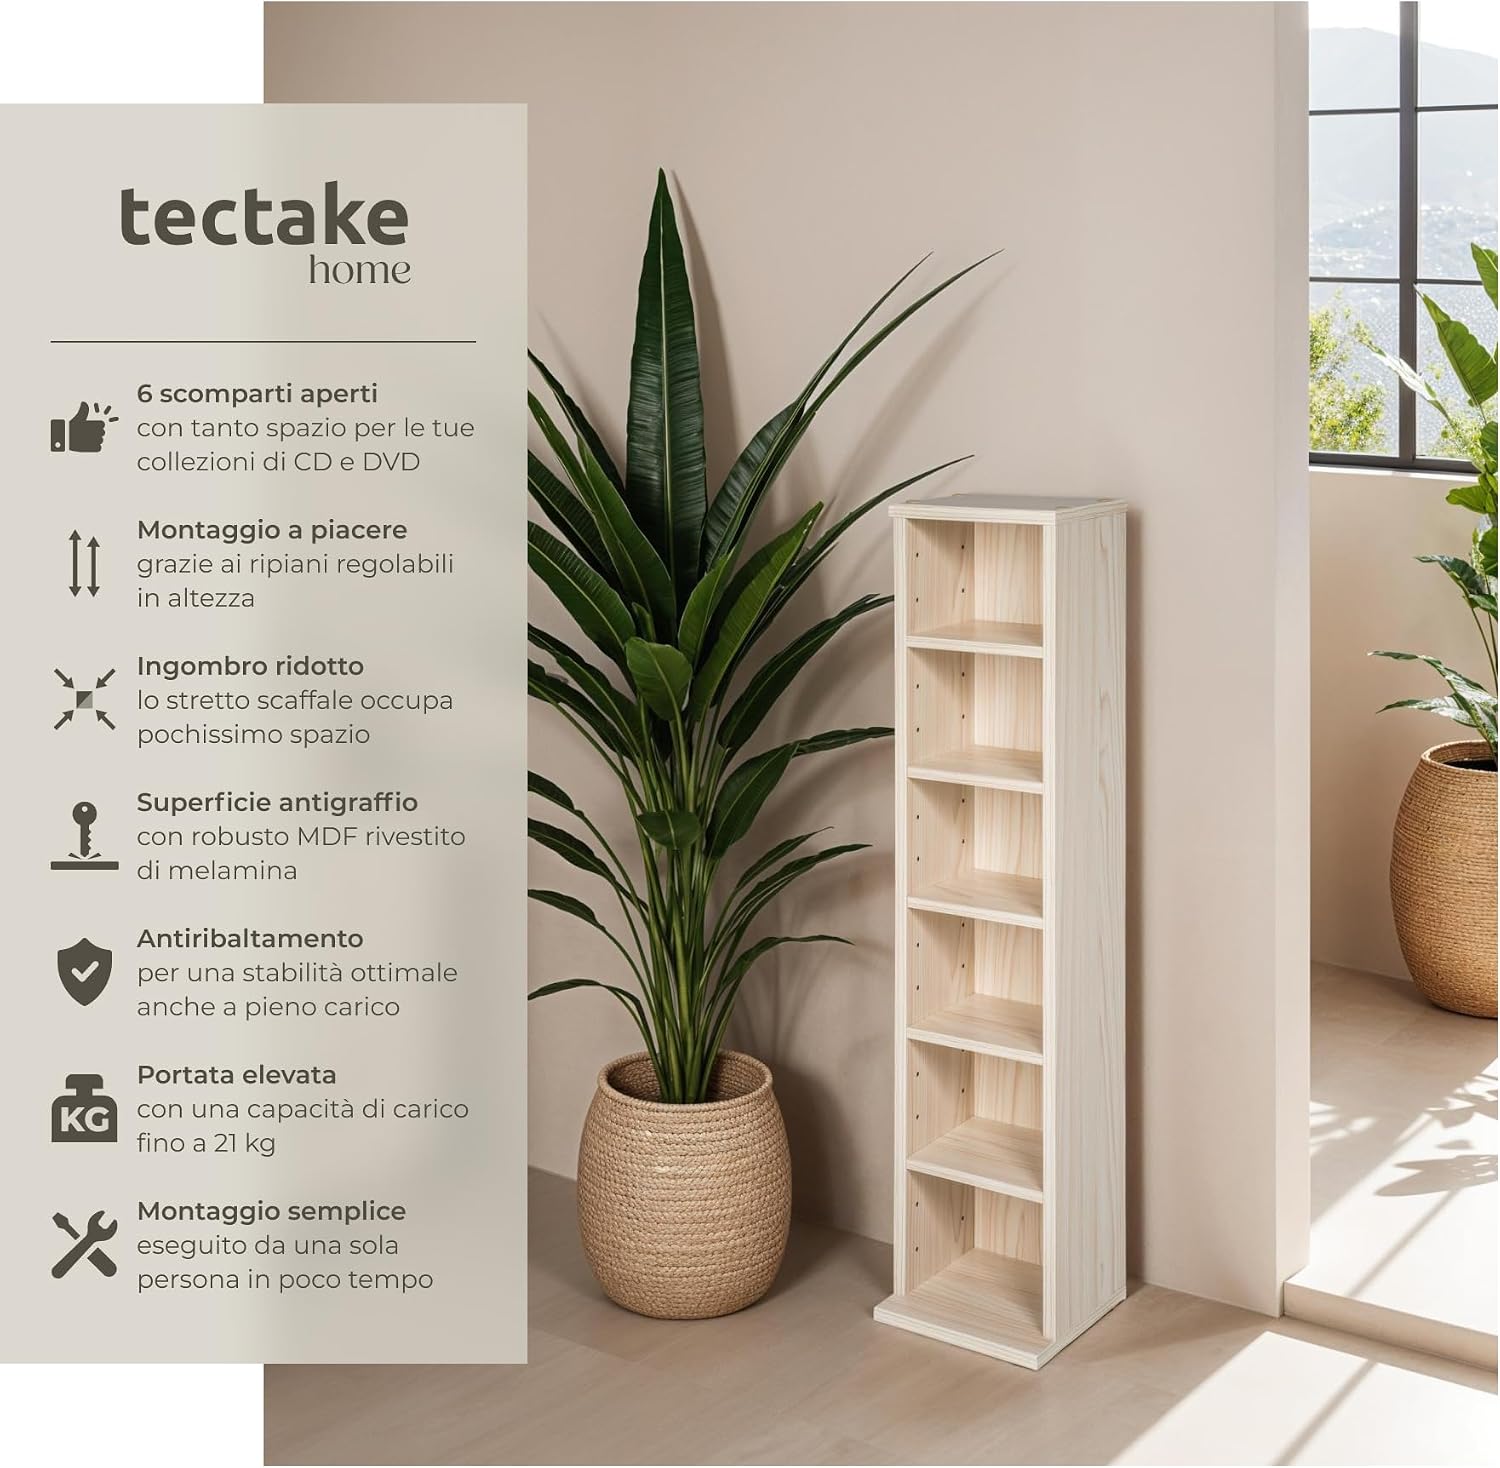
Image: Product features, including anti-tip mechanism and load capacity, shown on the shelf.
4. Setup and Assembly
Assembly of this storage shelf is designed to be straightforward. A screwdriver (not included) is required.
- Unpack Components: Carefully remove all parts from the packaging. Lay them out on a clean, soft surface to prevent scratches.
- Attach Side Panels: Connect the top and bottom panels to one of the side panels using the provided screws and dowels. Ensure the pre-drilled holes align correctly.
- Insert Shelf Pins: Insert the shelf pins into the desired holes on the inner sides of the side panels. The shelves are height-adjustable, allowing customization for CDs, DVDs, or other items.
- Place Shelves: Carefully place the six adjustable shelf panels onto the inserted shelf pins.
- Attach Second Side Panel: Connect the remaining side panel to the top, bottom, and shelf panels, securing it with screws and dowels.
- Attach Back Panel: Slide or nail the back panel into the grooves or secure it to the rear of the shelf using small nails or screws. This provides additional stability.
- Install Anti-Tip Kit: Attach the anti-tip bracket to the top rear of the shelf and secure it to a wall stud or appropriate wall anchor.
- Final Check: Ensure all connections are tight and the shelf is stable before placing items on it.
For detailed diagrams and specific screw types, please refer to the separate assembly instructions included in your package.
5. Operating and Usage
Your tectake storage shelf is designed for versatile media organization.
- Capacity: The shelf can hold up to 102 standard CDs. The capacity for DVDs or Blu-rays will vary depending on their case thickness.
- Adjustable Shelves: Utilize the adjustable shelf pins to customize the height of each of the six compartments. This allows you to store various media formats or decorative items.
- Placement: This compact shelf is suitable for various rooms, including living rooms, studies, bedrooms, or offices. Its slim design helps optimize space.

Image: The storage shelf filled with CDs, demonstrating its capacity and appearance in a room.
6. Maintenance
To maintain the appearance and longevity of your tectake storage shelf:
- Cleaning: Wipe the surfaces with a soft, damp cloth. Avoid abrasive cleaners or harsh chemicals, as these can damage the plastic coating.
- Dusting: Regularly dust the shelves to prevent buildup.
- Avoid Moisture: Do not expose the shelf to excessive moisture or direct sunlight, which can cause warping or discoloration.
- Check Fasteners: Periodically check all screws and fasteners to ensure they remain tight. Retighten if necessary.
7. Troubleshooting
If you encounter any issues with your storage shelf, consider the following:
- Shelf Wobbles: Ensure the shelf is placed on a level surface. Check that all assembly screws are fully tightened. Verify the anti-tip device is securely installed.
- Missing Parts: If any components were missing upon delivery, refer to the package contents list and contact tectake customer support for assistance.
- Difficulty Assembling: Review the assembly instructions carefully. Ensure you are using the correct hardware for each step. Do not force parts together.
8. Specifications
| Model Number | 401699 |
| Material | MDF with plastic wood coating (melamine finish) |
| Color | Beech |
| Overall Dimensions (H x W x D) | Approximately 90 x 21 x 20 cm (35.4 x 8.3 x 7.9 inches) |
| Shelf Depth | 16 cm (6.3 inches) |
| Number of Shelves | 6 (adjustable) |
| Weight | Approximately 5.5 kg (12.1 lbs) |
| Maximum Load Capacity | Up to 21 kg (46.3 lbs) |
| CD Capacity | Up to 102 CDs |
9. Warranty and Support
For warranty information, product support, or to order replacement parts, please contact tectake customer service through their official website or the retailer where the product was purchased. Please have your model number (401699) and proof of purchase ready.
