Introduction
This instruction manual provides essential information for the safe and efficient operation of your Juki HZL-DX7 Computerized Sewing Machine. Please read this manual thoroughly before using the machine and keep it for future reference. Proper understanding of the machine's features and functions will ensure optimal performance and longevity.

Figure 1: Front view of the Juki HZL-DX7 Sewing Machine.
Safety Precautions
Always follow basic safety precautions when using electrical appliances to reduce the risk of fire, electric shock, or injury to persons.
- Read all instructions before using the machine.
- Keep fingers away from all moving parts. Special care is required around the sewing machine needle.
- Always switch the sewing machine off when making any adjustments in the needle area, such as threading the needle, changing the needle, threading the bobbin, or changing the presser foot.
- Never operate the machine with any air openings blocked. Keep ventilation openings of the sewing machine and foot controller free from the accumulation of lint, dust, and loose cloth.
- Do not use outdoors.
Setup
1. Unpacking and Placement
Carefully remove the machine from its packaging. Place the machine on a stable, level surface. Ensure adequate space around the machine for comfortable operation.
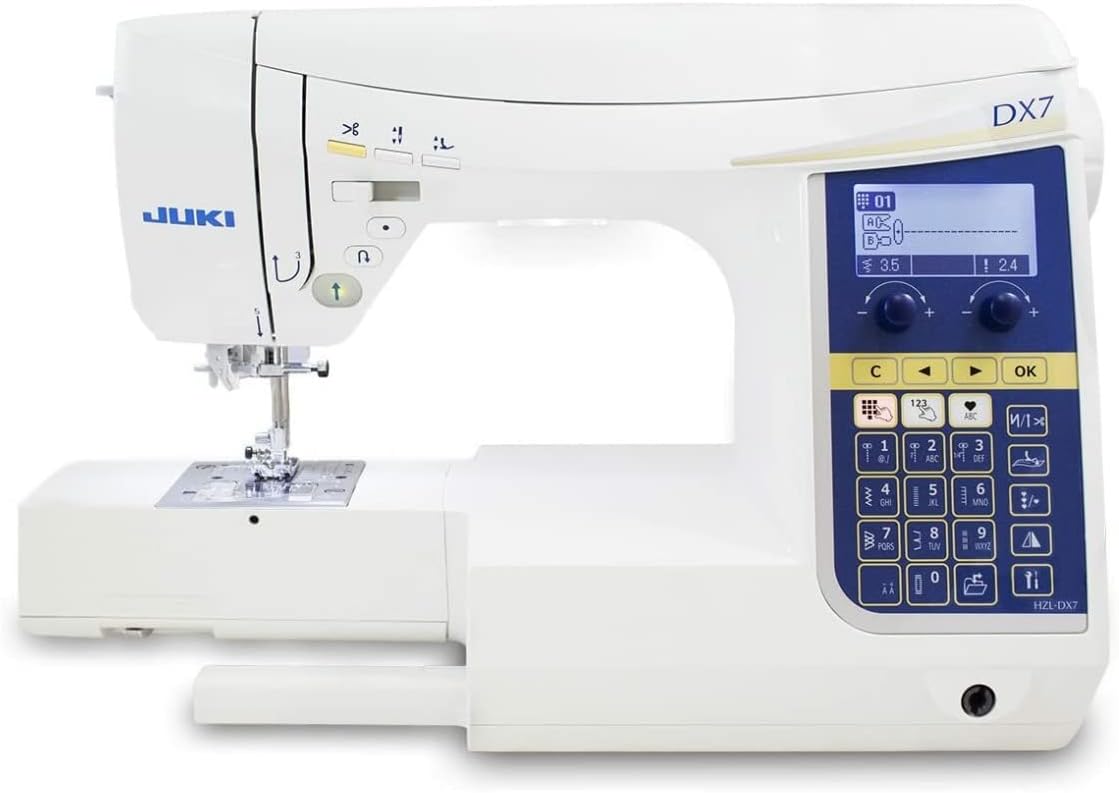
Figure 2: The Juki HZL-DX7 Sewing Machine in its operational position.
2. Power Connection
Connect the power cord to the machine's power input and then to a suitable electrical outlet. The power switch is located on the right side of the machine. Turn the machine ON (I) to power it up.

Figure 3: Power switch and cord input at the back of the machine.
3. Attaching the Extension Table
For larger projects, attach the included extension table. Slide the table onto the free arm of the machine until it clicks securely into place. This provides an expanded work surface.
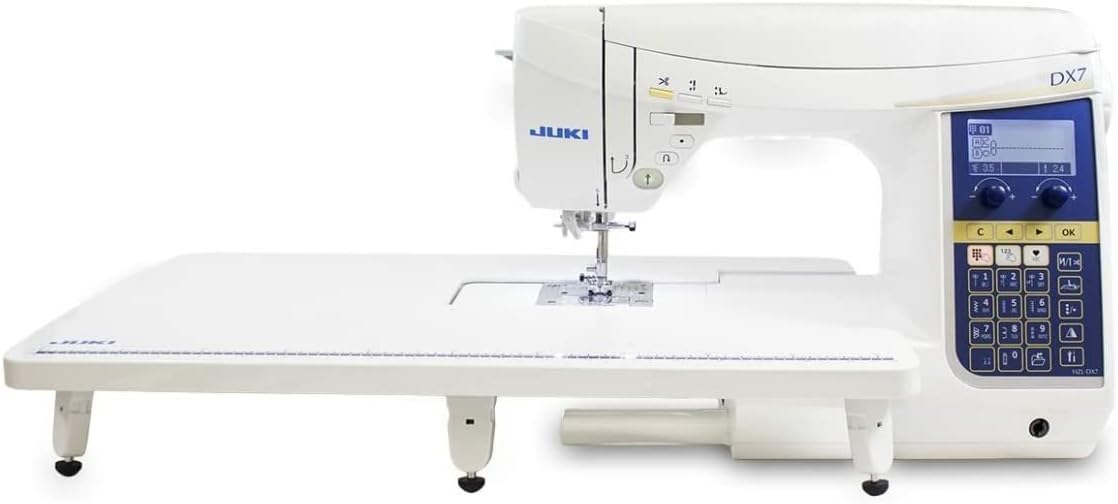
Figure 4: The machine with the extension table providing a larger work area.
4. Bobbin Winding
Open the top cover of the machine. Place a spool of thread on the spool pin and guide the thread through the bobbin winding path. Place an empty bobbin onto the bobbin winder shaft and push it to the right. Start the machine to wind the bobbin. The machine will automatically stop when the bobbin is full.
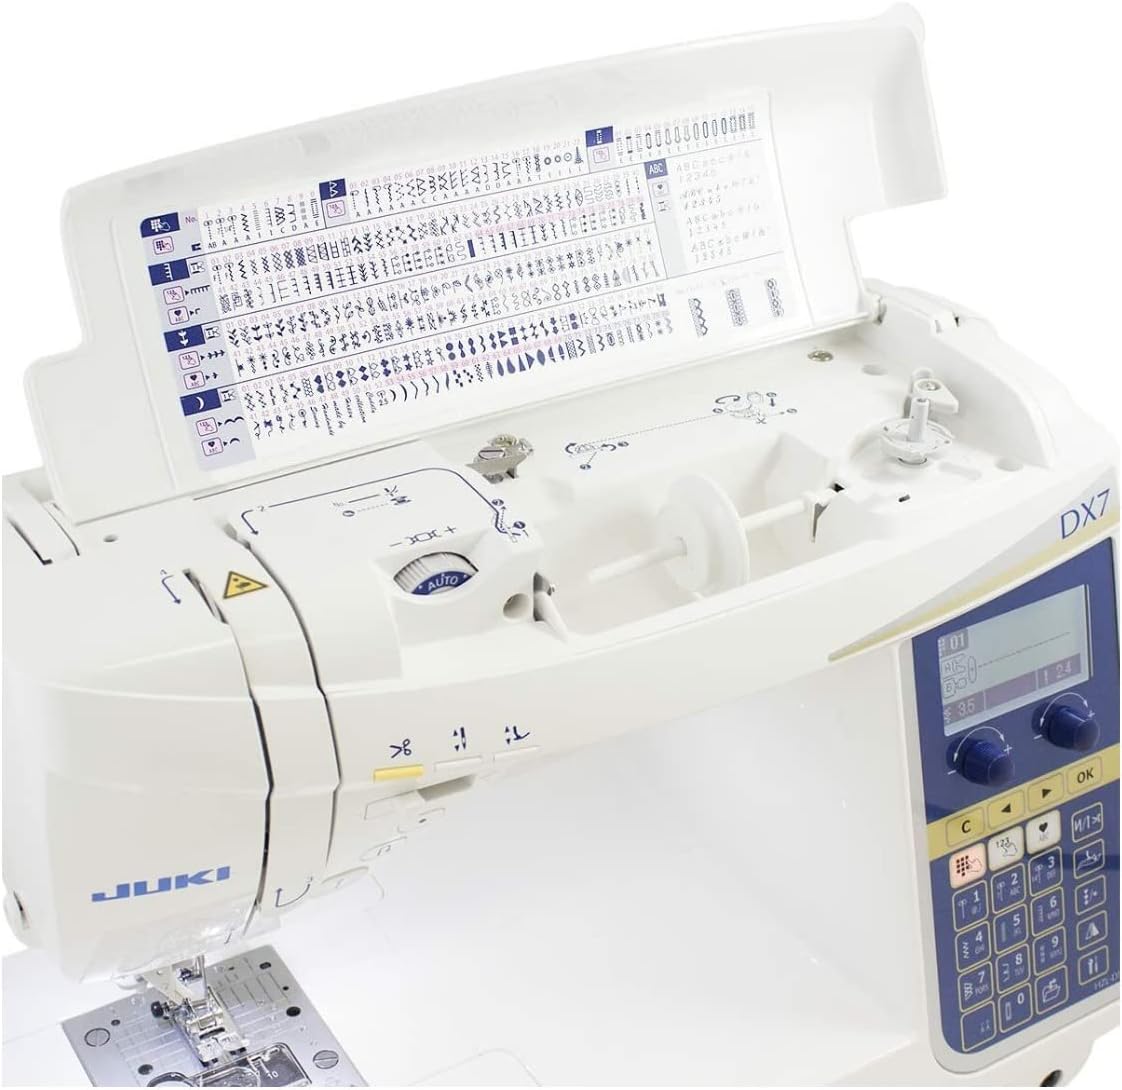
Figure 5: Bobbin winding area and internal stitch chart under the top cover.
5. Threading the Machine
Follow the numbered threading path indicated on the machine. Ensure the thread is properly seated in all guides and tension discs. Use the automatic needle threader for convenience.

Figure 6: Detailed view of the needle and threading mechanism.
6. Needle Installation
Loosen the needle clamp screw and remove the old needle. Insert a new needle with the flat side facing the back of the machine, pushing it up as far as it will go. Tighten the needle clamp screw securely.
Operating Instructions
1. Control Panel Overview
The control panel allows you to select stitches, adjust settings, and control various machine functions. Familiarize yourself with the buttons and the LCD screen.
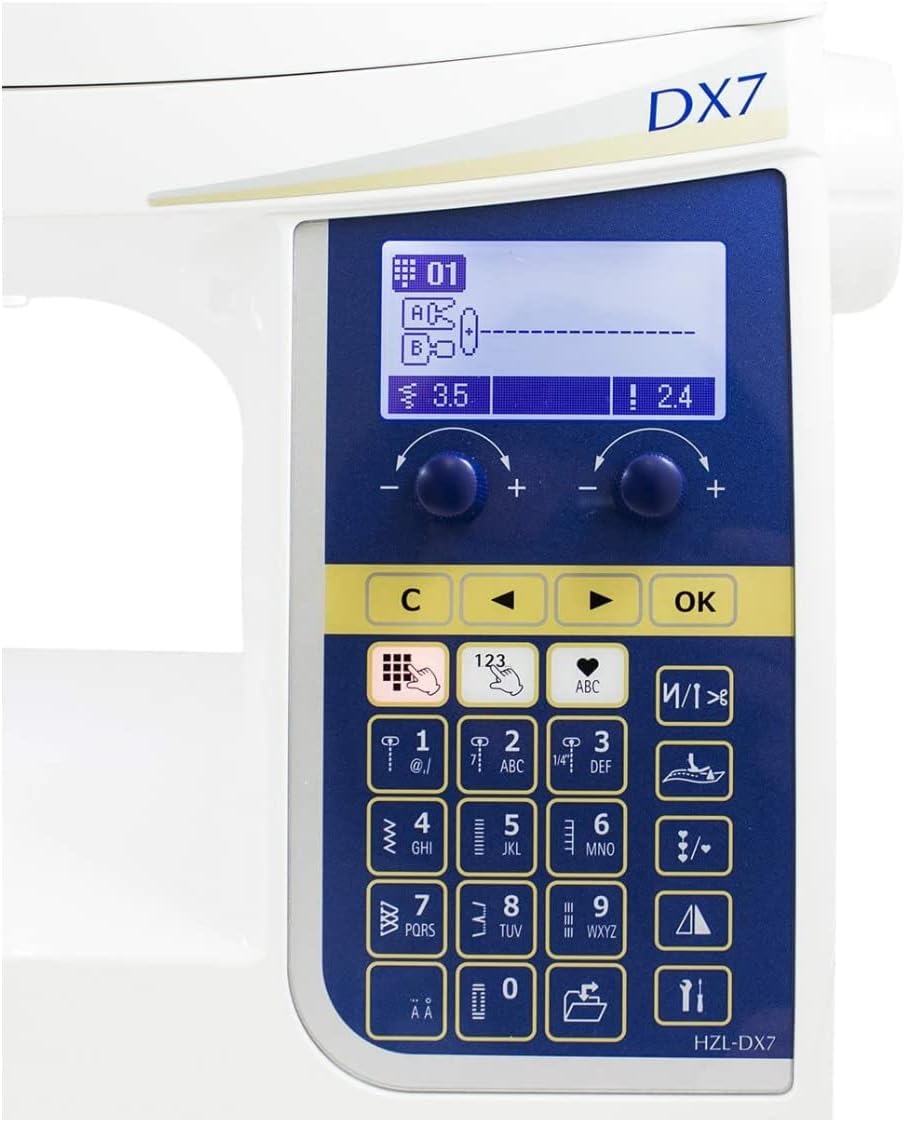
Figure 7: The machine's control panel for stitch selection and adjustments.
2. Stitch Selection and Adjustment
Use the numeric keypad or navigation buttons on the control panel to select from the 287 built-in stitch patterns and 4 alphabet fonts. Adjust stitch length and width using the dedicated dials or screen options as needed for your project.
3. Basic Stitching
Place your fabric under the presser foot. Lower the presser foot using the lever. Start sewing by pressing the start/stop button or using the foot controller. Guide the fabric gently. The machine features a box feed system for consistent fabric feeding.
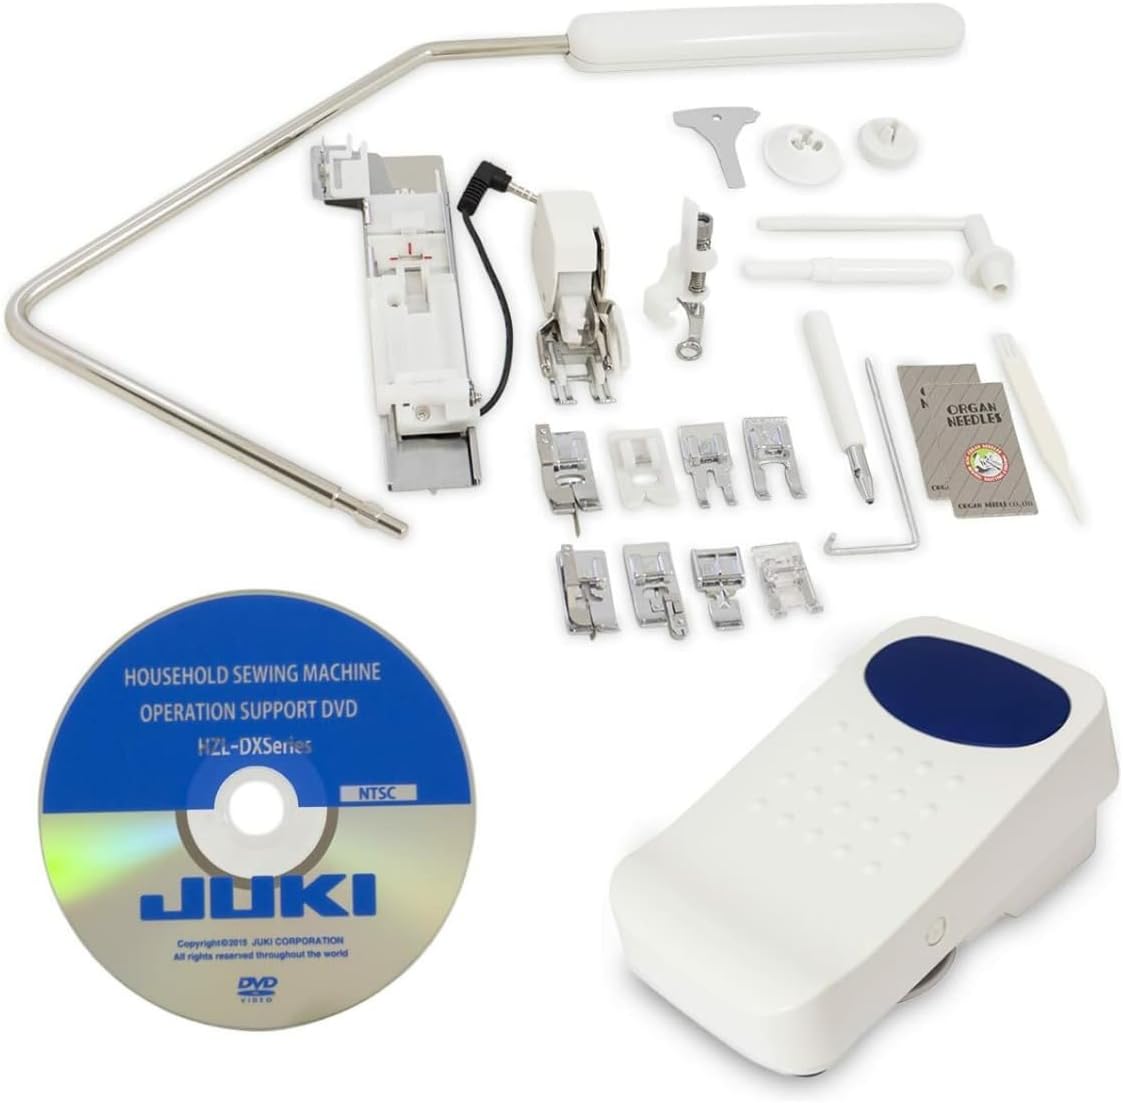
Figure 8: Fabric being stitched by the machine.
4. Automatic Thread Cutting
Press the automatic thread cutting button (scissors icon) to trim both the upper and bobbin threads at the end of a seam.
5. Needle Up/Down Position
Use the needle up/down button to precisely position the needle. This is useful for pivoting fabric at corners or when finishing a seam.
6. Straight Stitch Plate
The built-in straight stitch plate can be engaged for enhanced straight stitching performance, especially on delicate fabrics or for precise piecing. Refer to the machine's display for instructions on activating this feature.
Maintenance
1. Cleaning the Bobbin Area
Regularly clean the bobbin case and feed dog area to remove lint and dust. Use the brush provided with your machine. Ensure the machine is turned OFF and unplugged before cleaning.

Figure 9: Accessory tray containing cleaning tools and other accessories.
2. Needle Replacement
Replace needles frequently, especially when sewing different types of fabric or if the needle becomes dull or bent. A dull needle can cause skipped stitches or damage to fabric.
3. General Care
Keep your machine covered when not in use to protect it from dust. Avoid pulling on the fabric while sewing, as this can bend the needle or affect stitch quality.
Troubleshooting
This section addresses common issues you might encounter. For detailed troubleshooting, refer to the comprehensive manual provided with your machine.
| Problem | Possible Cause | Solution |
|---|---|---|
| Skipped Stitches | Incorrect needle, bent needle, improper threading. | Replace needle, re-thread machine, ensure correct needle type for fabric. |
| Thread Breakage | Incorrect tension, poor quality thread, burr on needle plate, incorrect threading. | Adjust tension, use quality thread, check for burrs, re-thread machine. |
| Uneven Stitches | Incorrect tension, pulling fabric, lint in feed dogs. | Adjust tension, guide fabric gently, clean feed dogs. |
Specifications
- Model: HZL-DX7
- Dimensions: 8.2 x 17.5 x 11.5 inches (20.8 x 44.5 x 29.2 cm)
- Weight: Approximately 16 pounds (7.26 kg)
- Stitch Patterns: 287 Built-in Stitches
- Fonts: 4 Alphabet Fonts
- Throat Space: 8 inches (20.3 cm)
- Feed System: Box Feed System
- Special Features: Built-in Straight Stitch Plate, Automatic Thread Trimmer, Needle Up/Down Function
- Power Source: AC
Warranty and Support
Your Juki HZL-DX7 Sewing Machine comes with a manufacturer's warranty. Please refer to the warranty card included with your purchase for specific terms and conditions. For technical support, service, or to purchase accessories, please contact your authorized Juki dealer or visit the official Juki website.
Online Resources: www.juki.com


