Introduction
Thank you for choosing the TeckNet Wa628 Wireless Digital Doorbell. This manual provides detailed instructions for the installation, operation, and maintenance of your new doorbell system. Please read this manual thoroughly before use to ensure proper functionality and to maximize the lifespan of your product. Keep this manual for future reference.
Package Contents
Please check the package contents to ensure all items are present:
- 1 x TeckNet Wa628 Wireless Doorbell Receiver (Chime Unit)
- 1 x TeckNet Wa628 Wireless Doorbell Transmitter (Push Button)
- Mounting Hardware (Screws, Wall Plugs, Double-sided Adhesive Tape)
- User Manual

Product Overview
The TeckNet Wa628 is a wireless digital doorbell system designed for ease of installation and reliable performance. It consists of a weather-resistant push button (transmitter) and a portable chime unit (receiver).
Key Features:
- Wireless Operation: No wiring required for installation.
- Multiple Melodies: Choose from 38 distinct melodies.
- Adjustable Volume: 4 levels of volume control, ranging from 0dB to 90dB.
- LED Indicator: Visual alert for incoming visitors, useful for noisy environments or hearing-impaired users.
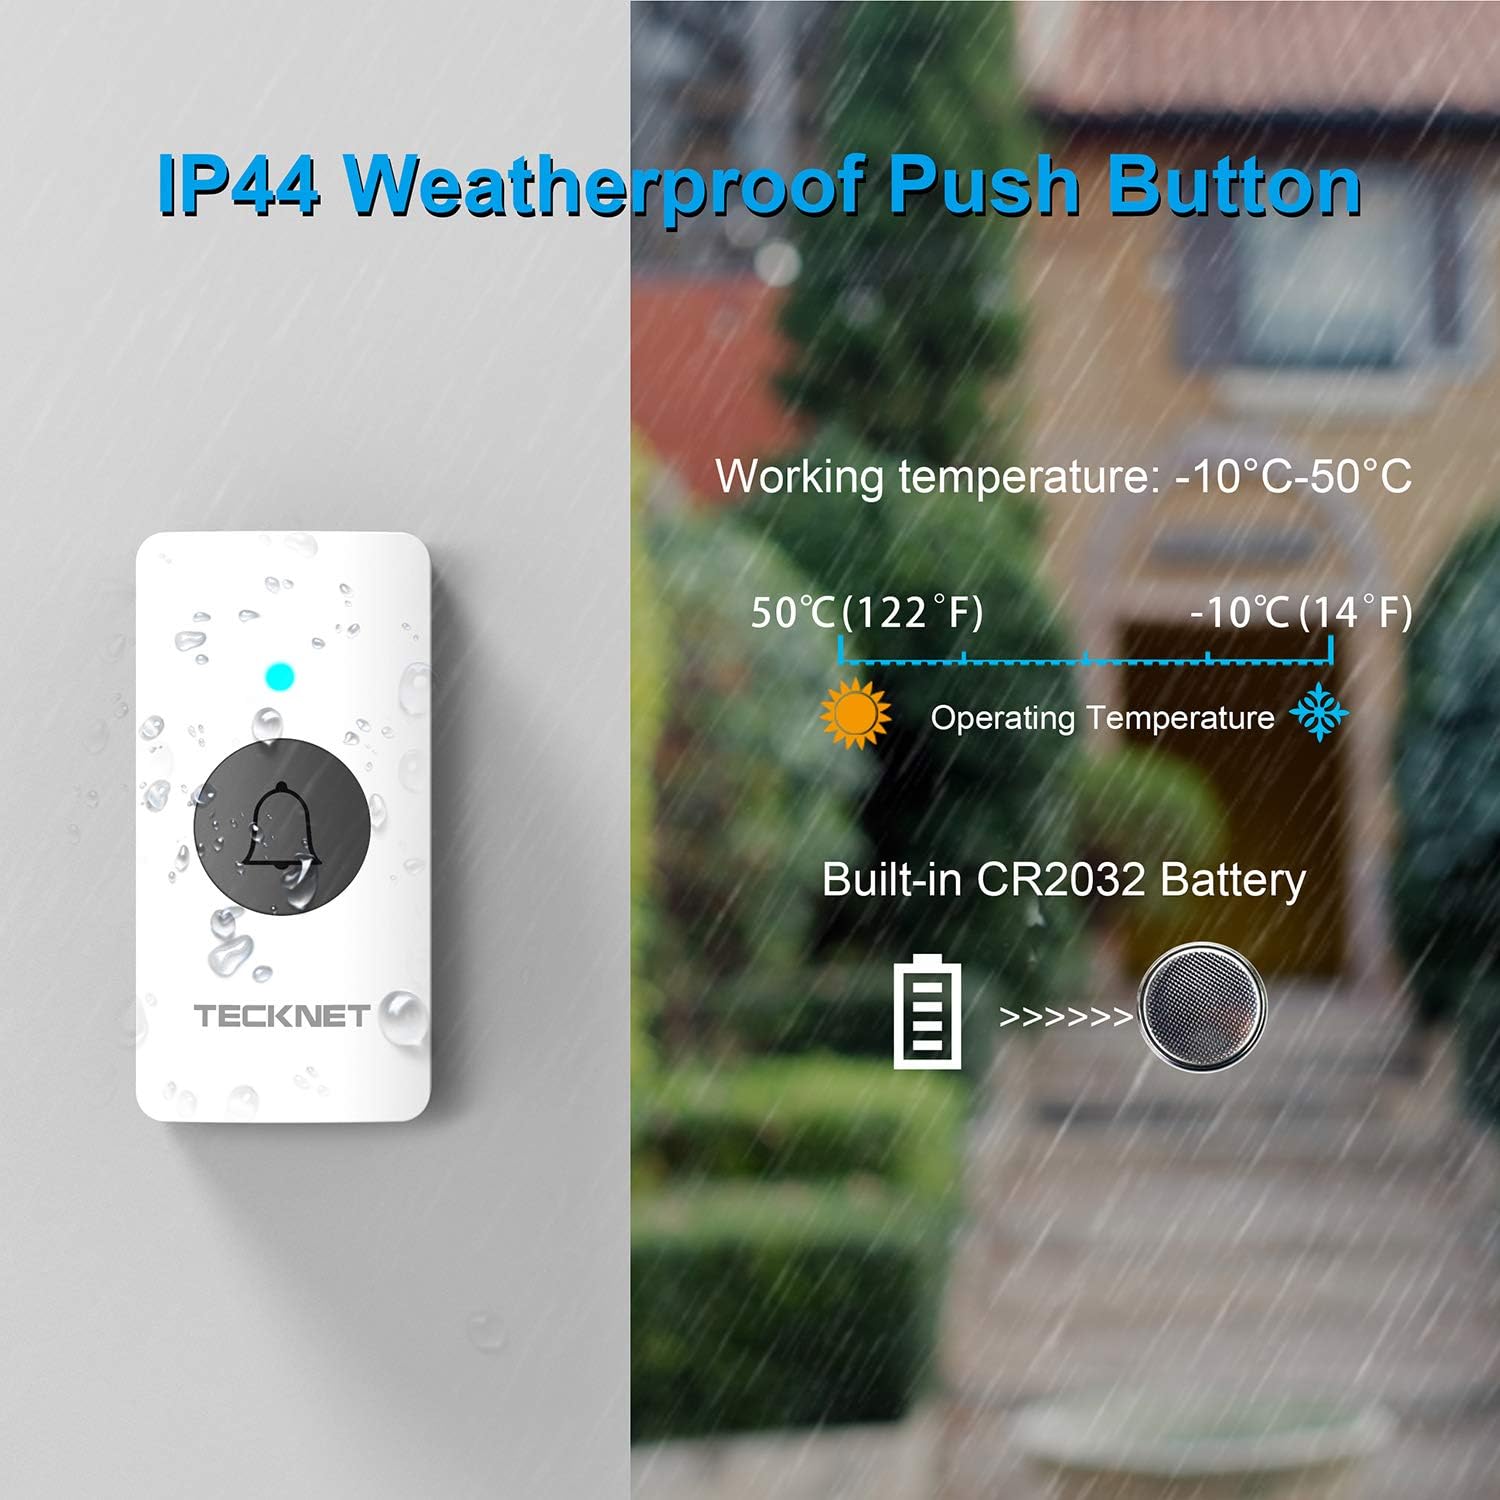
- Weatherproof Push Button: IP44 rated for outdoor use.
- Flexible Power Options: Receiver can be powered by AAA batteries or USB. Transmitter uses a built-in CR2032 battery.
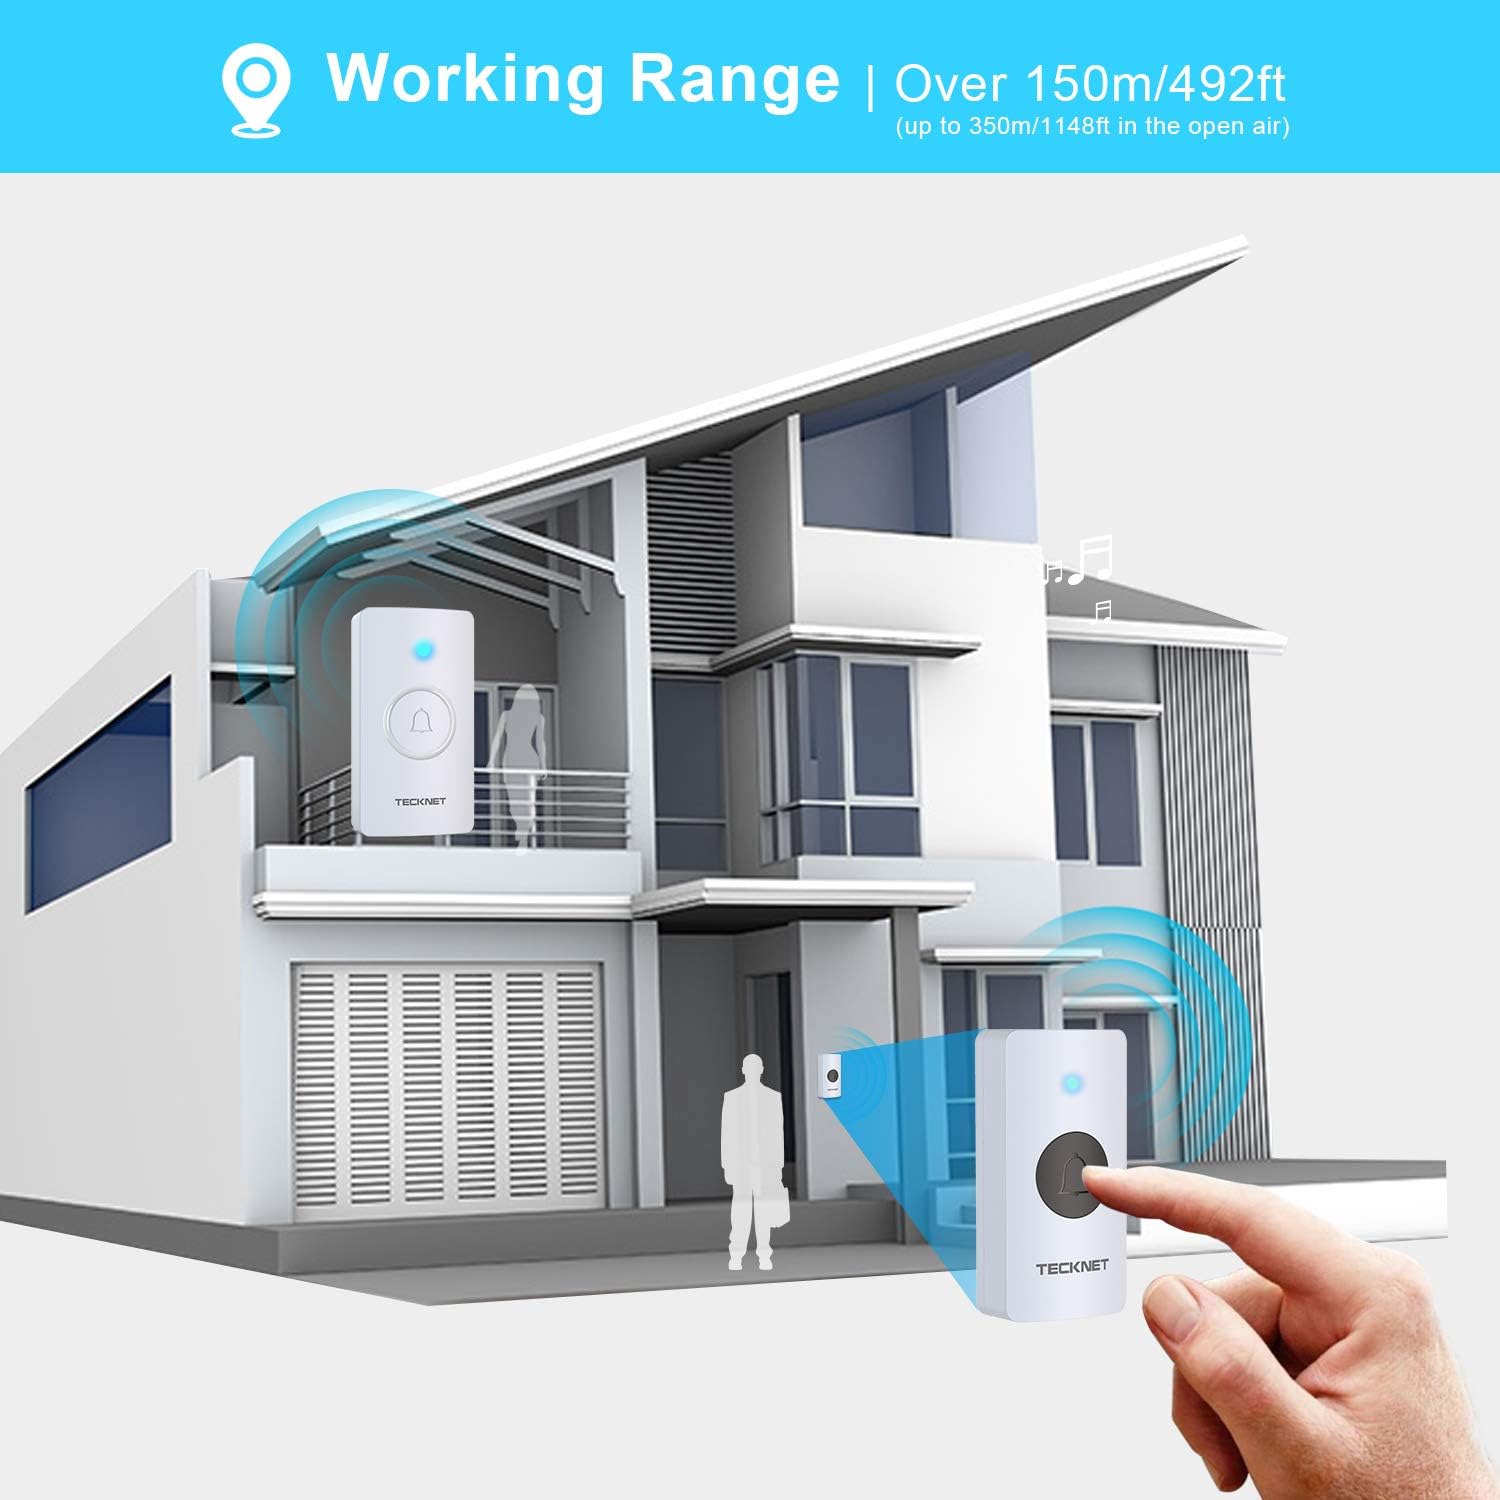
- Extended Range: Operates effectively over 150 meters (492 feet), up to 350 meters (1148 feet) in open areas.

Setup
Transmitter (Push Button) Installation:
- Prepare the Transmitter: The transmitter comes with a built-in CR2032 battery. Remove any insulating strip if present to activate the battery.
- Choose Mounting Location: Select a flat, clean surface near your door.
- Mounting Options:
- Adhesive Tape: Peel off one side of the double-sided adhesive tape and apply it to the back of the transmitter. Peel off the other side and firmly press the transmitter onto the desired surface for at least 30 seconds.
- Screws: If using screws, mark the positions for drilling. Drill pilot holes, insert wall plugs (if necessary), and secure the transmitter using the provided screws.
Receiver (Chime Unit) Setup:
- Power Options:
- Battery Power: Open the battery compartment on the back of the receiver. Insert 3 AAA batteries (not included), ensuring correct polarity (+/-). Close the compartment.
- USB Power: Alternatively, connect the receiver to a 5V USB power adapter (not included) using a standard USB cable.
- Placement: Place the receiver in a central location within your home where the chime can be easily heard. It can be placed on a table using its detachable stand or mounted on a wall.


Operating Instructions
Pairing the Transmitter and Receiver:
Your doorbell system should be pre-paired from the factory. If re-pairing is needed or if you add additional transmitters/receivers:
- Ensure the receiver is powered on (either by batteries or USB).
- Press and hold the volume button on the receiver for approximately 5 seconds until you hear a short chime and the LED indicator flashes. This indicates it is in pairing mode.
- Within 10 seconds, press the push button on the transmitter. The receiver will chime, confirming successful pairing.
- If pairing fails, repeat the steps.
Melody Selection:
To change the melody:
- Press the 'Melody' button (often indicated by a music note icon) on the receiver to cycle through the 38 available tunes.
- Once you hear your desired melody, stop pressing the button. The selected melody will be saved.
Volume Adjustment:
To adjust the volume:
- Press the 'Volume' button on the receiver to cycle through the 4 available volume levels (0dB to 90dB).
- Select the volume level that best suits your environment.
LED Indicator:
When the push button is pressed, the LED indicator on both the transmitter and receiver will flash, providing a visual alert in addition to the audible chime.

Maintenance
Battery Replacement:
- Transmitter (Push Button): The transmitter uses a CR2032 lithium battery. When the LED on the push button no longer lights up or the range decreases significantly, it's time to replace the battery. Carefully open the transmitter casing (usually by prying it open with a small screwdriver) and replace the CR2032 battery, ensuring correct polarity.
- Receiver (Chime Unit): The receiver uses 3 AAA batteries. If the chime volume becomes low or the unit stops working, replace the AAA batteries in the battery compartment, ensuring correct polarity.
Cleaning:
Wipe the doorbell units with a soft, dry cloth. Do not use abrasive cleaners or solvents, as these may damage the surface or internal components. Ensure the push button's seal remains intact for weather resistance.
Troubleshooting
| Problem | Possible Cause | Solution |
|---|---|---|
| Doorbell does not ring. | Low or dead batteries in transmitter or receiver. Units are not paired. Receiver is out of range. | Replace batteries in both units. Re-pair the transmitter and receiver (see 'Pairing' section). Move receiver closer to the transmitter. |
| Short operating range. | Obstructions (thick walls, metal structures). Interference from other wireless devices. Low battery. | Relocate the receiver to a more open area. Avoid placing near large metal objects. Replace batteries. |
| LED indicator on receiver does not flash. | Receiver is not powered. Feature is disabled (if applicable). | Check receiver power (batteries or USB). Consult manual for LED settings if available. |
| Melody resets after power loss. | This model may not retain melody selection without continuous power. | Re-select your preferred melody after power is restored or batteries are replaced. |
Specifications
- Brand: TECKNET
- Model Name: Wa628
- Model Number: 843175
- Wireless Range: Over 150m (492ft), up to 350m (1148ft) in open air
- Melodies: 38 selectable tunes
- Volume Levels: 4 (0dB to 90dB)
- Transmitter Weatherproof Rating: IP44
- Operating Temperature: -10°C to 50°C (14°F to 122°F)
- Transmitter Battery: 1 x CR2032 (built-in)
- Receiver Power: 3 x AAA batteries (not included) or 5V USB DC power adapter (not included)
Warranty and Support
For warranty information and customer support, please refer to the documentation included with your purchase or visit the official TECKNET website. You can also find more information on the TECKNET Brand Store on Amazon.


