Einhell TE-CD 18/2 Li (Model 4513830)
Einhell TE-CD 18/2 Li Cordless Drill Power X-Change Kit User Manual
Model: TE-CD 18/2 Li (4513830)
1. Introduction
This manual provides essential information for the safe and effective operation, maintenance, and troubleshooting of your Einhell TE-CD 18/2 Li Cordless Drill Power X-Change Kit. Please read this manual thoroughly before using the product and keep it for future reference.
The Einhell TE-CD 18/2 Li is a powerful, robust, and versatile cordless drill designed for demanding screwing and drilling tasks in various materials. It is part of the Einhell Power X-Change family, ensuring compatibility with other Power X-Change batteries and chargers.

Image 1.1: Einhell TE-CD 18/2 Li Cordless Drill Kit components.
2. Safety Information
Always observe the following safety precautions to prevent electric shock, injury, and fire:
- Wear appropriate personal protective equipment (PPE) such as safety glasses, hearing protection, and gloves.
- Ensure the work area is well-lit and free from obstructions.
- Keep children and bystanders away while operating the tool.
- Do not operate power tools in explosive atmospheres, such as in the presence of flammable liquids, gases, or dust.
- Always disconnect the battery pack before making any adjustments, changing accessories, or storing the tool.
- Use only Einhell Power X-Change batteries and chargers with this tool.
- Do not expose the tool or battery to rain or wet conditions.
- Avoid accidental starting. Ensure the switch is in the off-position before inserting the battery pack.
3. Package Contents
The Einhell TE-CD 18/2 Li Cordless Drill Power X-Change Kit typically includes the following items:
- 1 x Einhell TE-CD 18/2 Li Cordless Drill-Driver
- 2 x 1.5 Ah Power X-Change Lithium-Ion Batteries
- 1 x Power X-Change Fast Charger
- 1 x Belt Hook
- 1 x Plastic Carrying Case
Please check that all items are present and undamaged upon unpacking. If any items are missing or damaged, contact your retailer.
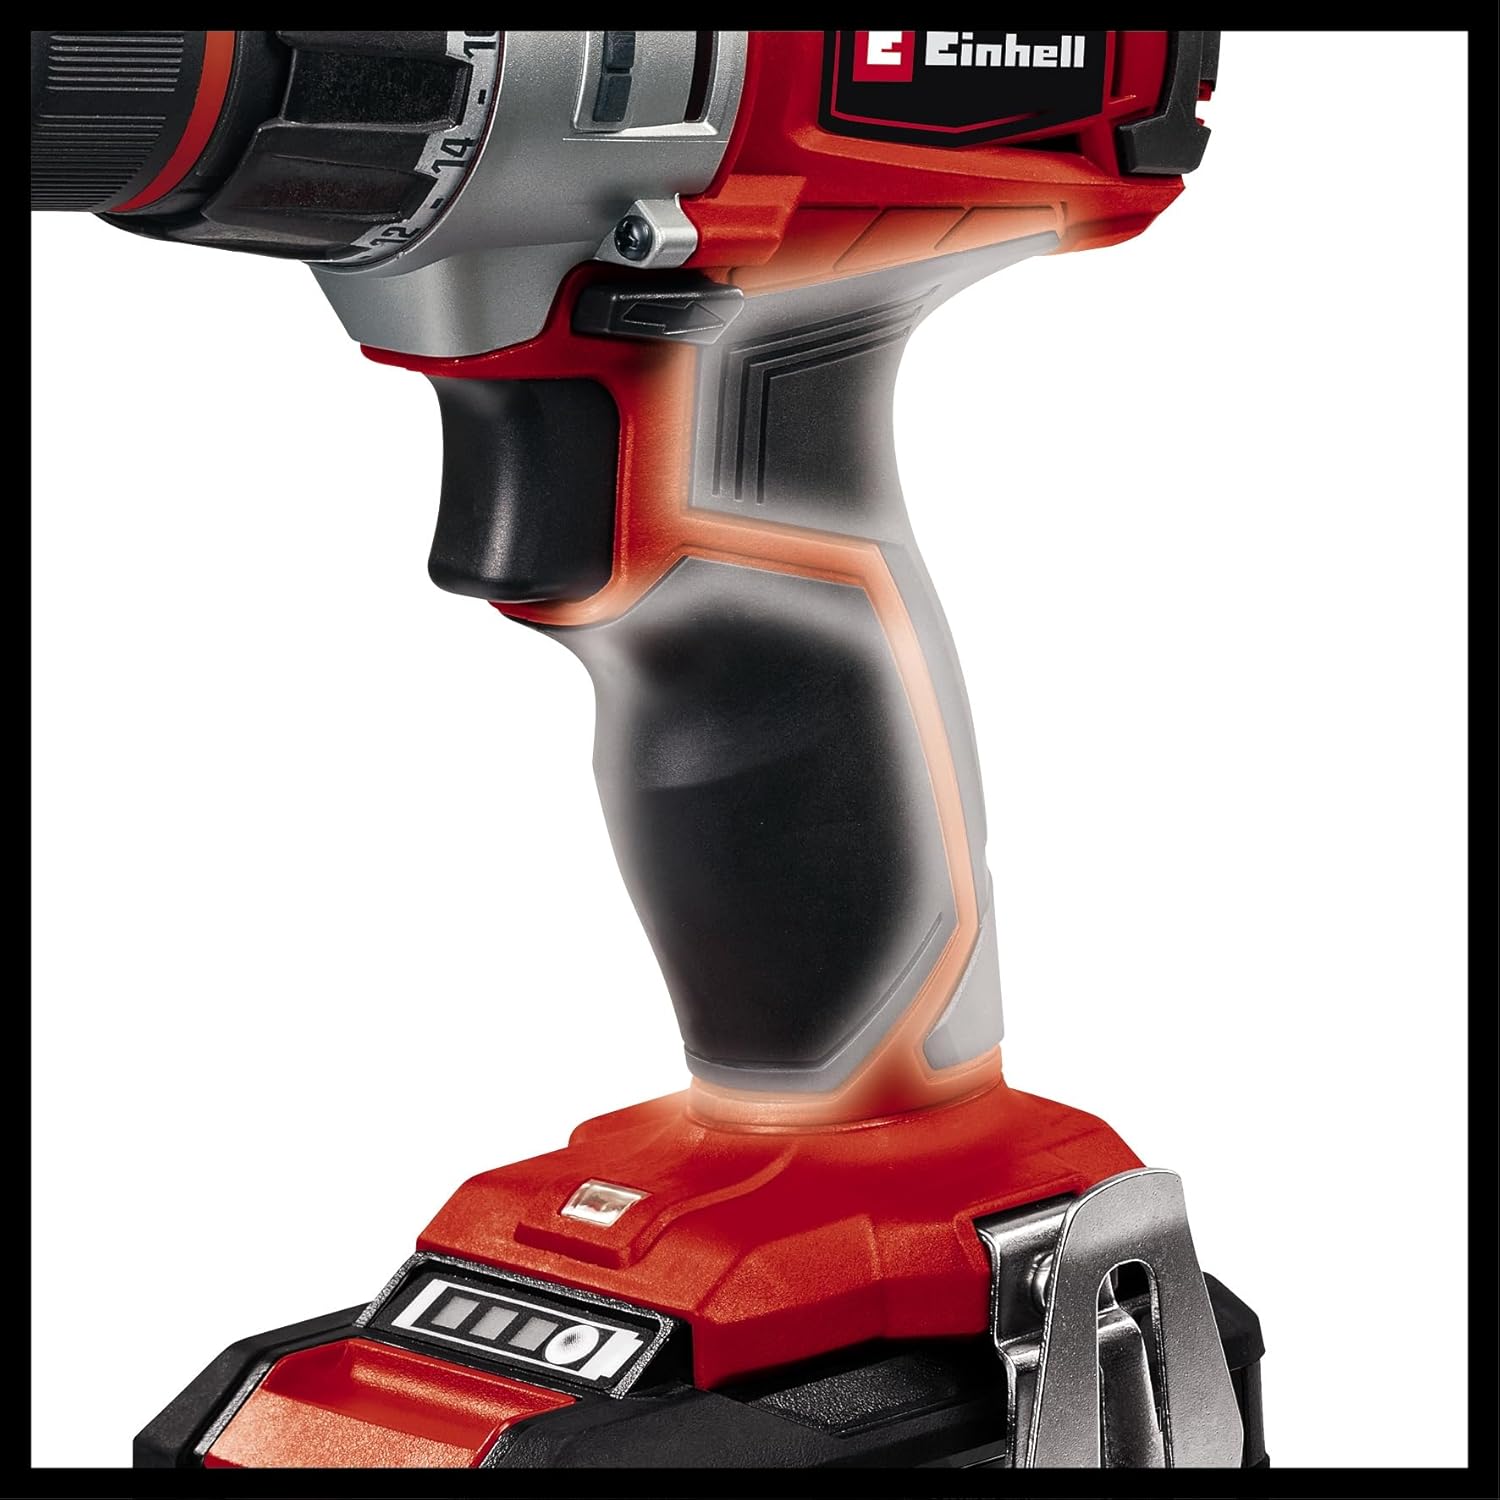
Image 3.1: All components included in the kit.
4. Setup
4.1 Charging the Battery
Before first use, fully charge the battery pack. The charger is designed for Einhell Power X-Change batteries only.
- Insert the battery pack into the charger. Ensure it clicks into place.
- Plug the charger into a suitable power outlet (120V AC, 60Hz).
- The charging indicator light on the charger will show the charging status. Refer to the charger's specific manual for detailed light indications.
- Once fully charged, disconnect the charger from the power outlet and remove the battery pack.
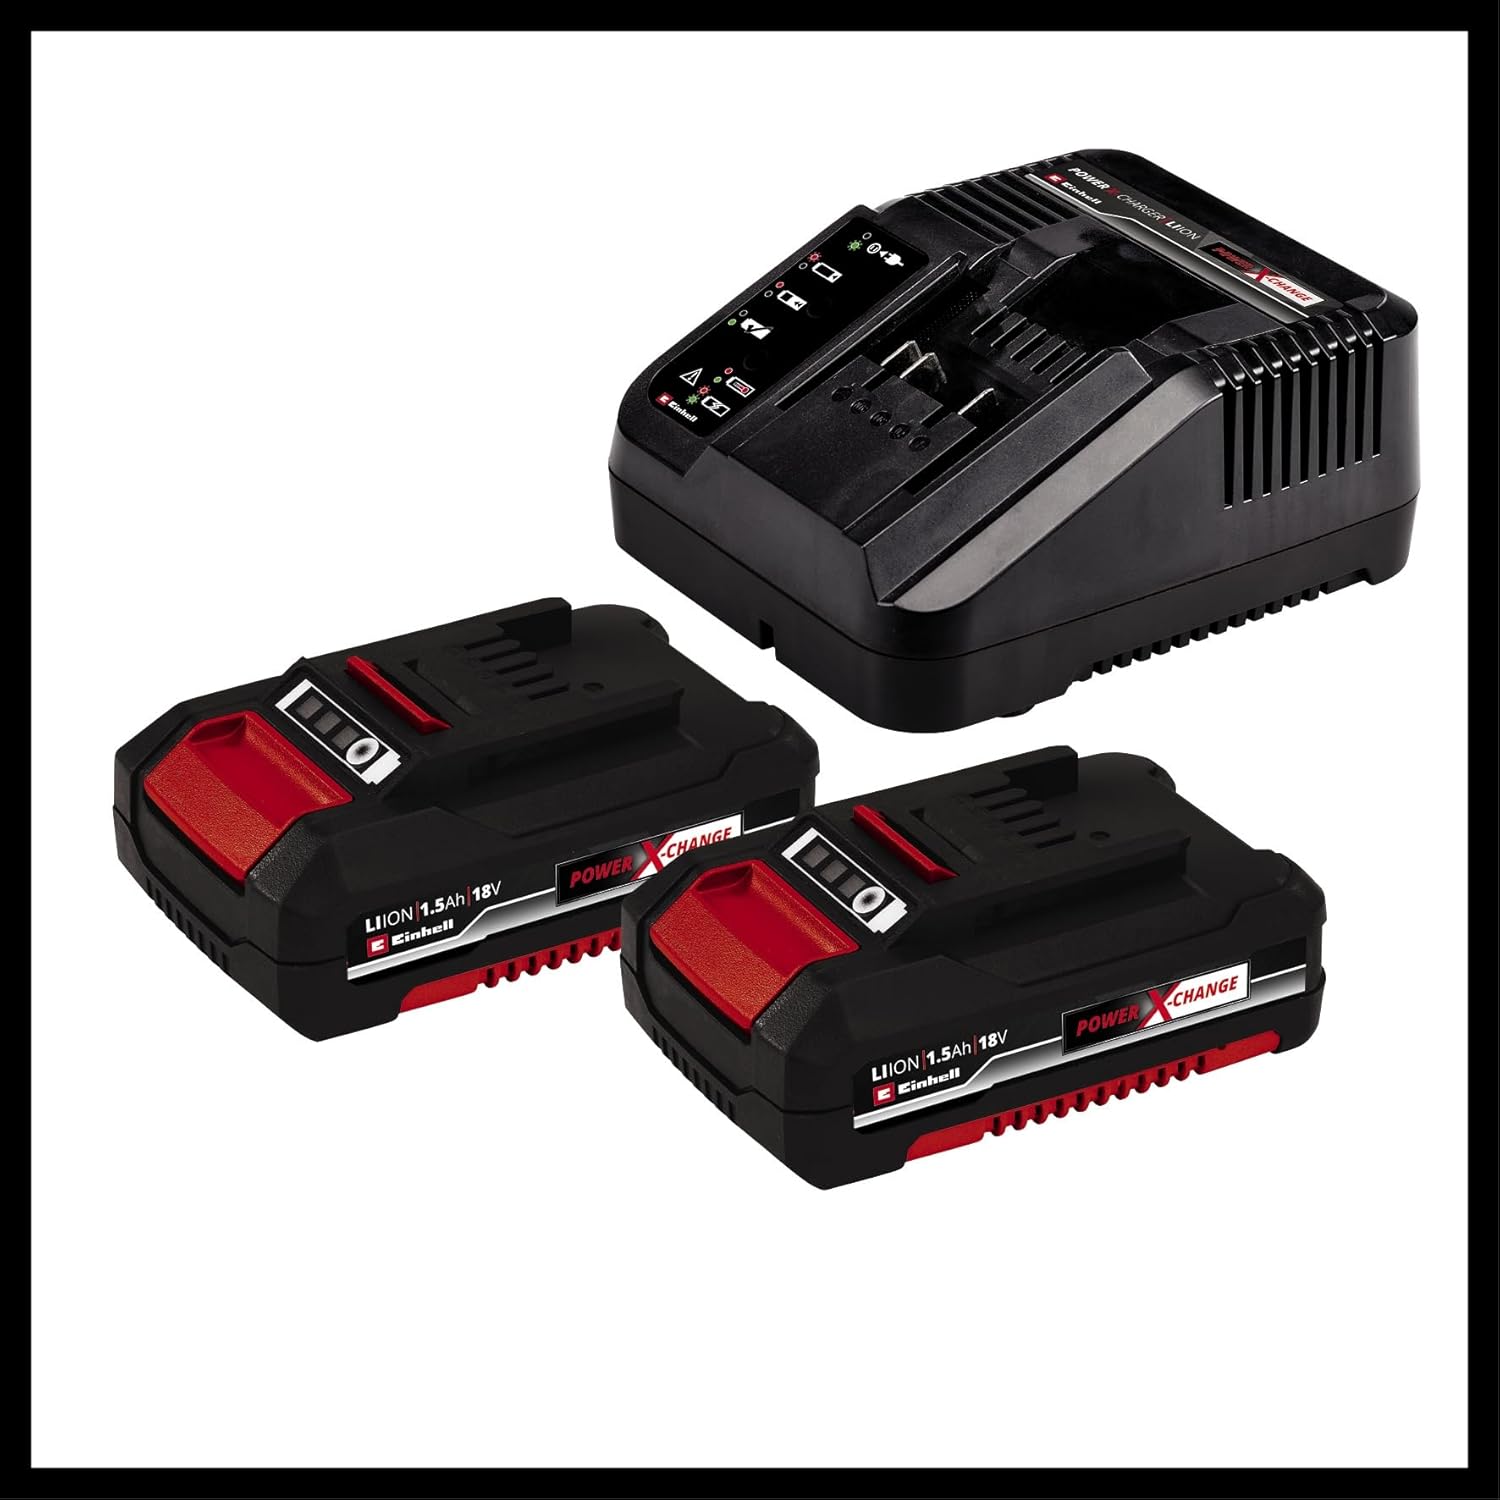
Image 4.1: Einhell Power X-Change batteries and charger.
4.2 Installing the Battery Pack
To install the battery pack:
- Align the battery pack with the battery port on the bottom of the drill handle.
- Slide the battery pack into the port until it clicks securely into place.
To remove the battery pack, press the release button(s) on the sides of the battery and slide it out.
4.3 Attaching/Changing Drill Bits
The drill features a quick-change chuck for easy bit changes.
- Ensure the drill is off and the battery is removed for safety.
- Rotate the chuck counter-clockwise to open the jaws.
- Insert the drill bit or screwdriver bit fully into the chuck.
- Rotate the chuck clockwise to tighten the jaws securely around the bit. Hand-tighten firmly.
5. Operating the Drill
5.1 Powering On/Off
The drill is activated by pressing the trigger switch. The speed is variable depending on how far the trigger is pressed.
- To start: Press the trigger switch.
- To stop: Release the trigger switch. The quick-stop function will rapidly halt the chuck rotation.

Image 5.1: Proper use of the cordless drill.
5.2 Forward/Reverse Rotation
A slide switch located above the trigger controls the direction of rotation:
- Slide left for forward rotation (for drilling and tightening screws).
- Slide right for reverse rotation (for loosening screws).
- Center position locks the trigger for safety during transport or bit changes.
5.3 Speed Settings (2-Speed Gearbox)
The drill features a 2-speed gearbox for optimal performance in different applications:
- Gear 1 (Low Speed, High Torque): Ideal for heavy-duty screwing and drilling large holes in tough materials.
- Gear 2 (High Speed, Lower Torque): Suitable for fast drilling in wood, plastic, and light metals, and for smaller screws.
To change gears, slide the gear selector switch on top of the drill. Ensure the drill is stopped before changing gears to prevent damage.

Image 5.2: Key features: High Power, Drill/Screw, 2 Gears.
5.4 Torque Adjustment (Clutch Setting)
The torque adjustment ring allows you to set the desired torque for screwing applications. This prevents over-tightening screws and damaging the workpiece or screw head.
- Rotate the torque adjustment ring to select a setting from 1 to 21. Lower numbers provide less torque, higher numbers provide more.
- The drill symbol setting bypasses the clutch for maximum torque, suitable for drilling.
- Start with a lower torque setting and increase it as needed until the screw is driven flush without stripping.
5.5 LED Work Light
The integrated LED work light illuminates the work area when the trigger is pressed, improving visibility in dimly lit spaces.

Image 5.3: LED work light and battery charge indicator.
5.6 Ergonomic Design and Belt Clip
The drill features an ergonomic soft grip handle for comfortable and secure handling during extended use. A convenient belt clip allows for easy carrying and quick access while working.
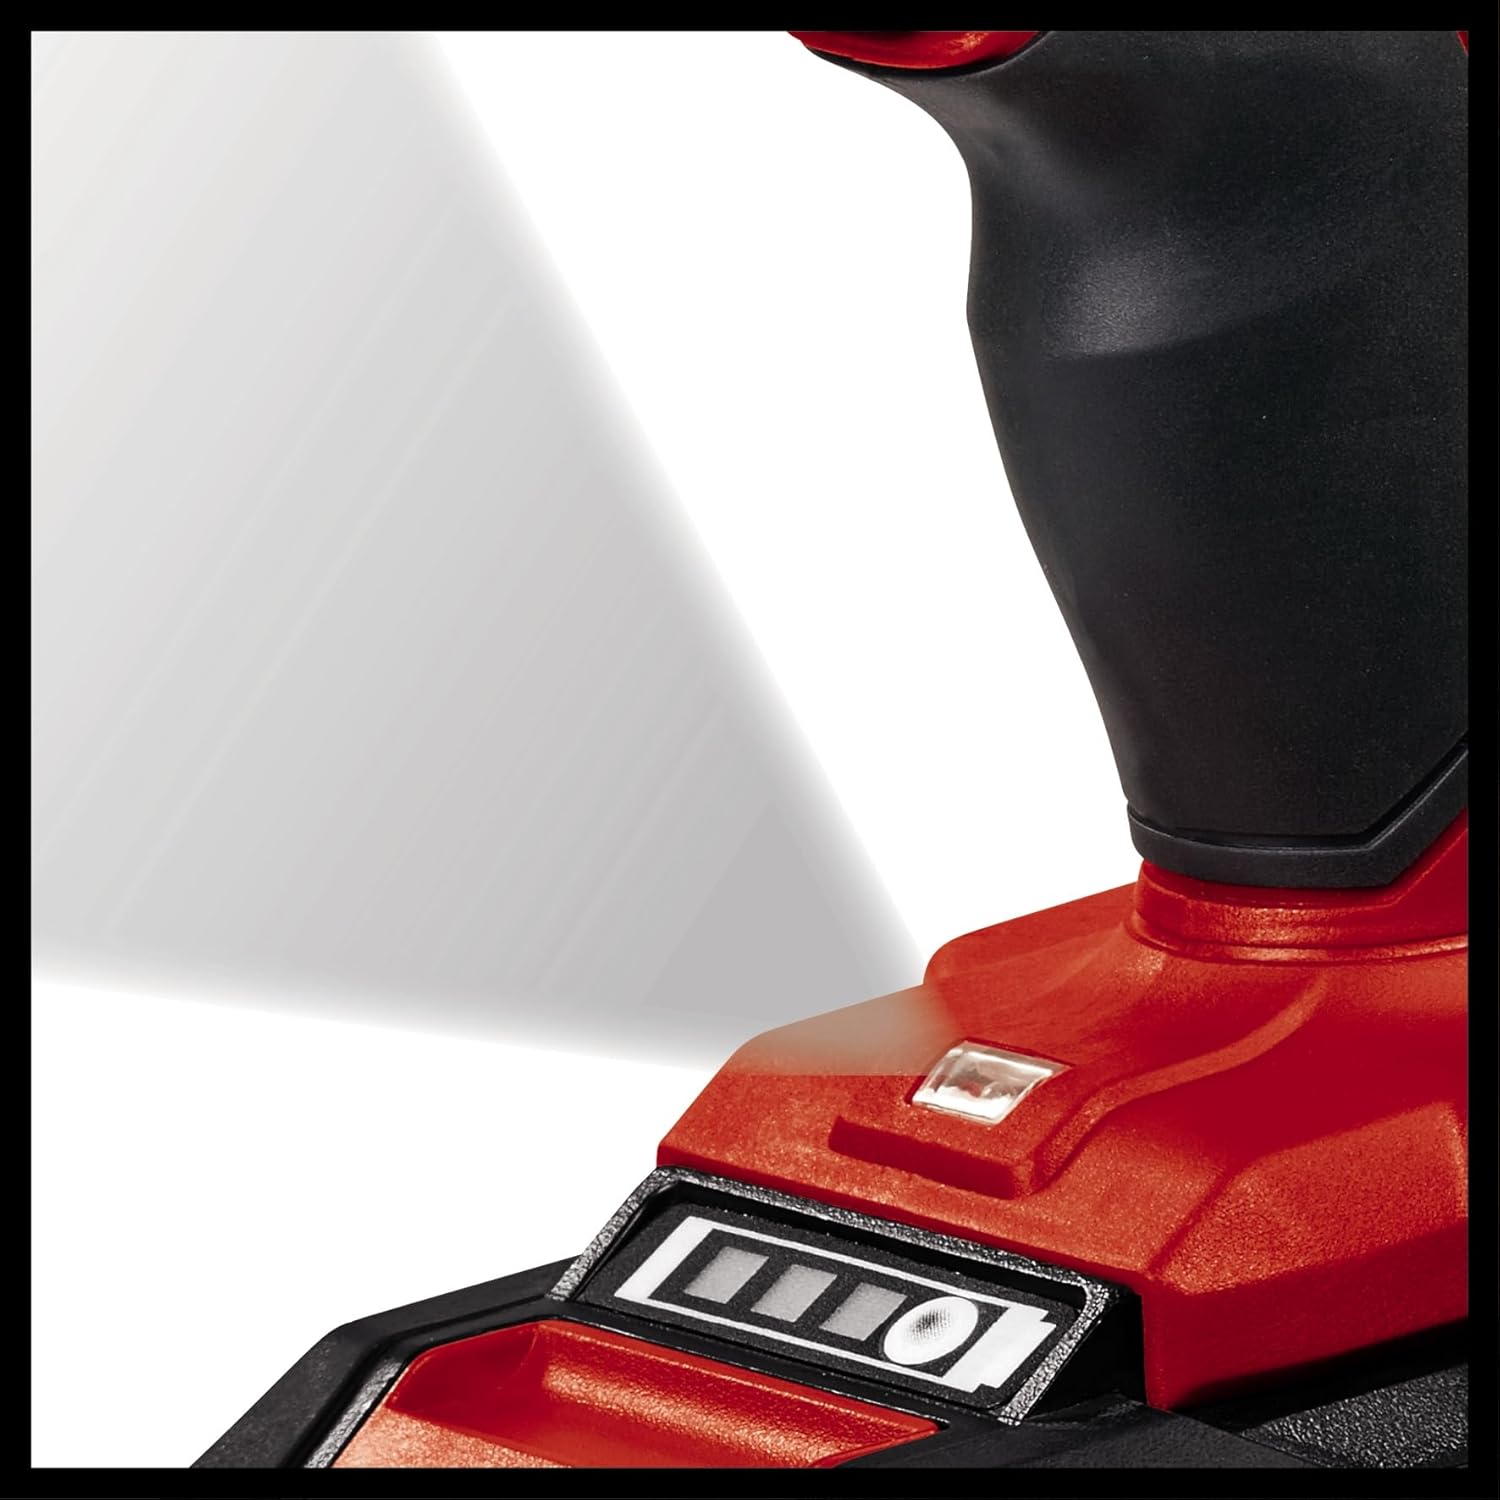
Image 5.4: Ergonomic soft grip handle for comfortable use.
6. Maintenance
Regular maintenance ensures the longevity and optimal performance of your drill.
- Cleaning: Keep the ventilation openings clean and free from dust. Use a soft, damp cloth to wipe down the tool. Do not use harsh chemicals or abrasive cleaners.
- Storage: Store the drill, batteries, and charger in a dry, cool place, away from direct sunlight and moisture. Use the provided carrying case for protection.
- Battery Care: Store batteries at room temperature and partially charged (around 50%) if storing for extended periods. Do not store fully discharged batteries.
- Inspection: Periodically inspect the chuck, power cord (of the charger), and housing for any signs of damage. Do not use the tool if any part is damaged.
7. Troubleshooting
| Problem | Possible Cause | Solution |
|---|---|---|
| Drill does not start. | Battery not inserted correctly or discharged. Trigger lock engaged. | Ensure battery is fully inserted and charged. Disengage the forward/reverse switch from the center (locked) position. |
| Reduced power or speed. | Battery low. Overload. | Recharge battery. Reduce pressure on the tool or use a lower gear setting. |
| Chuck not holding bit securely. | Chuck not tightened sufficiently. Bit shank is dirty or damaged. | Re-tighten chuck firmly. Clean or replace the bit. |
| Overheating. | Continuous heavy use. Blocked ventilation. | Allow tool to cool down. Clear any obstructions from ventilation openings. |
8. Specifications
| Feature | Specification |
|---|---|
| Model | TE-CD 18/2 Li (4513830) |
| Voltage | 18 V |
| Battery Type | Lithium-Ion (Power X-Change) |
| Battery Capacity | 1.5 Ah (x2 included) |
| No-Load Speed (Gear 1) | 0-350 RPM |
| No-Load Speed (Gear 2) | 0-1250 RPM |
| Max. Torque | 44 Nm |
| Torque Settings | 21 + Drill |
| Chuck Type | Keyless Chuck |
| Product Dimensions (L x W x H) | 12.99" x 3.94" x 13.11" (approx.) |
| Item Weight | 8.38 lbs (approx.) |

Image 8.1: Internal gear mechanism for powerful performance.
9. Warranty and Support
Einhell products are manufactured to high quality standards and are subject to strict quality controls. This product is covered by a manufacturer's warranty. Please refer to the warranty card included with your product for specific terms and conditions, including warranty period and coverage details.
For technical support, spare parts, or warranty claims, please contact Einhell customer service. Contact information can typically be found on the Einhell official website or on the warranty card.
You can also visit the official Einhell website for more information and product registration: www.einhell.com
Related Documents - TE-CD 18/2 Li (Model 4513830)
 |
Einhell TE-CD 18/40 Li Akku-Bohrschrauber Bedienungsanleitung Umfassende Bedienungsanleitung für den Einhell TE-CD 18/40 Li Akku-Bohrschrauber, inklusive Sicherheitshinweisen, technischen Daten und Bedienungshinweisen für Heimwerker. |
 |
Einhell TE-CD 18/40 Li Akku-Bohrschrauber: Bedienungsanleitung Umfassende Bedienungsanleitung für den Einhell TE-CD 18/40 Li Akku-Bohrschrauber. Enthält wichtige Sicherheitshinweise, Produktbeschreibung, technische Daten und Bedienungsschritte für den effizienten und sicheren Einsatz. |
 |
Einhell TE-CD 18/40 Li Cordless Drill Driver User Manual Operating instructions and safety information for the Einhell TE-CD 18/40 Li Cordless Drill Driver. Includes setup, operation, maintenance, and technical specifications. |
 |
Einhell TE-CD 18/50 Li-i BL Cordless Hammer Drill/Screwdriver - Operating Instructions Comprehensive operating instructions for the Einhell TE-CD 18/50 Li-i BL cordless hammer drill/screwdriver, covering safety, technical data, operation, maintenance, disposal, and warranty information. |
 |
Einhell TE-CD 18/2 Li Cordless Drill/Screwdriver User Manual Comprehensive user manual for the Einhell TE-CD 18/2 Li cordless drill/screwdriver. Includes safety instructions, operation, maintenance, and technical specifications. |
 |
Einhell TE-CD 18/45 3X-Li Akku-Bohrschrauber Bedienungsanleitung Bedienungsanleitung für den Einhell TE-CD 18/45 3X-Li Akku-Bohrschrauber. Erfahren Sie alles über Sicherheit, Inbetriebnahme, Bedienung und Wartung dieses Power X-Change Werkzeugs. |
Ask a question about this manual
Ask about setup, troubleshooting, compatibility, parts, safety, or missing instructions. Manuals+ will review the question and use this page’s manual context to help answer it.