
1. Introduction
This manual provides essential information for the proper setup, operation, and maintenance of your LG 24MP48HQ-P 24-Inch IPS Monitor. Please read this manual thoroughly before using the product to ensure safe and efficient operation. Keep this manual for future reference.
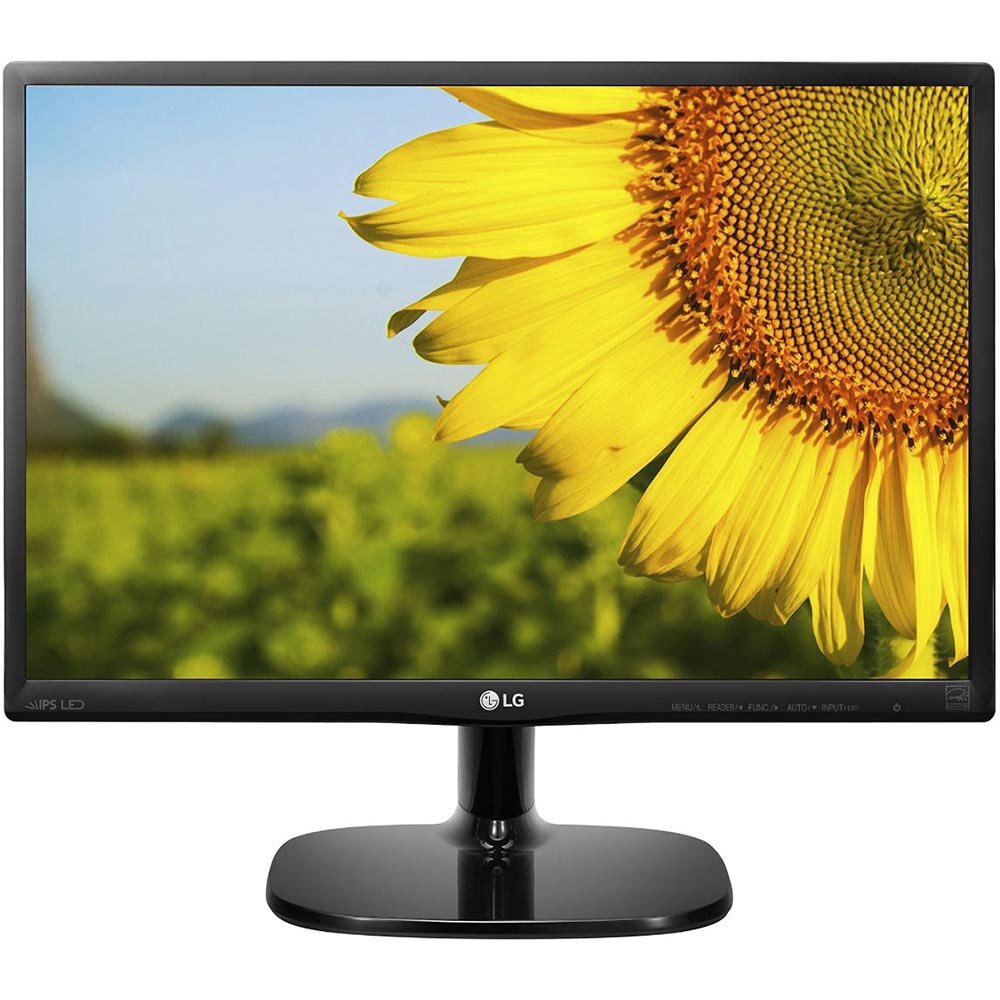
Figure 1: Front view of the LG 24MP48HQ-P 24-Inch IPS Monitor.
2. Package Contents
Verify that all components are present in the product box. If any items are missing or damaged, contact your retailer.
- LG 24MP48HQ-P Monitor
- Power Cord
- HDMI Cable
- Stand Base and Neck
- User Manual (this document)
3. Setup
3.1 Assembling the Stand
- Carefully place the monitor screen face down on a soft, clean surface to prevent scratches.
- Attach the stand neck to the monitor's rear panel. Ensure it clicks securely into place.
- Connect the stand base to the stand neck. Tighten the screw at the bottom of the base to secure it.
3.2 Connecting Cables
Ensure the monitor and your computer are powered off before making any connections.
- Power Connection: Connect the power cord to the monitor's power input and then to a wall outlet.
- HDMI Connection: Connect one end of the provided HDMI cable to the HDMI port on your computer and the other end to the HDMI port on the monitor.
- VGA Connection (Optional): If using a VGA connection, connect a VGA cable (not included) to the VGA port on your computer and the VGA port on the monitor.

Figure 2: Example of monitor rear panel with connectivity ports.
4. Operating Instructions
4.1 Power On/Off
Press the power button, typically located on the bottom center or right side of the monitor, to turn the monitor on or off. The power indicator light will illuminate when the monitor is on.
4.2 Input Source Selection
If you have multiple devices connected, you may need to manually select the input source. Use the monitor's joystick button or OSD (On-Screen Display) menu to navigate to the 'Input' or 'Source' option and select the desired input (e.g., HDMI, VGA).
4.3 On-Screen Control Software
The LG 24MP48HQ-P monitor supports LG's On-Screen Control software, which allows you to adjust monitor settings using your mouse instead of the physical buttons. This software can be downloaded from the official LG website. Ensure your operating system is Windows 10 for full compatibility.
5. On-Screen Control Features
Utilize the On-Screen Control software to access and customize various display settings and features.
- 4-Screen Split: This feature allows you to divide your screen into multiple sections for efficient multitasking. You can arrange windows in various layouts to suit your workflow.
- My Display Custom Presets: Create and save personalized display settings for different activities, such as gaming, movie watching, or document editing.
- Reader Mode: Adjusts the screen's color temperature and brightness to reduce eye strain, making it more comfortable for reading documents for extended periods.
- Black Stabilizer: Enhances visibility in dark scenes by brightening dark areas, allowing you to see details that might otherwise be hidden.
- Smart Energy Saving: Optimizes power consumption by adjusting screen brightness based on ambient light conditions and content displayed.

Figure 3: Visual representation of the 4-Screen Split function.
6. Maintenance
6.1 Cleaning the Monitor Screen
To clean the screen, gently wipe it with a soft, lint-free cloth. For stubborn marks, lightly dampen the cloth with water or a specialized screen cleaner. Never spray liquid directly onto the screen.
6.2 Cleaning the Monitor Exterior
Wipe the exterior surfaces of the monitor with a soft, dry cloth. Avoid using abrasive cleaners or solvents, as these can damage the finish.
7. Troubleshooting
If you encounter issues with your monitor, refer to the following common solutions:
- No Power: Ensure the power cord is securely connected to both the monitor and a working electrical outlet. Check if the power indicator light is on.
- No Signal/Blank Screen: Verify that the video cable (HDMI or VGA) is firmly connected to both the monitor and your computer. Ensure the correct input source is selected via the monitor's OSD menu. Try restarting your computer.
- Flickering Screen: Check the video cable for damage or loose connections. Ensure your graphics card drivers are up to date.
- Incorrect Resolution: Adjust the display resolution settings in your computer's operating system to 1920 x 1080 pixels for optimal display quality.
- Image Border: Some users may observe a small, approximately 1/4-inch border around the perimeter of the display area. This is a characteristic of the panel design and not a defect.
8. Specifications
| Feature | Specification |
|---|---|
| Brand | LG |
| Model Number | 24MP48HQ-P |
| Screen Size | 24 Inches |
| Resolution | 1920 x 1080 (Full HD) |
| Display Type | IPS LED |
| Aspect Ratio | 1.78:1 |
| Refresh Rate | 60 Hz |
| Response Time | 5 Milliseconds |
| Contrast Ratio | 1000:1 |
| Viewing Angle | 170 Degrees |
| Connectivity | HDMI, VGA |
| Item Weight | 6.2 Pounds |
| Mounting Type | Wall Mount (VESA compatible) |
| Additional Features | Adaptive Sync, Blue Light Filter, Reader Mode, Black Stabilizer |
9. Warranty and Support
Your LG 24MP48HQ-P monitor is covered by a limited warranty. For detailed warranty terms and conditions, please refer to the warranty card included with your product or visit the official LG website. For technical support, service inquiries, or to download the latest drivers and software, please contact LG customer service or visit their support portal.
LG Customer Support: Refer to your regional LG website for contact information.