Bluestone Automatic Wrist Blood Pressure Monitor User Manual
Model: 80-5103
1. Introduction
Thank you for choosing the Bluestone Automatic Wrist Blood Pressure Monitor. This device is designed to provide quick and accurate measurements of your systolic and diastolic blood pressure, as well as your pulse rate. Regular monitoring can help you track your heart health over time. Please read this manual thoroughly before using the device to ensure correct operation and accurate results.
2. Safety Information
- This device is intended for adult home use only. Consult your physician for interpretation of blood pressure measurements.
- Do not use this device on infants, children, or individuals who cannot express their consent.
- Avoid taking measurements in a moving vehicle or during physical activity.
- Do not self-diagnose or self-medicate based on the measurement results. Always consult a healthcare professional.
- Keep the device away from strong electromagnetic fields.
- Do not disassemble or attempt to repair the device. Contact customer support if issues arise.
3. Product Overview
The Bluestone Automatic Wrist Blood Pressure Monitor is a compact and portable device designed for ease of use. It features a large LCD screen for clear readings and a memory function to store past measurements.
3.1 Components
- Wrist Blood Pressure Monitor with integrated cuff
- Storage Case
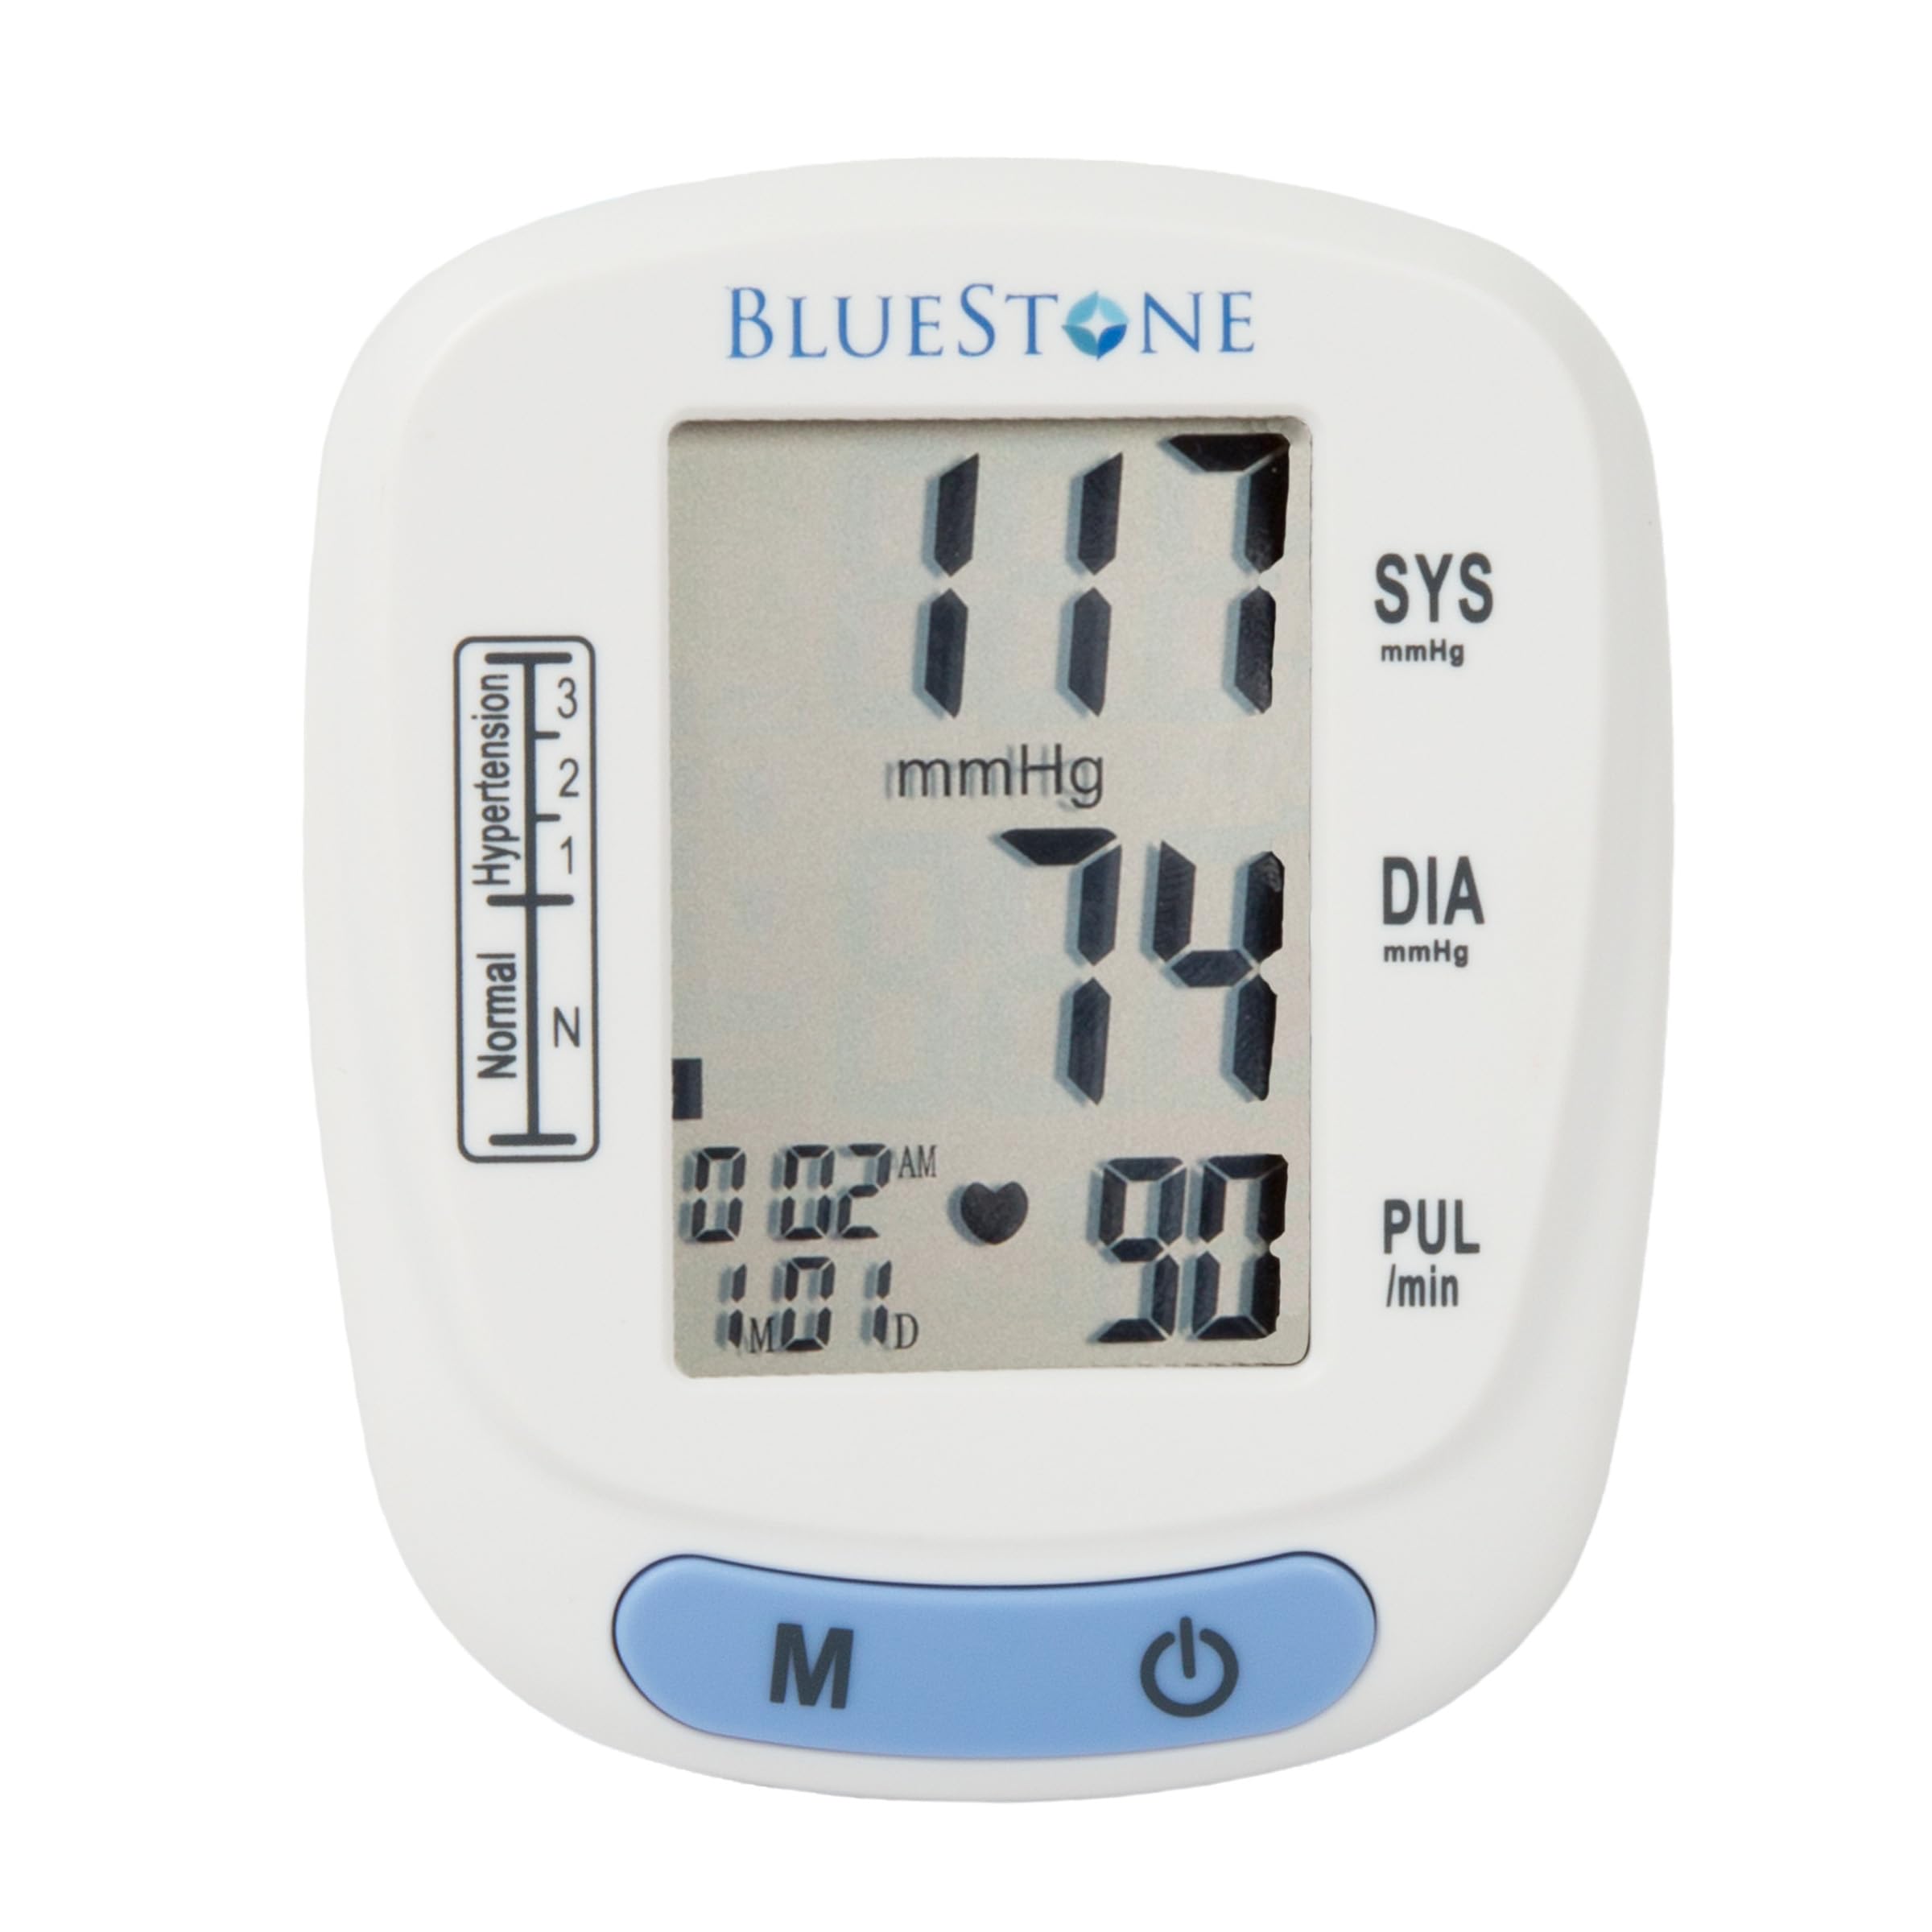
Image 3.1: Bluestone Automatic Wrist Blood Pressure Monitor on a user's wrist.
3.2 Device Features

Image 3.2: Labeled diagram highlighting the monitor's display elements and buttons.
- Large LCD Screen: Displays systolic, diastolic, pulse, date, and time.
- Blood Pressure Level Bar: Indicates blood pressure classification (Normal, Hypertension levels 1, 2, 3).
- Memory Button (M): Accesses stored readings.
- On/Off Button: Powers the device on and off, and initiates measurements.
- Adjustable Cuff: Designed to fit wrists up to 10 inches in circumference.
4. Setup
4.1 Battery Installation
- Open the battery compartment cover on the back of the monitor.
- Insert two AAA batteries (not included), ensuring correct polarity (+/-).
- Close the battery compartment cover securely.
4.2 Cuff Placement
- Remove any tight clothing from your wrist.
- Place the monitor on your left wrist with the display facing upwards. The cuff should be positioned approximately 1-2 cm above your wrist joint.
- Fasten the cuff snugly around your wrist. Ensure it is not too tight or too loose.
- Rest your arm on a table or flat surface so that the monitor is at the same level as your heart. Keep your palm open and relaxed.
5. Operating Instructions
5.1 Taking a Measurement
- Ensure the cuff is correctly placed on your wrist and your arm is positioned at heart level.
- Press the On/Off button to power on the device. The display will show all symbols briefly, then '00'.
- The cuff will automatically inflate, and the measurement will begin. Remain still and silent during the measurement.
- Once the measurement is complete, the systolic pressure, diastolic pressure, and pulse rate will be displayed on the screen. The device will automatically store this reading.
- Press the On/Off button again to turn off the device, or it will automatically shut off after approximately one minute of inactivity.
5.2 Interpreting Results
The monitor displays your systolic (SYS) and diastolic (DIA) blood pressure in mmHg, and your pulse (PUL) in beats per minute. The blood pressure level bar on the left side of the display indicates your reading's classification according to World Health Organization (WHO) guidelines:
- Normal: Optimal blood pressure.
- Hypertension (Levels 1, 2, 3): Indicates elevated blood pressure. Consult a healthcare professional for advice.

Image 5.1: Monitor displaying a sample reading and highlighting key features.
6. Memory Function
The monitor can store up to 120 measurements with date and time stamps, allowing you to track your blood pressure trends.
6.1 Storing Readings
Each successful measurement is automatically stored in the device's memory.
6.2 Recalling Readings
- With the device off, press the 'M' (Memory) button.
- The most recent reading will be displayed first.
- Press the 'M' button repeatedly to scroll through previous measurements.
- To exit memory mode, press the On/Off button or wait for the device to automatically shut off.
7. Maintenance
7.1 Cleaning
- Wipe the monitor and cuff with a soft, dry cloth.
- Do not use abrasive cleaners or immerse the device in water.
7.2 Storage
- Store the monitor in its included protective case when not in use.
- Keep the device in a cool, dry place, away from direct sunlight and extreme temperatures.
- If the device will not be used for an extended period, remove the batteries to prevent leakage.

Image 7.1: Monitor stored in its protective case.
8. Troubleshooting
| Problem | Possible Cause | Solution |
|---|---|---|
| No display when powered on | Batteries are dead or incorrectly inserted. | Replace batteries with new AAA batteries, ensuring correct polarity. |
| Error message (e.g., 'Err') | Movement during measurement, improper cuff placement, or device malfunction. | Remain still and silent. Re-apply cuff correctly. If error persists, contact support. |
| Inconsistent readings | Improper posture, talking during measurement, or recent physical activity. | Ensure proper technique (see Section 5.1). Take measurements at the same time each day. |
9. Specifications

Image 9.1: Dimensions of the Bluestone Blood Pressure Monitor.
| Feature | Detail |
|---|---|
| Model Number | 80-5103 |
| Product Dimensions | 3" L x 2.5" W x 2.5" Th |
| Item Weight | 8.3 ounces |
| Cuff Circumference | Fits up to 10" wrists |
| Power Source | 2 x AAA Batteries (not included) |
| Display Type | Digital LCD |
| Memory Capacity | Up to 120 readings with date/time stamp |
10. Warranty and Support
Bluestone products are manufactured with quality and care. For warranty information or technical support, please refer to the contact details provided with your purchase documentation or visit the official Bluestone website. Please retain your proof of purchase for any warranty claims.


