1. Introduction
Thank you for purchasing the Excelvan LK-T091 Digital LED Alarm Clock Radio. This manual provides detailed instructions for the proper setup, operation, and maintenance of your device. Please read this manual thoroughly before use and retain it for future reference.
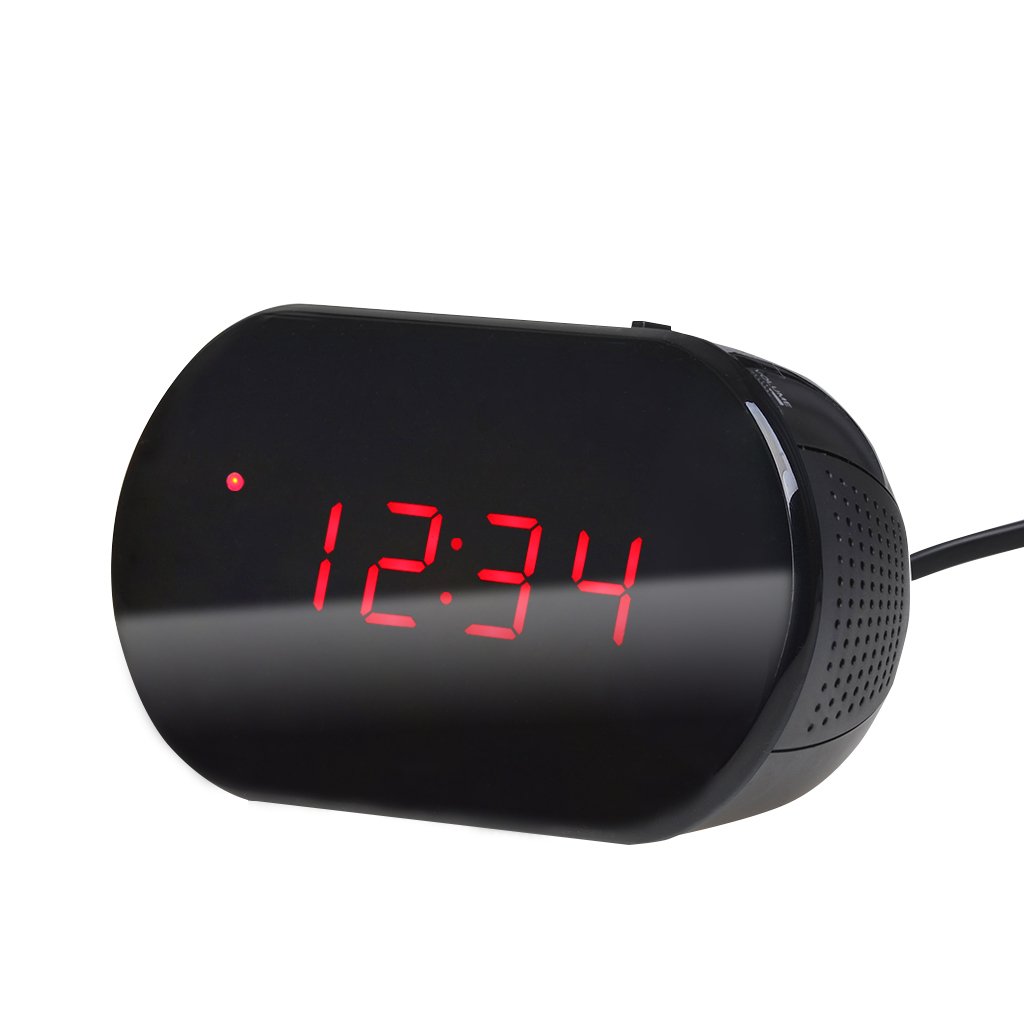
Figure 1: Front view of the Excelvan LK-T091 Digital LED Alarm Clock Radio.
Package Contents:
- 1 x Excelvan Digital LED Alarm Clock Radio (Model LK-T091)
- 1 x User Manual
2. Important Safety Information
- Do not use rechargeable batteries for the backup power. Alkaline or lithium batteries are recommended for optimal performance and longevity.
- Ensure the power adapter is compatible with your local power supply (AC230V ~ 50Hz).
- Do not expose the device to water, moisture, or extreme temperatures.
- Avoid placing the device near heat sources or in direct sunlight.
- Do not attempt to disassemble or repair the unit yourself. Refer all servicing to qualified personnel.
- Keep out of reach of children.
3. Product Overview
Controls and Display:

Figure 2: Top panel controls of the Excelvan LK-T091.
- LED Display: Shows time, alarm status, and radio frequency.
- SNOOZE Button: Temporarily silences the alarm.
- SET / PRESET Button: Used to set time/alarm and save radio presets.
- ALARM / MEM Button: Activates alarm setting mode and recalls radio presets.
- RESET Button: Resets the unit.
- Tuning Buttons (▲ / ▼): Adjust time, alarm, and radio frequency.
- RADIO / SLEEP Button: Turns radio on/off and activates sleep timer.
- ALARM OFF / BUZZER / RADIO Switch: Selects alarm sound source (off, buzzer, or radio).
- VOLUME Knob: Adjusts radio volume.

Figure 3: Rear view showing the battery compartment for backup power.
4. Setup
4.1 Power Connection
- Connect the AC power cord to the power input jack on the back of the clock radio.
- Plug the other end of the power cord into a standard AC230V ~ 50Hz wall outlet.
- The LED display will light up, indicating the unit is powered on.
4.2 Battery Backup Installation
The clock radio uses one 9V (6F22 type) battery (not included) for backup power. This battery maintains time settings during a power outage.
- Locate the battery compartment on the bottom of the unit.
- Open the battery compartment cover.
- Insert one 9V (6F22 type) alkaline or lithium battery, ensuring correct polarity (+ and -).
- Close the battery compartment cover securely.
- Note: The battery backup only maintains time settings; the display will not be visible during a power outage. Do not use rechargeable batteries.
4.3 Setting the Time
- Press and hold the SET button until the hour digits start flashing.
- Use the ▲ or ▼ (Tuning) buttons to adjust the hour.
- Press the SET button again; the minute digits will flash.
- Use the ▲ or ▼ (Tuning) buttons to adjust the minutes.
- Press the SET button once more to confirm and exit time setting mode. The time is displayed in 24-hour format.
5. Operating Instructions
5.1 Setting the Alarm
The alarm can be set to wake you with a buzzer or your favorite FM radio station.
- Press and hold the ALARM button until the alarm hour digits start flashing.
- Use the ▲ or ▼ (Tuning) buttons to adjust the alarm hour.
- Press the ALARM button again; the alarm minute digits will flash.
- Use the ▲ or ▼ (Tuning) buttons to adjust the alarm minutes.
- Press the ALARM button once more to confirm and exit alarm setting mode.
- To activate the alarm, slide the ALARM OFF / BUZZER / RADIO switch to either BUZZER or RADIO. An alarm indicator will appear on the display.
- To turn off the alarm, slide the switch to ALARM OFF.

Figure 4: Choose to wake up to a buzzer sound or your preferred radio station.
5.2 Snooze Function
When the alarm sounds, press the large SNOOZE button to temporarily silence the alarm for approximately 9 minutes. The alarm will sound again after this period. To cancel snooze and turn off the alarm, slide the ALARM OFF / BUZZER / RADIO switch to ALARM OFF.

Figure 5: The snooze function allows for a short delay before the alarm sounds again.
5.3 FM Radio Operation
5.3.1 Tuning the Radio
- Press the RADIO button to turn on the FM radio.
- Use the ▲ or ▼ (Tuning) buttons to manually tune to your desired FM frequency (87.5 – 108 MHz).
- To automatically scan for the next available station, press and hold the ▲ or ▼ (Tuning) buttons for a few seconds until the frequency starts scanning.
- Adjust the volume using the VOLUME knob.
- Press the RADIO button again to turn off the radio.
5.3.2 Saving and Recalling Presets
The clock radio can store up to 10 FM radio station presets.
- Tune to your desired station using the tuning method described above.
- Press and hold the SET / PRESET button until "P01" (or the next available preset number) flashes on the display.
- Use the ▲ or ▼ (Tuning) buttons to select the desired preset number (P01-P10).
- Press the SET / PRESET button again to save the station to the selected preset.
- To recall a saved preset, press the ALARM / MEM button repeatedly to cycle through the saved stations.

Figure 6: Digital FM tuning allows for precise station selection and saving presets.
5.4 Sleep Timer Function
The sleep timer allows the radio to play for a set duration before automatically turning off.
- While the radio is playing, press the SLEEP button repeatedly to cycle through the available sleep timer durations: 90, 75, 60, 45, 30, 15, 00 minutes.
- The selected duration will be displayed briefly. The radio will automatically turn off after the set time.
- To cancel the sleep timer, press the SLEEP button until "00" is displayed, or turn off the radio manually.
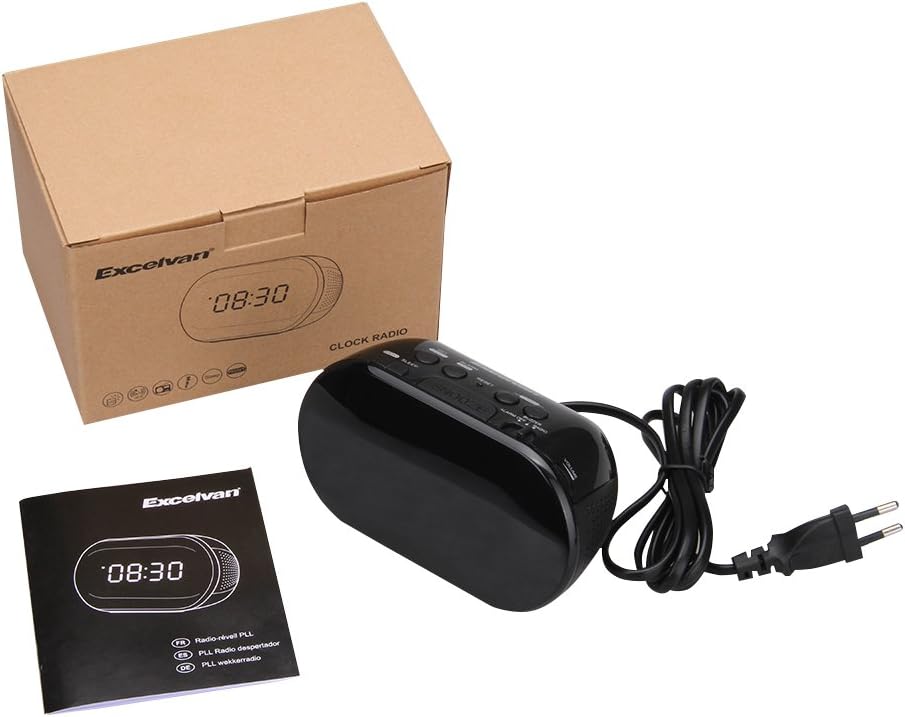
Figure 7: The sleep timer allows you to fall asleep to music, which then automatically turns off.
6. Maintenance
6.1 Cleaning
- Wipe the exterior of the unit with a soft, dry cloth.
- Do not use abrasive cleaners, waxes, or solvents as they may damage the finish.
- Ensure the unit is unplugged from the power outlet before cleaning.
6.2 Battery Replacement
If the time settings are lost during a power outage, the 9V backup battery may need to be replaced. Follow the instructions in Section 4.2 for battery installation.
7. Troubleshooting
| Problem | Possible Cause | Solution |
|---|---|---|
| No display / Unit not turning on | Power cord not connected or power outlet not active. | Ensure the power cord is securely plugged into the unit and a working wall outlet. |
| Time/Alarm settings lost after power outage | Backup battery is dead or not installed. | Install a new 9V alkaline or lithium battery in the battery compartment. |
| Poor FM radio reception | Antenna not extended or poor signal area. | Extend the FM wire antenna fully. Try repositioning the unit for better reception. |
| Alarm does not sound | Alarm not set or alarm switch is in "OFF" position. | Verify alarm time is set correctly. Ensure the ALARM OFF / BUZZER / RADIO switch is set to BUZZER or RADIO. |
| Display is too bright/dim | No brightness adjustment feature on this model. | The display brightness is fixed. |
8. Specifications
- Model: LK-T091
- Display: LED, 24-hour format
- Alarm Type: Single alarm (Buzzer or FM Radio)
- FM Frequency Range: 87.5 – 108 MHz
- Sleep Timer: 00, 15, 30, 45, 60, 75, 90 minutes
- Power Input: AC 230V ~ 50Hz
- Backup Battery: 1 x 9V (6F22 type) battery (not included)
- Product Dimensions (L x H x D): Approximately 14.15 cm x 7.14 cm x 0.89 cm
- Weight: Approximately 380 g
- Material: AC (Plastic)
- Color: Black
9. Warranty and Support
Excelvan products are designed to provide reliable performance. For specific warranty information, please refer to the warranty card included with your purchase or contact your retailer. If you encounter any issues or require technical assistance, please contact Excelvan customer support through their official website or the contact information provided with your product.
Please have your model number (LK-T091) and purchase details ready when contacting support.


