
1. Introduction
The Sony HDR-CX625 is a compact Full HD camcorder designed to capture high-quality video and still images. It features a 2.29 megapixel Exmor R CMOS sensor, a wide-angle lens with 30x optical zoom, and 5-axis Balanced Optical SteadyShot (BOSS) image stabilization for smooth, clear footage even when handheld. This manual provides essential information for setting up, operating, and maintaining your camcorder.
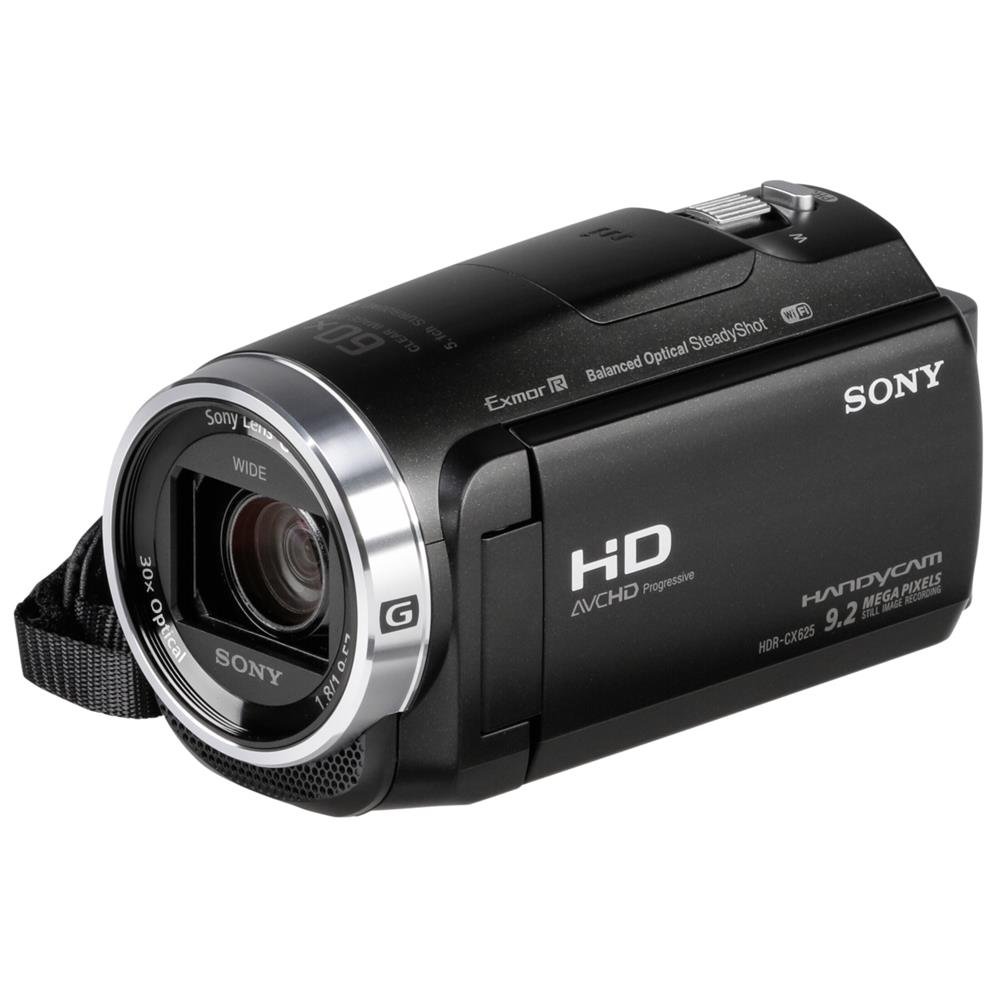
Figure 1: Sony HDR-CX625 Full HD Camcorder in use.
2. Safety Information
Please read all safety instructions before using the camcorder to prevent damage and ensure safe operation. Keep this manual for future reference.
- Do not expose the camcorder to rain or moisture to avoid fire or electric shock.
- Do not open the casing. Refer servicing to qualified personnel only.
- Use only the specified power adapter and battery pack.
- Avoid direct exposure of the lens to strong sunlight, as this may cause malfunction.
- Keep out of reach of children.
3. Package Contents
Verify that all items are present in the package:
- Sony HDR-CX625 Full HD Camcorder
- Battery Pack
- USB Connection Support Cable
- HDMI Cable
- AC Adapter
- Operating Guide (this manual)
4. Setup
4.1 Charging the Battery
Before first use, fully charge the supplied battery pack. Connect the camcorder to the AC adapter and then to a wall outlet. The CHARGE lamp will light up during charging and turn off when complete.
4.2 Inserting a Memory Card
Open the memory card cover. Insert a compatible memory card (MS Micro or SD/SDHC/SDXC) into the slot until it clicks into place. Ensure the card is inserted in the correct orientation. Close the cover securely.
4.3 Initial Power On
Open the LCD panel to power on the camcorder. Follow the on-screen instructions to set the date, time, and language.
5. Operating the Camcorder
5.1 Basic Recording
To start recording video, press the REC START/STOP button. Press it again to stop recording. To capture a still image, press the PHOTO button.
5.2 Zoom Operation
Use the zoom lever located on the top of the camcorder to adjust the optical zoom (30x) and digital zoom (up to 350x). Push the lever towards W for wide-angle and towards T for telephoto.
5.3 Balanced Optical SteadyShot (BOSS)
The camcorder features 5-axis Balanced Optical SteadyShot image stabilization, which automatically compensates for camera shake to produce smooth, stable footage, especially when zooming or recording while moving.
5.4 Using the Touchscreen LCD
The 7.5 cm (3 inch) Clear Image widescreen LCD is touch-sensitive. Tap icons on the screen to access menus, change settings, or select a focus point. Swipe to navigate through playback content.
5.5 Playback
In recording mode, tap the Playback icon on the LCD screen to switch to playback mode. Select a video or photo to view. Use the on-screen controls for playback functions like play, pause, fast forward, and rewind.
5.6 Connecting to a TV
Connect the camcorder to a TV using an HDMI cable (supplied) to view your recordings on a larger screen. Ensure both devices are off before connecting. Select the appropriate HDMI input on your TV.
5.7 NFC and Wi-Fi Connectivity
The camcorder supports NFC (Near Field Communication) and Wi-Fi for easy connection to compatible smartphones or tablets. Use the PlayMemories Mobile app to transfer files or control the camcorder remotely.
5.8 Special Features
- Time-lapse Capture: Record a series of still images at set intervals to create a time-lapse video.
- Low Light Mode: Optimizes settings for recording in dimly lit environments.
- Anti-Shake: Enhanced image stabilization for extremely shaky conditions.
6. Maintenance
6.1 Cleaning the Camcorder
- Body: Wipe with a soft, dry cloth. For stubborn dirt, use a cloth lightly dampened with water or a mild detergent.
- Lens: Use a soft brush to remove dust, then gently wipe with a lens cleaning cloth. Do not use chemical cleaners.
- LCD Screen: Gently wipe with a soft, dry cloth.
6.2 Battery Care
- Charge the battery in an environment between 10°C and 30°C (50°F and 86°F).
- If the camcorder will not be used for an extended period, remove the battery and store it in a cool, dry place.
- Avoid exposing the battery to extreme temperatures.
6.3 Storage
Store the camcorder in a dry, well-ventilated area, away from direct sunlight and extreme temperatures. Use a protective case to prevent scratches and impacts.
7. Troubleshooting
- Camcorder does not power on: Ensure the battery is charged and properly inserted. If using AC power, check the connection.
- Cannot record: Check if a memory card is inserted and has sufficient free space. Ensure the lens cap is removed.
- Image is blurry: Check focus settings. Clean the lens if it is dirty. Ensure there is adequate lighting.
- No sound during playback: Check the volume settings on the camcorder and connected TV/speakers.
- Battery drains quickly: Reduce screen brightness, turn off Wi-Fi/NFC when not in use, or consider purchasing an additional battery.
8. Specifications

Figure 2: Approximate dimensions of the camcorder.
| Feature | Detail |
|---|---|
| Brand | Sony |
| Model Name | HDR-CX625 |
| Video Capture Resolution | 1080p (Full HD) |
| Effective Video Resolution | 1080 Pixels |
| Effective Still Resolution | 2.29 Megapixels |
| Optical Zoom | 30x |
| Digital Zoom | 350x |
| Image Stabilization | Optical (Balanced Optical SteadyShot) |
| Screen Size | 3 Inches (7.5 cm) |
| Flash Memory Type | MS Micro / SD/SDHC/SDXC |
| Connectivity Technology | USB, HDMI |
| Wireless Compatibility | 802.11a/b/g/n/ac (Wi-Fi), NFC |
| Item Weight | 305 Grams |
| Color | Black |
| Special Features | Anti-Shake, Low Light, Time Lapse |
9. Warranty and Support
This Sony product is covered by a limited warranty. For detailed warranty terms and conditions, please refer to the warranty card included in your package or visit the official Sony support website. For technical assistance, software updates, or further inquiries, please contact Sony customer support or visit www.sony.com/electronics/support.


