
1. Introduction
This manual provides comprehensive instructions for the installation, operation, and maintenance of your Winjet LED Tube DRL Headlights. Please read this manual thoroughly before installation and retain it for future reference. Proper installation and care will ensure optimal performance and longevity of your headlights.
2. Safety Information
- Professional Installation Recommended: For safety and proper function, professional installation by a qualified technician is highly recommended.
- Disconnect Battery: Always disconnect the vehicle's battery before beginning any electrical work to prevent electrical shock or damage.
- Wear Protective Gear: Use appropriate personal protective equipment, such as gloves and eye protection, during installation.
- Handle with Care: Headlight assemblies contain delicate components. Handle them carefully to avoid damage.
- Secure Wiring: Ensure all wiring is properly routed and secured to prevent chafing, short circuits, or interference with moving parts.
3. Package Contents
Verify that all components are present and undamaged before proceeding with installation.
- 1x Left Hand (LH) Headlight Assembly
- 1x Right Hand (RH) Headlight Assembly
4. Vehicle Compatibility
These Winjet LED Tube DRL Headlights are compatible with the following vehicle models:
- 1994-2002 Dodge Ram 1500 (without Sport Package)
- 1994-2002 Dodge Ram 2500 (without Sport Package)
- 1994-2002 Dodge Ram 3500 (without Sport Package)
Note: Compatibility is for models without the factory Sport Package.
5. Product Overview and Components
The Winjet LED Tube DRL Headlights feature a black housing with a clear lens, designed to integrate seamlessly with your vehicle's aesthetics. They include integrated LED Daytime Running Lights (DRL).
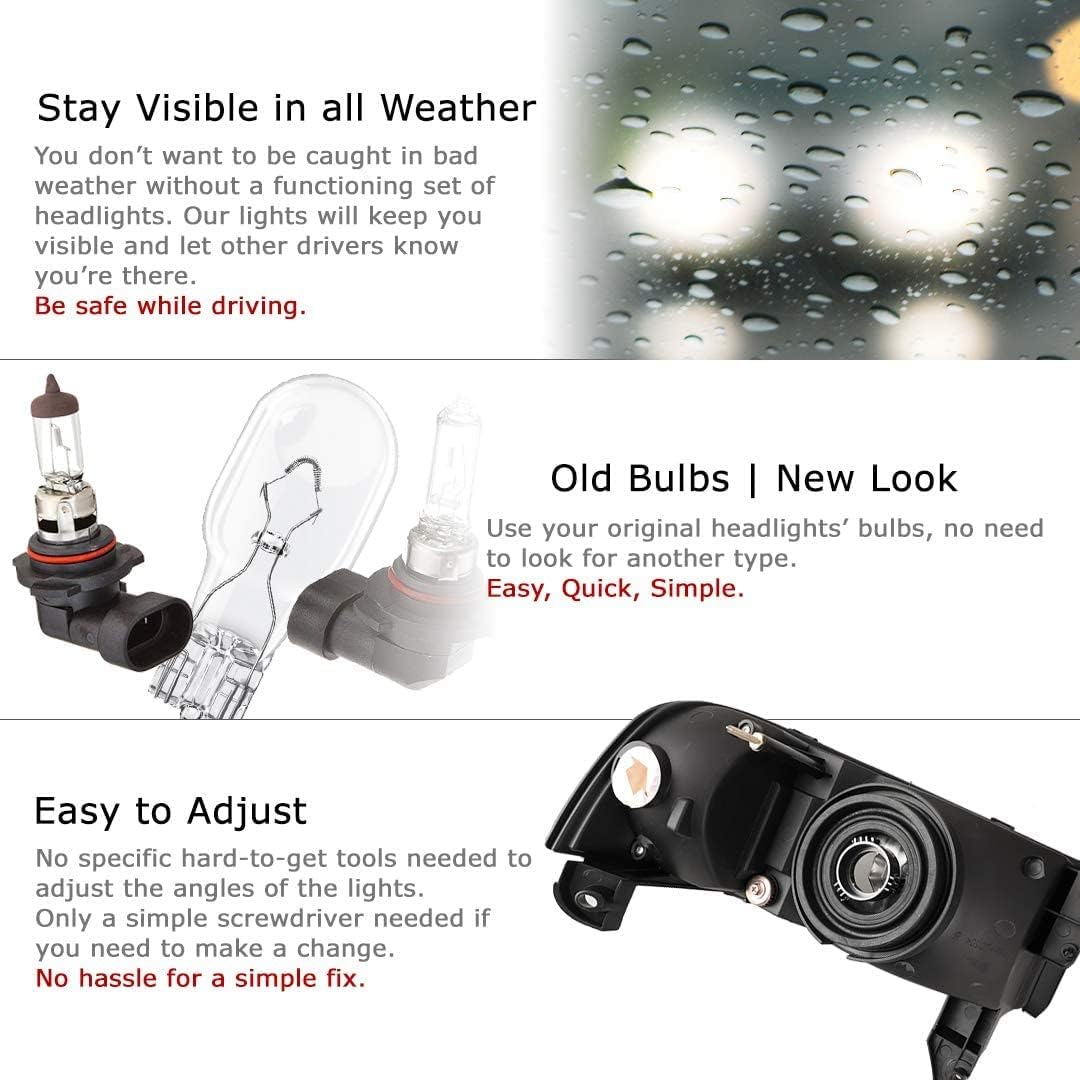
Figure 1: Headlight Component Diagram. This image illustrates the key parts of the headlight assembly, including the turn signal, amber reflector, and the high beam/low beam section.
- Housing Color: Black
- Lens Color: Clear
- DRL: Integrated LEDs
- Bulb Type (Low Beam): Uses original vehicle bulbs (not included)
- Bulb Type (High Beam): Uses original vehicle bulbs (not included)
- Bulb Type (Turn Signal): Uses original vehicle bulbs (not included)

Figure 2: Winjet Headlights and Compatible Vehicle. This image displays the pair of Winjet headlights alongside a compatible Dodge Ram truck, providing a visual reference of the product and its application.
6. Installation Instructions
These headlights are designed for a direct OE fitment, offering a plug-and-play installation. No modification or drilling is typically required.
6.1. Tools Required
- Basic hand tools (e.g., screwdriver, wrench set)
- Protective eyewear and gloves
6.2. Installation Steps
- Prepare Vehicle: Park the vehicle on a level surface, engage the parking brake, and turn off the engine. Disconnect the negative terminal of the vehicle's battery.
- Remove Old Headlights: Carefully remove the bolts or clips securing the existing headlight assemblies. Disconnect the electrical connectors from the bulbs and the main harness. Gently pull out the old headlight assemblies.
- Transfer Bulbs: Transfer your original low beam, high beam, and turn signal bulbs from the old headlight assemblies to the new Winjet assemblies. Ensure they are securely seated.
- Connect New Headlights: Connect the electrical connectors from the vehicle's harness to the new Winjet headlight assemblies. Ensure all connections are secure.
- Install New Headlights: Position the new headlight assemblies into the vehicle's headlight openings. Secure them with the original bolts or clips. Ensure the assemblies are flush with the vehicle body.
- Reconnect Battery: Reconnect the negative terminal of the vehicle's battery.
- Test Functionality: Turn on the vehicle's lights (low beam, high beam, turn signals, and DRLs) to ensure all functions are working correctly.
- Adjust Aim: Adjust the headlight aim as necessary. Refer to Section 6.3 for adjustment instructions.

Figure 3: Bulb Compatibility. This image displays different types of automotive bulbs, emphasizing that the new headlight assemblies utilize your vehicle's existing bulbs.
6.3. Headlight Adjustment
Headlight aiming is crucial for safe driving and to avoid blinding oncoming traffic. Adjustment can be done with a simple screwdriver.

Figure 4: Headlight Adjustment Point. This image highlights the adjustment mechanism on the rear of the headlight, demonstrating that aiming can be performed with a standard screwdriver.
- Park your vehicle on a level surface approximately 25 feet from a wall or garage door.
- Turn on your low beam headlights.
- Locate the adjustment screws on the back or top of the headlight assembly.
- Use a screwdriver to turn the adjustment screws, raising or lowering the beam until it meets the recommended height for your vehicle (consult your vehicle's owner's manual for specific aiming guidelines).
7. Operation
Your Winjet LED Tube DRL Headlights operate in conjunction with your vehicle's existing lighting system.
- Daytime Running Lights (DRL): The integrated LED DRLs are designed to improve vehicle visibility during daylight hours. They will typically activate automatically when the vehicle is running, depending on your vehicle's wiring configuration.
- Low Beam/High Beam: These functions operate as standard headlights, controlled by your vehicle's headlight switch.
- Turn Signals: The integrated turn signals will flash when activated by your vehicle's turn signal lever.

Figure 5: Enhanced Visibility. This image depicts a vehicle in adverse weather, highlighting how effective headlights contribute to safety and visibility.
8. Maintenance
Regular maintenance will help preserve the appearance and functionality of your headlights.
- Cleaning: Clean the headlight lenses regularly with a soft cloth and mild automotive soap. Avoid abrasive cleaners or harsh chemicals that can damage the lens coating.
- Lens Protection: The lenses feature three layers of protective coating for superior UV protection and high impact resistance. Avoid scratching the lens surface.
- Bulb Replacement: If a bulb (low beam, high beam, or turn signal) fails, replace it with the correct type and wattage as specified by your vehicle manufacturer.
9. Troubleshooting
If you encounter issues with your headlights, consider the following common troubleshooting steps:
- Lights Not Working:
- Check all electrical connections to ensure they are secure.
- Verify that the bulbs are correctly seated and not burnt out.
- Inspect vehicle fuses related to the lighting system.
- Flickering Lights:
- Ensure all wiring connections are tight and free from corrosion.
- Check for proper grounding.
- Condensation Inside Lens:
- Minor condensation can occur due to temperature changes and usually dissipates.
- If excessive or persistent, check for proper sealing of the headlight assembly and ensure all vents (if present) are clear.
For persistent issues, contact Winjet customer support or consult a professional automotive technician.
10. Specifications
| Brand | Winjet |
| Model Number | WJ10-0302-04 |
| Color | Black Housing Clear Lens |
| Specific Uses For Product | Head Lights |
| Vehicle Service Type | 1994-2001 Dodge Ram 1500 / 2500/3500/4000 |
| Lens Material | Polycarbonate |
| Special Features | Integrated LED DRL, Strong Penetration, Super Brightness, Waterproof, Dust-proof, Fog-proof |
| Item Dimensions (L x W x H) | 13.2 x 8.7 x 12.04 inches |
| Item Weight | 7.63 pounds |
| OEM Part Numbers (Left) | 55076749AO; 55076749AD; 55076749AI |
| OEM Part Numbers (Right) | 55076748AO; 55076748AD; 55076748AI |
| ABPA Partslink Number | CH2502101, CH2503101 |
11. Warranty and Support
Winjet provides a one-year warranty for this product.
- Warranty Period: One (1) Year from the date of purchase.
- Coverage: The warranty covers defects in materials and workmanship under normal use and service. It ensures the product meets stated performance specifications.
- Support: For installation assistance, technical support, or warranty claims, please contact Winjet customer service.
For more information, visit the official Winjet store: Winjet Store