1. Introduction
This manual provides detailed instructions for the safe and efficient operation of your Wiltec Automatic Egg Incubator, Model 51074. Designed for small to medium-scale incubation, this device offers precise temperature control and automatic egg turning to ensure optimal hatching rates for various poultry and reptile eggs.
Please read this manual thoroughly before initial use to ensure proper setup and operation, which are crucial for successful incubation and the longevity of your incubator.
2. Safety Instructions
Observe the following safety precautions to prevent injury or damage to the device:
- Always connect the incubator to a grounded power outlet.
- Do not immerse the device or its electrical components in water or other liquids.
- Keep the incubator away from direct sunlight, heat sources, and drafts.
- Ensure adequate ventilation around the unit.
- Unplug the device before cleaning or performing any maintenance.
- Keep out of reach of children and pets.
- Do not operate the incubator if the power cord or plug is damaged.
3. Product Overview
Familiarize yourself with the components of your Wiltec Automatic Egg Incubator:

Figure 3.1: Overall view of the Wiltec Automatic Egg Incubator. The yellow top cover houses the control panel and heating elements, while the clear base allows observation of the eggs.

Figure 3.2: Side view of the incubator, showing its compact design and the power input port on the yellow top section.

Figure 3.3: Interior view of the incubator with the top cover removed. Visible are the red egg turning mechanism, the water channels for humidity, and the fan on the underside of the lid.
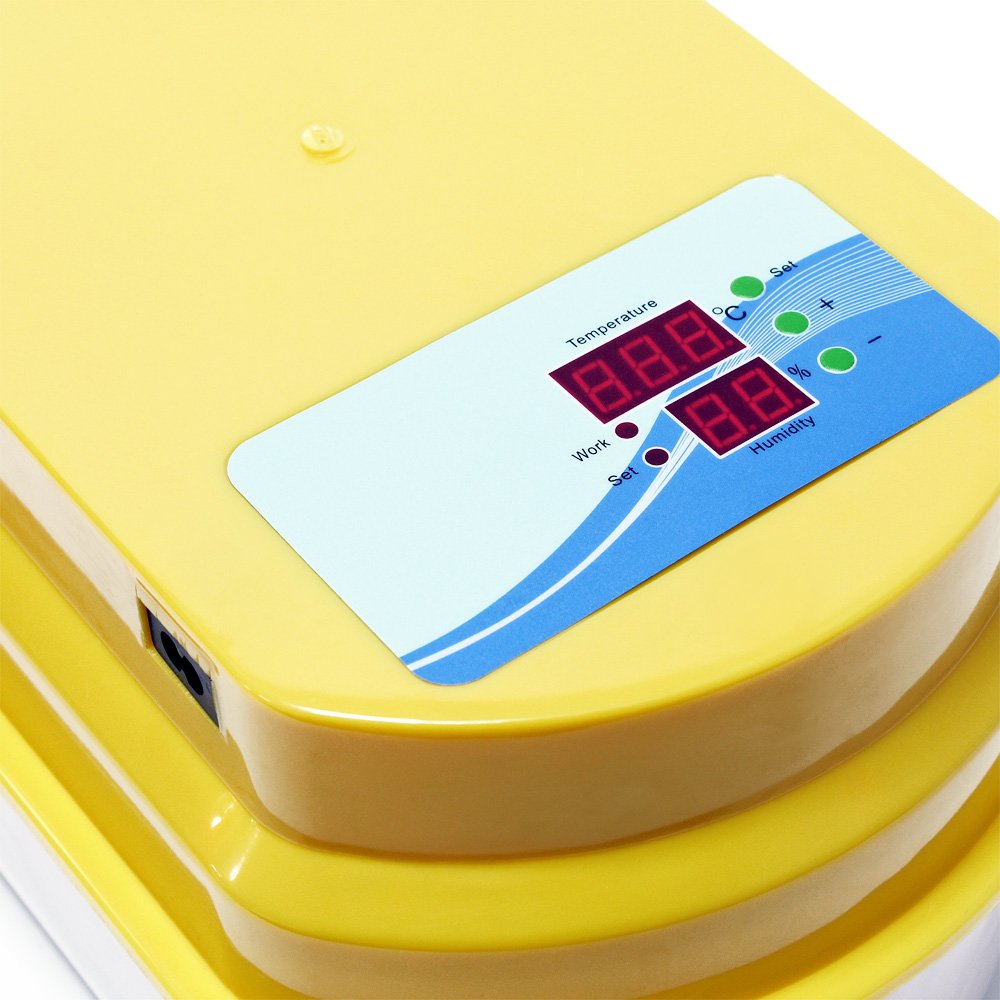
Figure 3.4: Close-up of the control panel, displaying LED indicators for temperature and humidity, along with 'Set' and adjustment buttons.
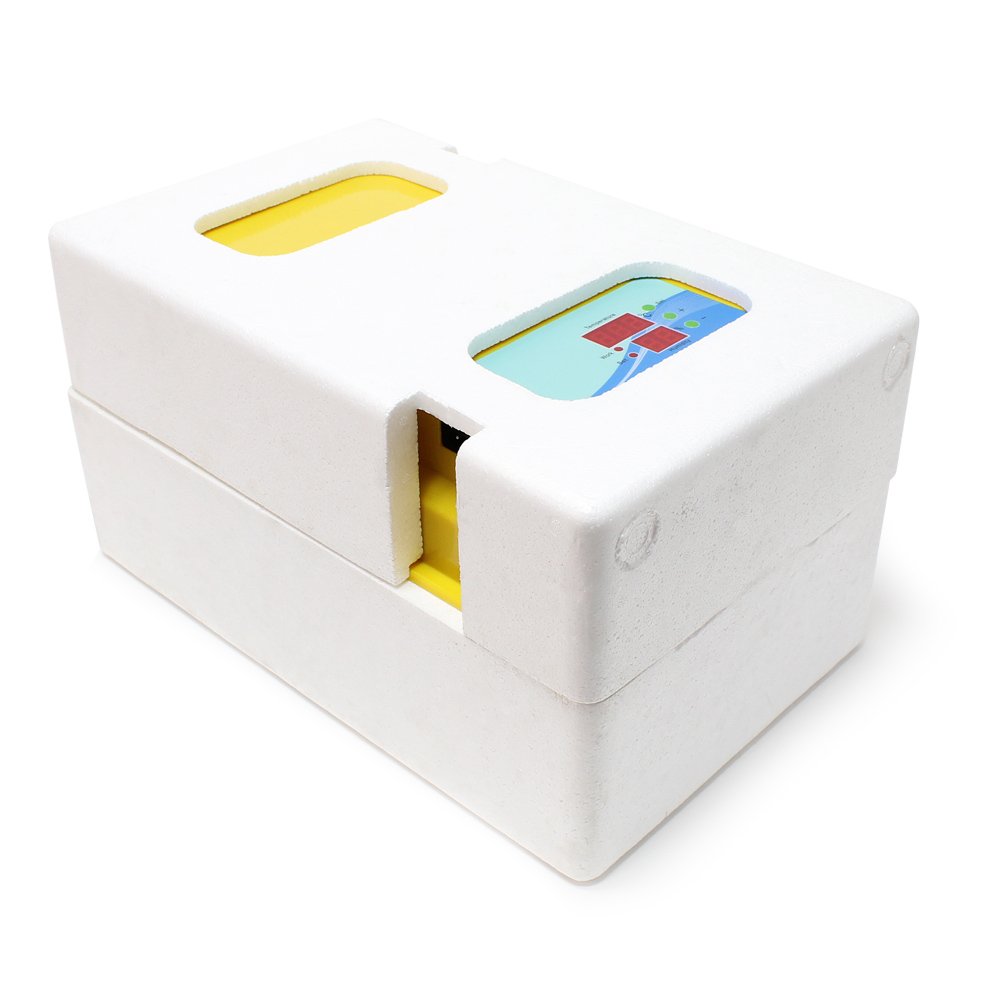
Figure 3.5: The incubator housed within its protective foam packaging, ensuring safe transport and storage.
4. Setup
- Unpacking: Carefully remove all components from the packaging. Inspect for any damage.
- Placement: Place the incubator on a stable, level surface in a room with a consistent ambient temperature, away from direct sunlight or drafts.
- Water Channels: Fill the water channels at the bottom of the incubator with distilled water. This is crucial for maintaining humidity. Do not overfill.
- Egg Tray: Ensure the egg turning mechanism (red tray) is correctly seated in the base.
- Power Connection: Connect the power cord to the incubator and then to a suitable electrical outlet.
- Pre-heating: Allow the incubator to run for at least 2-3 hours before placing eggs inside. This stabilizes the internal temperature and humidity.
5. Operation
5.1. Setting Temperature
The incubator features an electronic control system for precise temperature regulation between 25°C and 39.5°C. The default temperature for chicken eggs is typically around 37.5°C.
- Press the "Set" button on the control panel. The temperature display will flash.
- Use the "+" and "-" buttons to adjust the desired temperature.
- Press "Set" again to confirm the setting. The display will stop flashing and show the current internal temperature.
The incubator will automatically maintain the set temperature. An alarm will sound if the temperature deviates significantly from the target.
5.2. Humidity Control
Humidity is maintained by adding water to the channels in the base. The incubator includes a fan for air circulation and even distribution of humidity.
- Monitor the humidity display on the control panel.
- Add water to the channels as needed to maintain the recommended humidity levels for your specific egg type (e.g., 50-60% for most of the incubation period, increasing to 65-75% during the last few days before hatching).
- Use distilled water to prevent mineral buildup.
5.3. Automatic Egg Turning
This incubator is equipped with an automatic egg turning mechanism. Eggs are gently tilted back and forth along their longitudinal axis, mimicking natural brooding behavior. This prevents the embryo from sticking to the shell and is vital for successful development.
- Place eggs carefully into the designated slots in the red turning tray.
- The turning mechanism operates automatically at set intervals.
- Important: Deactivate the automatic turning mechanism 3 to 4 days before the expected hatching date. At this stage, eggs should no longer be turned to allow the chicks to position themselves for hatching.
5.4. Incubation Process Overview
The incubator manages the following processes automatically:
- Incubation Time: Program the duration based on egg type.
- Temperature: Electronically controlled and maintained.
- Egg Turning: Automatic tilting at regular intervals.
- Alarms: Alerts for significant temperature deviations.
The temperature and incubation duration are programmable. The stages are set and executed automatically.
6. Maintenance
Regular cleaning and maintenance ensure optimal performance and hygiene:
- Disconnect Power: Always unplug the incubator from the power outlet before cleaning.
- Disassemble: Carefully remove the top cover, egg turning tray, and any removable grids.
- Cleaning:
- Wipe all surfaces with a damp cloth and a mild disinfectant solution.
- Clean the egg turning tray and grids thoroughly, as they can accumulate debris.
- Ensure no water enters the electrical components.
- Drying: Allow all parts to air dry completely before reassembling or storing the incubator.
- Storage: Store the incubator in a clean, dry place when not in use.
7. Troubleshooting
If you encounter issues with your incubator, refer to the following common problems and solutions:
| Problem | Possible Cause | Solution |
|---|---|---|
| Incubator not powering on | Power cord not connected; faulty outlet; damaged cord. | Check power connections; try a different outlet; inspect cord for damage. |
| Temperature unstable or incorrect | Incorrect setting; poor room ventilation; incubator placed in drafty area. | Verify temperature setting; ensure proper room ventilation; relocate incubator. |
| Humidity too low/high | Insufficient/excessive water in channels; room humidity too low/high. | Adjust water level in channels; consider using a room humidifier/dehumidifier. |
| Automatic turning not working | Mechanism jammed; power issue; turning function deactivated. | Check for obstructions; ensure power is supplied; verify turning function is active (unless near hatching). |
| Low hatching rate | Incorrect temperature/humidity; poor egg quality; improper turning. | Review temperature/humidity settings; use fresh, fertile eggs; ensure turning is active until lockdown. |
If the problem persists after attempting these solutions, please contact Wiltec customer support.
8. Technical Specifications
- Model Number: 51074
- Brand: Wiltec
- Power: 80 W
- Egg Capacity: Up to 12 eggs (depending on size)
- Temperature Range: 25°C - 39.5°C (electronically controlled)
- Egg Turning: Automatic tilting mechanism
- Humidity Control: Water channels with fan for air circulation
- Display: LED indicators for temperature and humidity
- Dimensions (L x W x H): 47 x 27 x 31 cm
- Weight: 2.14 kg
- Country of Origin: China
9. Warranty and Support
For warranty information or technical support, please contact Wiltec customer service through their official website or the retailer where the product was purchased. Please have your model number (51074) and purchase details ready when contacting support.
Manufacturer: Wiltec


