1. Product Overview
This manual provides essential information for the Gateway SX2100 Motherboard, featuring an integrated AMD E2-1800 1.7GHz CPU. This component is a system pull, guaranteed for 90 days, and is a genuine part designed for specific Gateway SX2100 systems. It is crucial to verify compatibility with your existing system before installation, as parts are not typically interchangeable without manufacturer recommendation.
- System Pull: This motherboard is sourced from an existing system.
- Guaranteed for 90 days: Ensures functionality and reliability post-purchase.
- Genuine part: Authentic Gateway component.
- Integrated AMD E2-1800 1.7GHz CPU: Processor is pre-installed on the motherboard.
2. Setup and Installation
Proper installation of a motherboard is critical for system stability and longevity. It is recommended that installation be performed by a qualified technician. Always ensure your system is powered off and unplugged before beginning any installation or maintenance.
2.1 Safety Precautions
- Always disconnect the power cord from the wall outlet before touching any components.
- Wear an anti-static wrist strap to prevent electrostatic discharge (ESD), which can damage sensitive electronic components.
- Work on a clean, flat, and stable surface.
2.2 Installation Steps
- Prepare the Chassis: Ensure the computer case is ready for motherboard installation. Remove any necessary covers or brackets.
- Install I/O Shield: Snap the motherboard's I/O shield into the rear opening of the computer case.
- Mount the Motherboard: Carefully align the motherboard with the standoffs in the chassis. Gently lower the motherboard into place, ensuring the I/O ports align with the I/O shield. Secure the motherboard with appropriate screws.
- Connect Power: Connect the main 24-pin ATX power connector and the 4-pin CPU power connector from the power supply to the motherboard.
- Install Memory (RAM): Insert DDR3 RAM modules into the available memory slots (2 slots available). Ensure they are seated firmly until the clips lock into place.
- Connect Storage Devices: Connect SATA data cables from your hard drives or SSDs to the SATA ports on the motherboard. Connect the corresponding power cables from the power supply.
- Connect Front Panel Cables: Connect the power button, reset button, HDD LED, power LED, and USB/audio headers from the computer case to the corresponding pins on the motherboard. Refer to your case manual for specific pin layouts.
- Install Expansion Cards (Optional): If applicable, install any PCIe expansion cards (e.g., graphics card, network card) into the appropriate slots.
- Final Checks: Double-check all connections to ensure they are secure and correctly oriented.
3. Operating the Motherboard
Once the motherboard is installed and all components are connected, you can power on your system. The integrated AMD E2-1800 1.7GHz CPU will initiate the boot process.
3.1 BIOS/UEFI Setup
To access the BIOS (Basic Input/Output System) or UEFI (Unified Extensible Firmware Interface) setup utility, press the designated key (commonly DEL, F2, F10, or F12) immediately after powering on the system. The exact key may vary; refer to your system's documentation or on-screen prompts during boot-up.
Within the BIOS/UEFI, you can configure boot order, system time, hardware settings, and monitor system status.
3.2 Driver Installation
After installing your operating system, it is essential to install the correct drivers for the motherboard's chipset (AMD 785E), integrated graphics, audio, and network components. These drivers are typically available on the Gateway support website for your specific system model (SX2100).
4. Maintenance
Regular maintenance helps ensure the longevity and optimal performance of your motherboard and system.
- Dust Removal: Periodically clean dust from the motherboard and components using compressed air. Ensure the system is powered off and unplugged before cleaning. Pay special attention to the CPU heatsink and fan.
- Environmental Control: Operate the system in a well-ventilated area, away from direct sunlight, excessive heat, and humidity.
- Component Handling: When handling the motherboard or other internal components, always use proper anti-static precautions to prevent damage from static electricity.
5. Troubleshooting
If you encounter issues with your Gateway SX2100 Motherboard, consider the following common troubleshooting steps:
- No Power/No Boot:
- Verify all power cables (24-pin ATX, 4-pin CPU) are securely connected.
- Ensure the power supply is functioning correctly.
- Check front panel power button connections to the motherboard.
- No Display:
- Ensure the monitor is connected to the correct video output port (VGA or HDMI).
- Reseat RAM modules. Try booting with one RAM stick at a time if multiple are installed.
- If using a dedicated graphics card, ensure it is properly seated and has power.
- System Instability/Crashes:
- Check for overheating. Ensure CPU fan is spinning and heatsink is clear of dust.
- Run memory diagnostic tools to check for RAM errors.
- Ensure all drivers are up-to-date.
- Component Not Recognized:
- Verify the component (e.g., hard drive, expansion card) is properly connected.
- Check BIOS/UEFI settings to ensure the component is enabled.
- Install or update relevant drivers for the component.
For persistent issues, consult the Gateway support website or contact a qualified computer technician.
6. Specifications
| Feature | Specification |
|---|---|
| Model Number | DB.GDC11.001 |
| Brand | Gateway |
| Compatible Devices | Desktop |
| Chipset Type | AMD 785E |
| Memory Slots Available | 2 |
| S/PDIF Connector Type | Optical |
| System Bus Standard Supported | SATA 3 |
| Item Weight | 1 pounds |
| Date First Available | November 26, 2015 |
| UPC | 014146444246 |
7. Product Views

Figure 7.1: Top view of the Gateway SX2100 Motherboard. This image highlights the integrated AMD E2-1800 CPU with its heatsink and fan, two DDR3 RAM slots (blue), various capacitors, and the I/O panel connectors including USB, Ethernet, and audio ports. The overall layout of the board's components is visible.
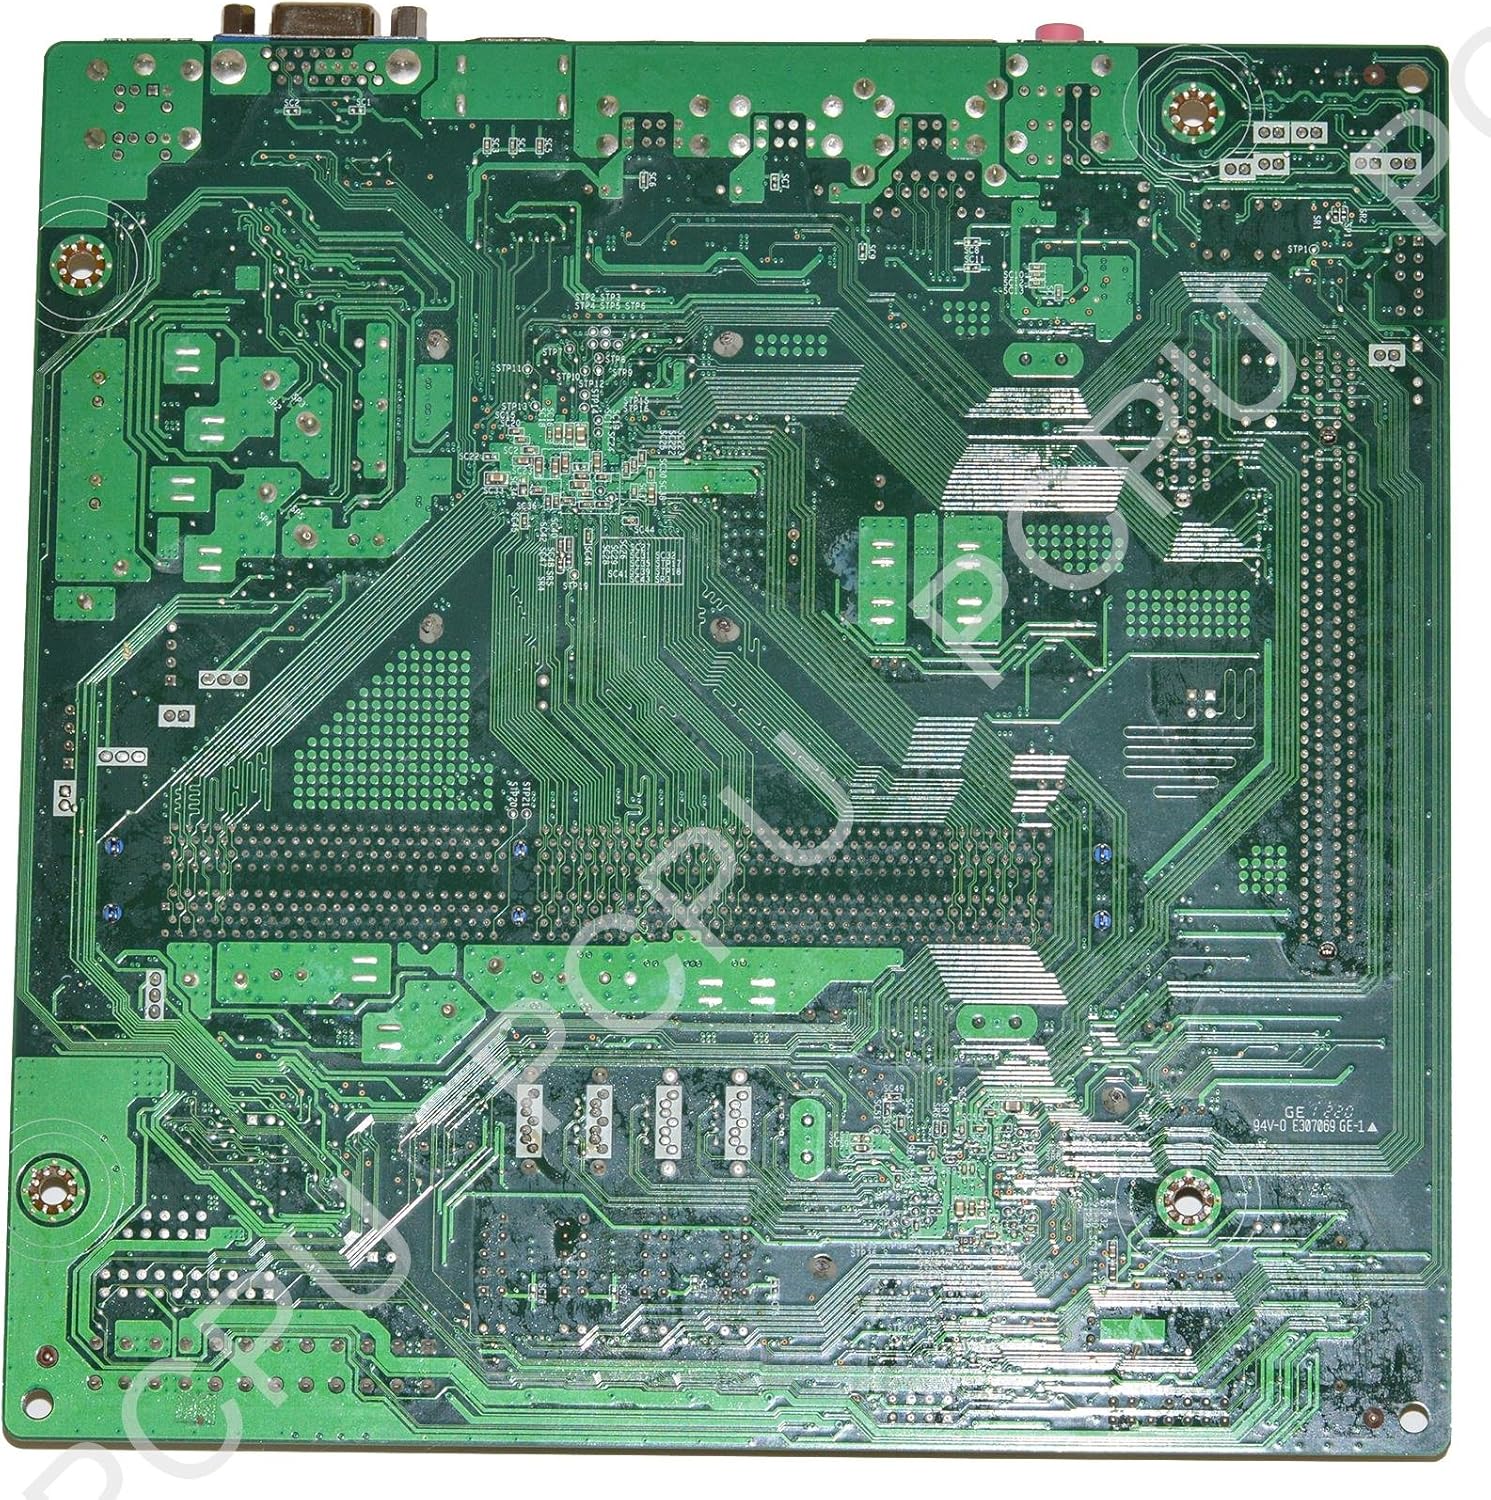
Figure 7.2: Bottom view of the Gateway SX2100 Motherboard. This perspective reveals the intricate network of circuit traces and solder points on the underside of the printed circuit board (PCB). It provides insight into the complex routing of signals and power across the motherboard.
8. Warranty and Support
This Gateway SX2100 Motherboard is guaranteed for 90 days from the date of purchase. This warranty covers defects in materials and workmanship under normal use. For warranty claims or technical support, please contact the seller or refer to the official Gateway support channels for your specific system model.
Please note that physical damage, improper installation, or unauthorized modifications are not covered under warranty.


