
Introduction
This manual provides essential instructions for the proper setup, operation, and maintenance of your Vivitar ViviCam S126 Digital Camera. Please read this manual thoroughly before using your camera to ensure optimal performance and longevity. The ViviCam S126 is a compact point-and-shoot camera designed for capturing 16.1-megapixel still images and HD 720p video.
1. Setup
1.1 Installing Batteries
The Vivitar ViviCam S126 requires three (3) AAA batteries for operation. Ensure batteries are inserted with correct polarity.
- Locate the battery compartment cover on the bottom or side of the camera.
- Slide or lift the cover to open the compartment.
- Insert three fresh AAA batteries, matching the (+) and (-) indicators inside the compartment.
- Close the battery compartment cover securely until it clicks into place.
1.2 Inserting a Memory Card
A memory card (not included) is required to store photos and videos. The camera supports standard SD cards.
- Locate the memory card slot, usually near the battery compartment.
- Insert the memory card with the metal contacts facing the correct direction (refer to the diagram near the slot).
- Push the card gently until it clicks into place. To remove, push the card in again until it springs out.
1.3 Powering On/Off
Press and hold the power button, typically located on the top of the camera, to turn the camera on or off. The 1.8-inch LCD screen will illuminate upon power-on.
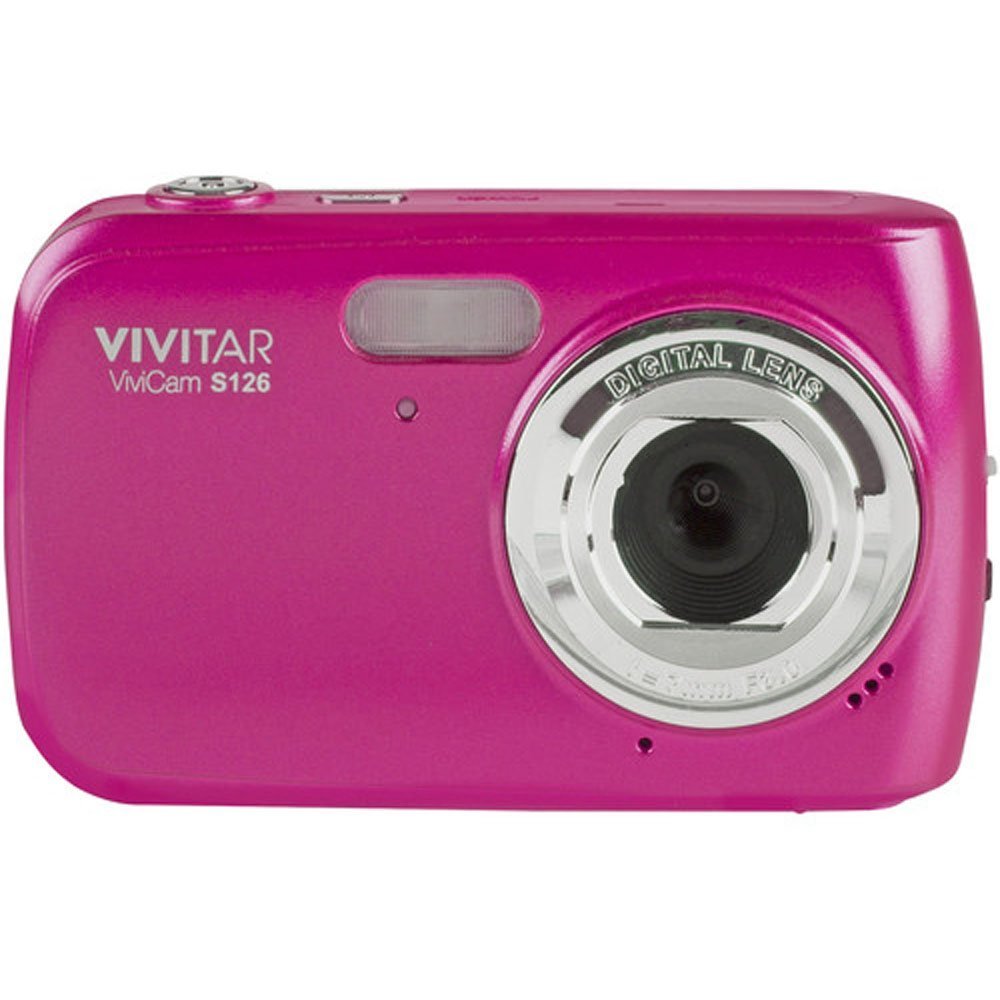
Figure 1: Vivitar ViviCam S126 Digital Camera. This image shows the front view of the camera, highlighting its compact design and lens.
2. Operating the Camera
2.1 Taking Photos
The ViviCam S126 captures 16.1-megapixel still images with 4x digital zoom and anti-shake functionality.
- Turn on the camera.
- Frame your shot using the 1.8-inch LCD screen.
- Press the shutter button halfway down to allow the camera to focus automatically.
- Press the shutter button fully down to capture the image.
2.2 Recording Videos
The camera supports HD 720p video recording.
- Turn on the camera.
- Switch to video mode (if applicable, usually indicated by a video camera icon on a mode dial or button).
- Press the shutter button to start recording. A red indicator or timer will appear on the LCD.
- Press the shutter button again to stop recording.
2.3 Using the Flash
The built-in flash operates in automatic mode.
- In low-light conditions, the camera will automatically activate the flash when needed.
- Ensure no obstructions are blocking the flash unit.
2.4 Reviewing Photos and Videos
To view captured media:
- Press the Playback button (often indicated by a triangle icon).
- Use the directional buttons to navigate through your photos and videos.
- Press the Playback button again or the Shutter button to exit playback mode.
2.5 Transferring Files
You can transfer files to a computer using a memory card reader or the camera's AV port.
- Using a Memory Card Reader: Remove the memory card from the camera and insert it into a compatible card reader connected to your computer.
- Using the AV Port: Connect the camera to your computer using a compatible AV cable (not included). The camera should appear as a removable drive.
3. Maintenance
3.1 Cleaning the Camera
- Use a soft, dry cloth to clean the camera body.
- For the lens and LCD screen, use a specialized lens cleaning cloth and solution. Avoid abrasive materials.
- Do not use strong chemical cleaners.
3.2 Battery Care
- Remove batteries if the camera will not be used for an extended period to prevent leakage.
- Use high-quality AAA alkaline or rechargeable batteries.
- Do not mix old and new batteries, or different types of batteries.
3.3 Storage
Store the camera in a cool, dry place away from direct sunlight, extreme temperatures, and high humidity. Use a camera case for protection during transport.
4. Troubleshooting
| Problem | Possible Cause | Solution |
|---|---|---|
| Camera does not turn on. | Dead or incorrectly inserted batteries. | Replace batteries with fresh ones, ensuring correct polarity. |
| Poor image quality. | Insufficient lighting, dirty lens, camera shake. | Ensure adequate lighting, clean the lens, hold the camera steady. |
| Cannot take photos/videos. | Memory card full or not inserted. | Insert a memory card or delete unnecessary files to free up space. |
| Flash not firing. | Sufficient ambient light, flash setting off. | The flash operates automatically. Ensure you are in low-light conditions. |
5. Specifications
| Feature | Detail |
|---|---|
| Model Name | ViviCam S126 |
| Photo Sensor Resolution | 16.1 Megapixels |
| Video Resolution | HD 720p |
| Digital Zoom | 4x |
| Screen Size | 1.8 inches LCD |
| Image Stabilization | Digital |
| Flash Modes | Automatic, Built-In |
| Battery Type | 3x AAA batteries |
| Supported File Format | JPEG (Photos), MP4 (Video) |
| Hardware Interface | AV Port |
| Minimum Shutter Speed | 0.3333 seconds (1/3 sec Auto) |
| Focus Type | Automatic AF (AF-A) |
| Color | Pink |
6. Warranty and Support
For warranty information and technical support, please refer to the warranty card included with your product or visit the official Vivitar website. Keep your purchase receipt as proof of purchase for any warranty claims.
Vivitar Customer Support: Please visit www.vivitar.com/support for the latest support information, FAQs, and contact details.


