1. Introduction
Thank you for choosing the Jamara Liebherr 564 Wheel Loader. This remote-controlled model is designed to provide a realistic construction site experience with its detailed appearance and functional features. This manual provides essential information for the safe and proper operation, maintenance, and care of your new wheel loader.

Image 1.1: The Jamara Liebherr 564 Wheel Loader in a simulated construction environment.
2. Safety Information
Please read and understand all safety warnings before operating the product. Failure to do so may result in injury or damage to the product.
- WARNING: Not appropriate for children under the age of 6. This product contains small parts that may pose a choking hazard.
- Always operate the model in a safe environment, away from people, pets, and obstacles.
- Do not operate near water or in wet conditions to prevent electrical damage.
- Ensure all batteries are inserted with correct polarity.
- Remove batteries from the model and remote control when not in use for extended periods.
- Adult supervision is recommended for younger users.
3. Package Contents
The package typically includes:
- Jamara Liebherr 564 Wheel Loader (1:20 scale)
- 2.4 GHz Remote Control
- Instruction Manual
Note: Batteries are not included and must be purchased separately.

Image 3.1: The product as it appears in its retail packaging.
4. Setup
4.1 Battery Installation
The wheel loader and remote control require AA alkaline batteries (not included).
- For the Wheel Loader: Locate the battery compartment on the underside of the vehicle. Open the cover, insert the required AA batteries according to the polarity markings (+/-), and close the cover securely.
- For the Remote Control: Locate the battery compartment on the back of the remote control. Open the cover, insert the required AA batteries according to the polarity markings (+/-), and close the cover securely.
4.2 Pairing the Remote Control
The 2.4 GHz remote control system typically pairs automatically when both the vehicle and the remote control are powered on. Ensure both devices have fresh batteries and are turned on. If pairing issues occur, turn both devices off, then turn the vehicle on first, followed by the remote control.
5. Operating Instructions
Familiarize yourself with the remote control layout and functions before operating the wheel loader.

Image 5.1: Remote control layout with key functions labeled.
5.1 Basic Controls
- Forward/Backward: Use the left joystick to move the wheel loader forward or backward.
- Left/Right: Use the right joystick to steer the wheel loader left or right.
- Stop: Release the joysticks to bring the vehicle to a stop.
5.2 Special Functions
- Bucket Lift/Lower/Tilt: Use the designated buttons or controls on the remote (labeled 'Schaufel heben' and 'Schaufel senken' on Image 5.1) to manipulate the front bucket. The bucket can be lifted, lowered, and tilted for scooping and dumping.
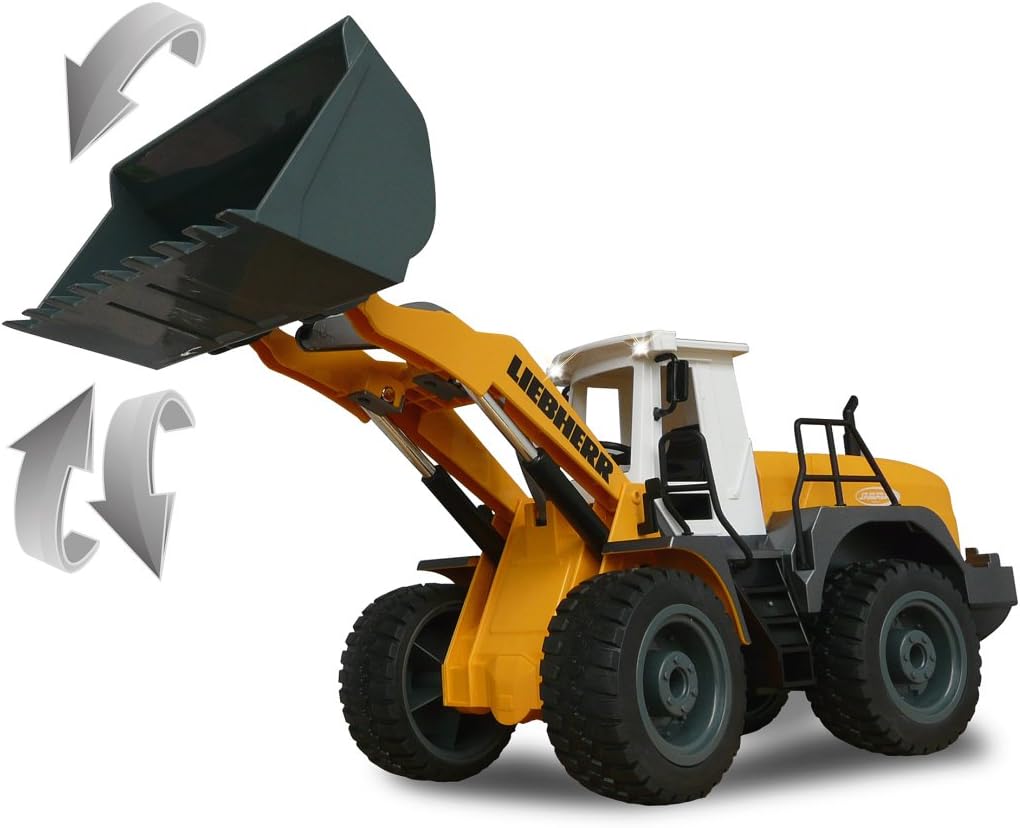
Image 5.2: Illustration of the wheel loader's bucket lifting and lowering capabilities.
- Realistic Engine Sound & Horn: The model features a realistic engine sound that can be switched on or off. A horn function is also available (labeled 'Hupe und Sound' on Image 5.1).
- Programmable Functions with Repeat: This wheel loader can learn and repeat sequences of maneuvers. Perform a desired sequence of movements, save it using the 'Memory/Lernfunktion' button, and then activate it with the repeat function.
- Auto-Standby Mode: To conserve battery life, the model will enter an auto-standby mode after a period of inactivity.
- Reversing Warning Sound: A warning sound is emitted when the wheel loader moves in reverse for added realism and safety.
- Turn Signals (Blinker): The model is equipped with functional turn signals.
- Demo Mode: Activate the 'Demo Funktion' button to showcase a pre-programmed sequence of movements.

Image 5.3: The wheel loader demonstrating combined bucket and steering actions.

Image 5.4: The wheel loader with its functional lights activated.
6. Maintenance
- Cleaning: Use a soft, dry cloth to clean the model. Do not use water or chemical cleaners, as this may damage the electronics.
- Battery Care: Always remove batteries from both the vehicle and the remote control if the product will not be used for an extended period. This prevents battery leakage and potential damage.
- Storage: Store the model in a cool, dry place, away from direct sunlight and extreme temperatures.
7. Troubleshooting
If you encounter issues with your wheel loader, refer to the following common problems and solutions:
- No Power:
- Check if the batteries are correctly inserted with the correct polarity.
- Replace old or depleted batteries with new ones.
- Ensure the ON/OFF switches on both the vehicle and remote control are in the 'ON' position.
- No Response from Remote Control:
- Ensure both the vehicle and remote control are powered on.
- Re-pair the remote control by turning both devices off, then turning the vehicle on first, followed by the remote control.
- Check for interference from other 2.4 GHz devices.
- Weak Performance / Slow Movement:
- Batteries may be low. Replace with fresh batteries.
- Ensure the operating surface is smooth and free of excessive resistance.
8. Specifications
| Model Number | 405007 |
| Brand | Jamara |
| Scale | 1:20 |
| Product Dimensions (L x W x H) | 42.5 x 17.7 x 15 cm |
| Item Weight | 890 grams |
| Manufacturer Recommended Age | 6 - 10 years |
| Main Material | Plastic |
| Color | Yellow |
| Remote Control Included | Yes |
| Battery(ies) Required | Yes |
| Battery(ies) Included | No |
| Battery Type | AA Alkaline Batteries |
| Number of Pieces | 1 |
| Self-Assembly Product | No |
| Educational Value(s) | Develops hand-eye coordination, fine motor skills, and imaginative play. |
| Language(s) | German, English, Spanish, French, Italian |
9. Warranty and Support
For warranty claims, technical support, or spare parts inquiries, please contact the manufacturer directly.
- Manufacturer: Jamara
- Email: info@jamara.com
- Spare Parts Availability: 2 Years


