1. Introduction
This manual provides detailed instructions for the installation and use of the Rockwood SP1025 Cone Head Machine Screw. This component is specifically designed for use with straight pull handles that are mounted back-to-back, requiring a minimum handle diameter of 5/8 inches.
The SP1025 features 1/4"-20 standard duty threads and includes a corresponding set screw (SP1026 1/4" - 20 x 5/16") for secure fastening.
2. Included Components
The Rockwood SP1025 package includes the following items:
- 1x Cone Head Machine Screw: 1/4"-20 x 2 1/4" thread length, 2 3/4" overall length.
- 1x Set Screw (SP1026): 1/4" - 20 x 5/16".
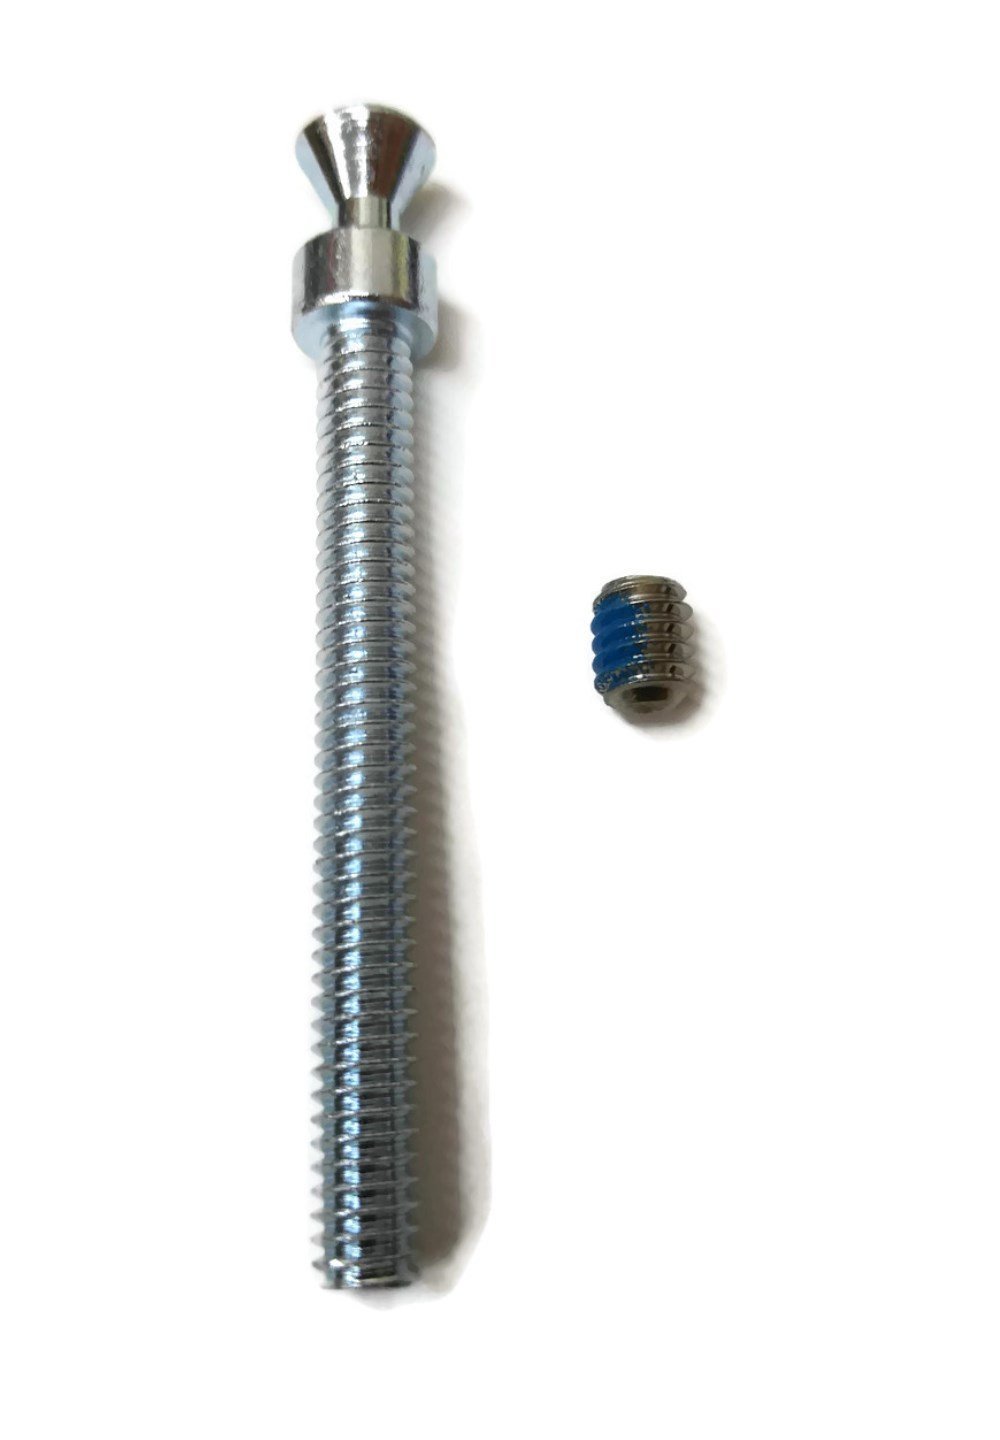
Image 2.1: The Rockwood SP1025 Cone Head Machine Screw and its accompanying set screw.

Image 2.2: A side view illustrating the cone head machine screw and the smaller set screw.
3. Specifications
| Feature | Specification |
|---|---|
| Model Number | SP1025 |
| Thread Size | 1/4"-20 |
| Thread Type | Standard Duty |
| Overall Length | 2 3/4 inches |
| Thread Length | 2 1/4 inches |
| Compatible Handle Diameter | Minimum 5/8 inches |
| Included Set Screw | SP1026 (1/4" - 20 x 5/16") |
| Manufacturer | Rockwood |
4. Installation
The Rockwood SP1025 Cone Head Machine Screw is designed for securing back-to-back mounted straight pull handles. Follow these steps for proper installation:
4.1. Preparation
- Ensure the pull handles have a minimum diameter of 5/8 inches to accommodate the cone head screw.
- Verify that the mounting holes in the door or panel are correctly sized for a 1/4"-20 thread.
4.2. Mounting the Handles
- Insert the cone head machine screw through the mounting hole from one side of the door/panel.
- Align the first pull handle (e.g., the 'Inside' pull) with the protruding end of the cone head screw. The cone head should seat securely within the handle's mounting point.
- From the opposite side of the door/panel, align the second pull handle (e.g., the 'Outside' pull) with the threaded end of the cone head screw.
- Thread the second pull handle onto the cone head screw. Tighten until the handle is snug against the door/panel.
- Locate the set screw hole on the second pull handle. Insert the provided SP1026 set screw into this hole.
- Using an appropriate hex key or screwdriver, tighten the set screw. This set screw presses against the threaded shaft of the cone head machine screw, preventing it from loosening and securing the handle in place.

Image 4.1: Diagram illustrating the back-to-back mounting of pull handles using the cone head machine screw (CHMS) and set screw. Note the minimum 5/8" diameter requirement for the pull handle.
5. Maintenance
The Rockwood SP1025 Cone Head Machine Screw is designed for durability and requires minimal maintenance. Periodically inspect the handles and screws for any signs of loosening. If any component feels loose, gently retighten the set screw to ensure secure attachment. Avoid over-tightening, which could strip threads or damage the handle.
6. Troubleshooting
- Issue: Handle feels loose after installation.
Solution: Ensure the set screw is fully tightened against the cone head machine screw. If the set screw was not included or is missing, acquire the correct SP1026 set screw (1/4" - 20 x 5/16") and install it. - Issue: Cannot thread the handle onto the cone head screw.
Solution: Verify that the handle's internal threads match the 1/4"-20 thread of the SP1025 screw. Check for any debris or damage in the threads of both the screw and the handle. - Issue: Cone head screw does not sit flush in the handle.
Solution: Confirm that the pull handle has a minimum diameter of 5/8 inches and that its design is compatible with a cone head screw.
7. Support and Contact Information
For further assistance, technical support, or inquiries regarding the Rockwood SP1025 Cone Head Machine Screw, please contact Rockwood customer service through their official website or authorized distributors.
Please have your product model number (SP1025) available when contacting support.


