1. Important Safety Instructions
Please read all instructions carefully before using the Mesko MS 4403 Espresso Machine. Retain this manual for future reference.
- Ensure the voltage indicated on the appliance corresponds to the local mains voltage before connecting the machine.
- Do not immerse the appliance, power cord, or plug in water or any other liquid.
- This appliance is not intended for use by persons (including children) with reduced physical, sensory or mental capabilities, or lack of experience and knowledge, unless they have been given supervision or instruction concerning use of the appliance by a person responsible for their safety.
- Children should be supervised to ensure that they do not play with the appliance.
- Unplug the machine from the outlet when not in use and before cleaning. Allow it to cool before putting on or taking off parts, and before cleaning the appliance.
- Do not operate any appliance with a damaged cord or plug, or after the appliance malfunctions or has been damaged in any manner.
- Do not place the appliance on or near a hot gas or electric burner, or in a heated oven.
- Use only cold water in the water tank.
- Always ensure the water tank is filled to at least the minimum level before operating the machine.
- Avoid contact with hot surfaces, especially the steam wand and portafilter during operation.
2. Product Overview
The Mesko MS 4403 is a semi-automatic espresso machine designed for home use, capable of brewing espresso and frothing milk for various coffee beverages. Familiarize yourself with its components:

Image 2.1: Overall view of the Mesko MS 4403 Espresso Machine. This image displays the machine from a front-right perspective, showing the main body, control panel, portafilter handle, steam wand, and the transparent water tank on the side.
- Control Panel: Buttons for power, single espresso, double espresso, and steam function.
- Control Dial: Adjusts steam intensity or hot water flow.
- Portafilter: Holds ground coffee for brewing.
- Steam Wand: Used for frothing milk.
- Water Tank: Removable tank for water supply.
- Drip Tray: Collects excess liquid and removable for cleaning.

Image 2.2: Close-up of the control dial. This image focuses on the rotary dial, which is used to control the steam output for frothing milk and the hot water dispenser. Markings for 'OFF', steam, and water are visible.

Image 2.3: Side view of the machine showing the water tank. This image provides a clear view of the transparent water tank attached to the side of the espresso machine, with visible 'MAX' and 'MIN' fill level indicators.
3. Setup
3.1 Unpacking and Initial Cleaning
- Remove all packaging materials and stickers from the machine.
- Wash the water tank, portafilter, filter basket, and drip tray with warm, soapy water. Rinse thoroughly and dry.
- Wipe the exterior of the machine with a damp cloth.
3.2 Filling the Water Tank
- Remove the water tank from the back of the machine.
- Fill the tank with fresh, cold water up to the 'MAX' line. Do not exceed this line.
- Place the water tank back into its position, ensuring it is seated correctly.
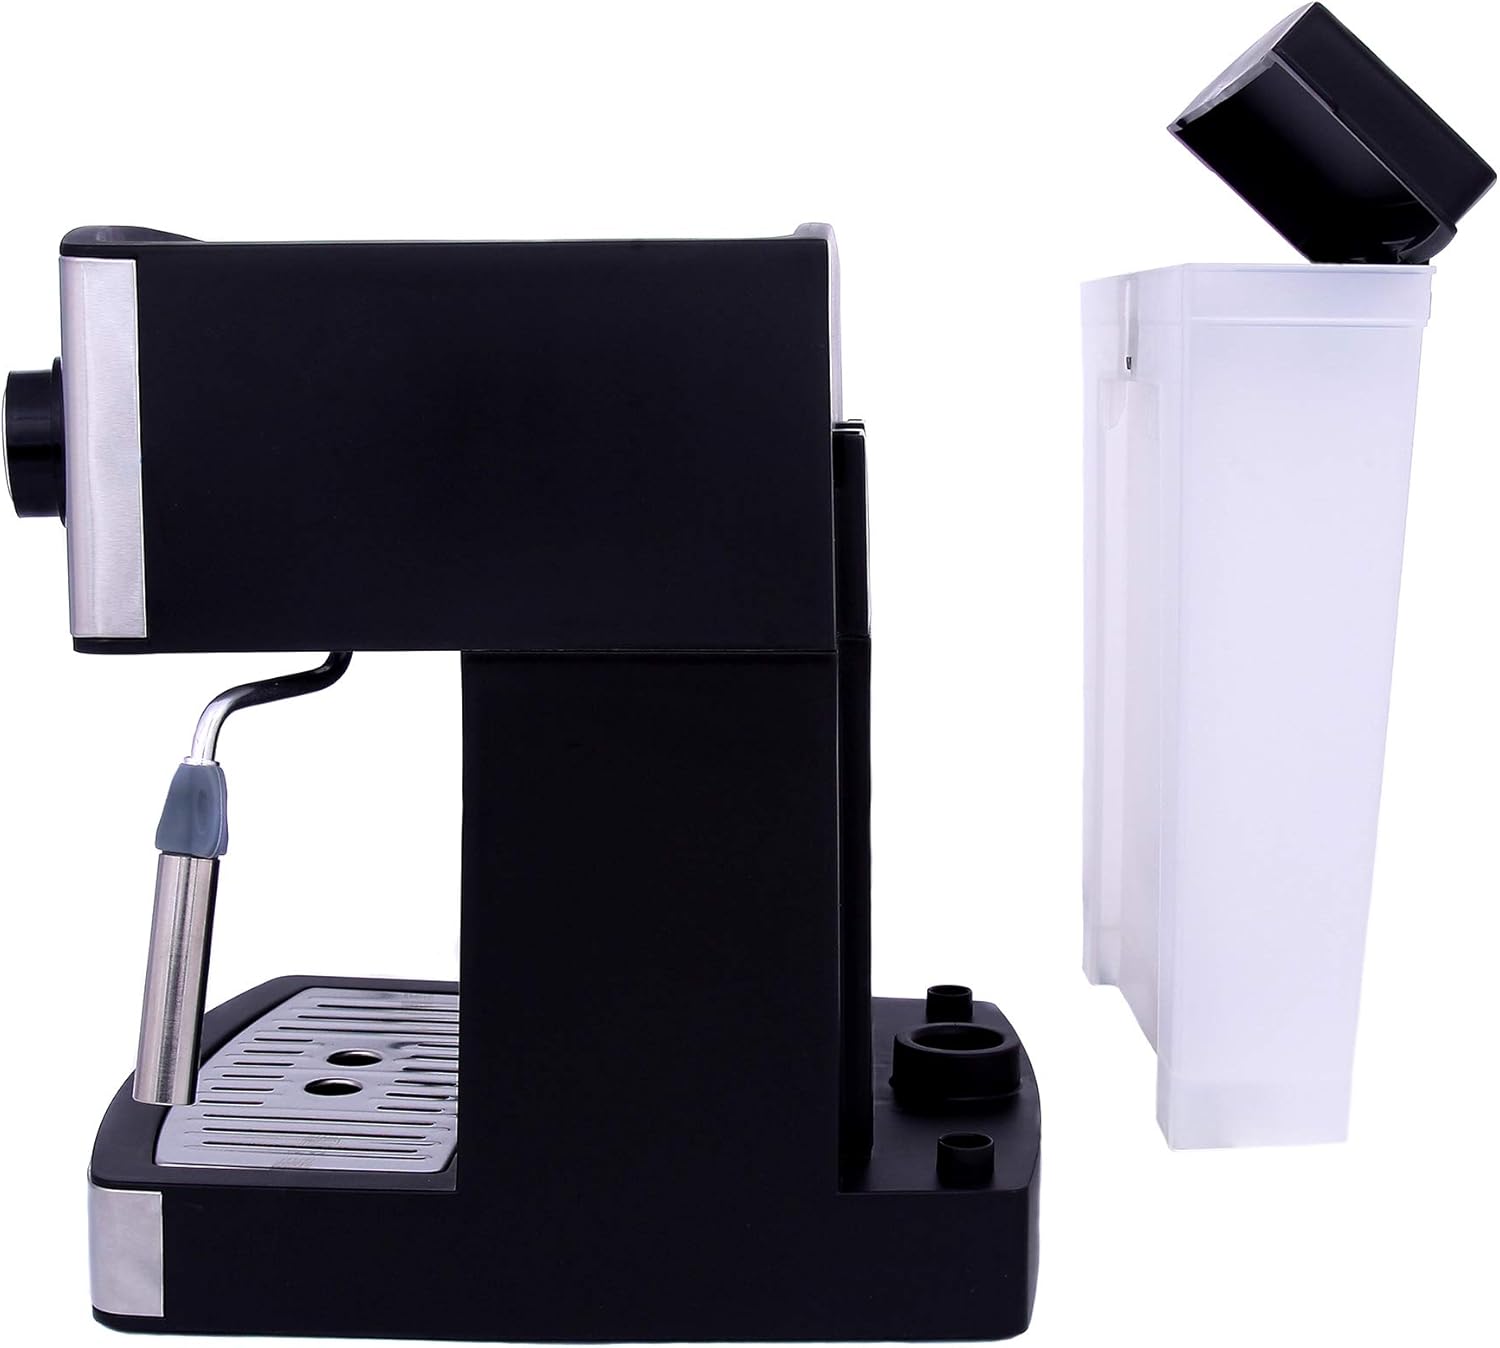
Image 3.1: Water tank removed from the machine. This image shows the side of the espresso machine with the water tank detached, illustrating how the tank can be easily removed for filling or cleaning.
3.3 Priming the Pump (First Use)
- Ensure the water tank is filled.
- Plug the machine into a power outlet.
- Place a cup under the steam wand.
- Turn the control dial to the hot water position (faucet icon) and press the power button. Allow water to flow through the steam wand for about 30 seconds to prime the pump.
- Turn the control dial back to 'OFF' and press the power button to stop. The machine is now ready for use.
4. Operating Instructions
4.1 Making Espresso
- Preheat: Turn on the machine and allow it to preheat for approximately 2-3 minutes until the indicator light signals readiness.
- Prepare Portafilter: Place the desired filter basket (single or double shot) into the portafilter.
- Add Coffee: Grind fresh coffee beans to a fine consistency suitable for espresso. Use the provided scoop to add ground coffee to the filter basket. For a single shot, use one scoop (approx. 7g); for a double shot, use two scoops (approx. 14g).

Image 4.1: Portafilter and coffee scoop. This image shows the detached portafilter, which holds the ground coffee, alongside a black plastic coffee measuring scoop, essential tools for preparing espresso.
- Tamp Coffee: Use the tamper (often found on the back of the scoop) to press the ground coffee firmly and evenly into the filter basket. Ensure the surface is level.
- Attach Portafilter: Align the portafilter with the group head on the machine. Insert it and twist firmly to the right until it is securely locked in place.
- Brew Espresso: Place your espresso cup(s) on the drip tray under the portafilter spouts. Press the single or double espresso button. The machine will brew the coffee and stop automatically.
- Remove Portafilter: Once brewing is complete, carefully twist the portafilter to the left to remove it. Dispose of the used coffee grounds.
4.2 Frothing Milk
- Prepare Milk: Fill a stainless steel frothing pitcher with cold milk (dairy or non-dairy) to just below the spout.
- Activate Steam: Press the steam button on the control panel. Wait for the indicator light to signal that the machine has reached steaming temperature.
- Purge Steam Wand: Briefly turn the control dial to the steam position to release any condensed water from the wand into an empty cup. Turn it back to 'OFF'.
- Froth Milk: Immerse the tip of the steam wand just below the surface of the milk. Turn the control dial to the steam position. Angle the pitcher slightly to create a swirling motion.
- Monitor Temperature: Continue frothing until the milk reaches the desired temperature and texture (typically around 60-70°C or when the pitcher is too hot to touch comfortably).
- Stop Steaming: Turn the control dial back to 'OFF' and remove the pitcher.
- Clean Steam Wand: Immediately wipe the steam wand with a damp cloth to remove any milk residue. Briefly purge the wand again to clear any internal milk.
5. Maintenance and Cleaning
Regular cleaning ensures optimal performance and longevity of your espresso machine.
5.1 Daily Cleaning
- Drip Tray: Empty and rinse the drip tray after each use or when the indicator floats up.
- Portafilter and Filter Basket: Remove used coffee grounds and rinse the portafilter and filter basket under running water.
- Steam Wand: Wipe the steam wand immediately after each use with a damp cloth and purge briefly.
5.2 Weekly Cleaning
- Water Tank: Remove and wash the water tank with warm, soapy water. Rinse thoroughly.
- Group Head: Wipe the group head (where the portafilter attaches) with a damp cloth to remove any coffee residue.
5.3 Descaling
Descaling is essential to remove mineral buildup and should be performed every 2-3 months, or more frequently in areas with hard water.
- Prepare a descaling solution according to the descaler manufacturer's instructions.
- Fill the water tank with the descaling solution.
- Place a large container under the group head and steam wand.
- Run half of the solution through the group head by pressing the espresso button.
- Run the remaining half of the solution through the steam wand by activating the steam function.
- Rinse the water tank thoroughly and fill it with fresh water.
- Repeat the process with fresh water to rinse the internal components, ensuring no descaling solution remains.
6. Troubleshooting
Refer to the table below for common issues and their solutions.
| Problem | Possible Cause | Solution |
|---|---|---|
| No coffee dispenses | Water tank empty or not properly seated. Pump not primed. Coffee too finely ground or tamped too hard. | Fill water tank and ensure it's seated. Prime the pump. Use coarser grind or lighter tamp. |
| Coffee brews too slowly or drips | Coffee too finely ground or tamped too hard. Filter basket clogged. | Use coarser grind or lighter tamp. Clean filter basket. |
| Coffee brews too quickly or is weak | Coffee too coarsely ground or not enough coffee. | Use finer grind or more coffee. |
| No steam from wand | Steam function not activated or not at temperature. Steam wand clogged. | Ensure steam button is pressed and indicator light is on. Clean steam wand. |
| Machine leaks water | Water tank not properly seated. Drip tray full. Seal issues. | Ensure water tank is correctly placed. Empty drip tray. Contact support if seals are damaged. |
7. Specifications
| Feature | Specification |
|---|---|
| Brand | Mesko |
| Model Number | MS 4403 |
| Color | Black |
| Dimensions (L x W x H) | 21 x 26 x 30.5 cm |
| Weight | 800 grams |
| Capacity | 1.6 Liters (Water Tank) |
| Power | 850 Watts |
| Voltage | 240 Volts |
| Material | Stainless Steel |
| Features | Milk frother |
8. Warranty Information
The Mesko MS 4403 Espresso Machine comes with a standard manufacturer's warranty. Please refer to the warranty card included with your purchase for specific terms, conditions, and duration. Keep your proof of purchase for any warranty claims.
9. Customer Support
If you encounter any issues not covered in this manual or require further assistance, please contact Mesko customer support. Contact details can typically be found on the product packaging, the official Mesko website, or your retailer's support page.
When contacting support, please have your product model number (MS 4403) and proof of purchase readily available.