
Introduction
Welcome to your new Swann security system. This manual provides essential information for the installation, operation, and maintenance of your SWDVR-44600H-US 4 Channel 1080P HD Home Security DVR.
Please read this guide thoroughly before use and retain it for future reference.
Package Contents
What's in the Box:
- DVR4-4600 with Hard Drive
- Ethernet Cable
- HDMI Cable
- Power Adapter
- Mouse
- Quick Start Guide
- Theft Deterrent Stickers

Product Overview
Front Panel:
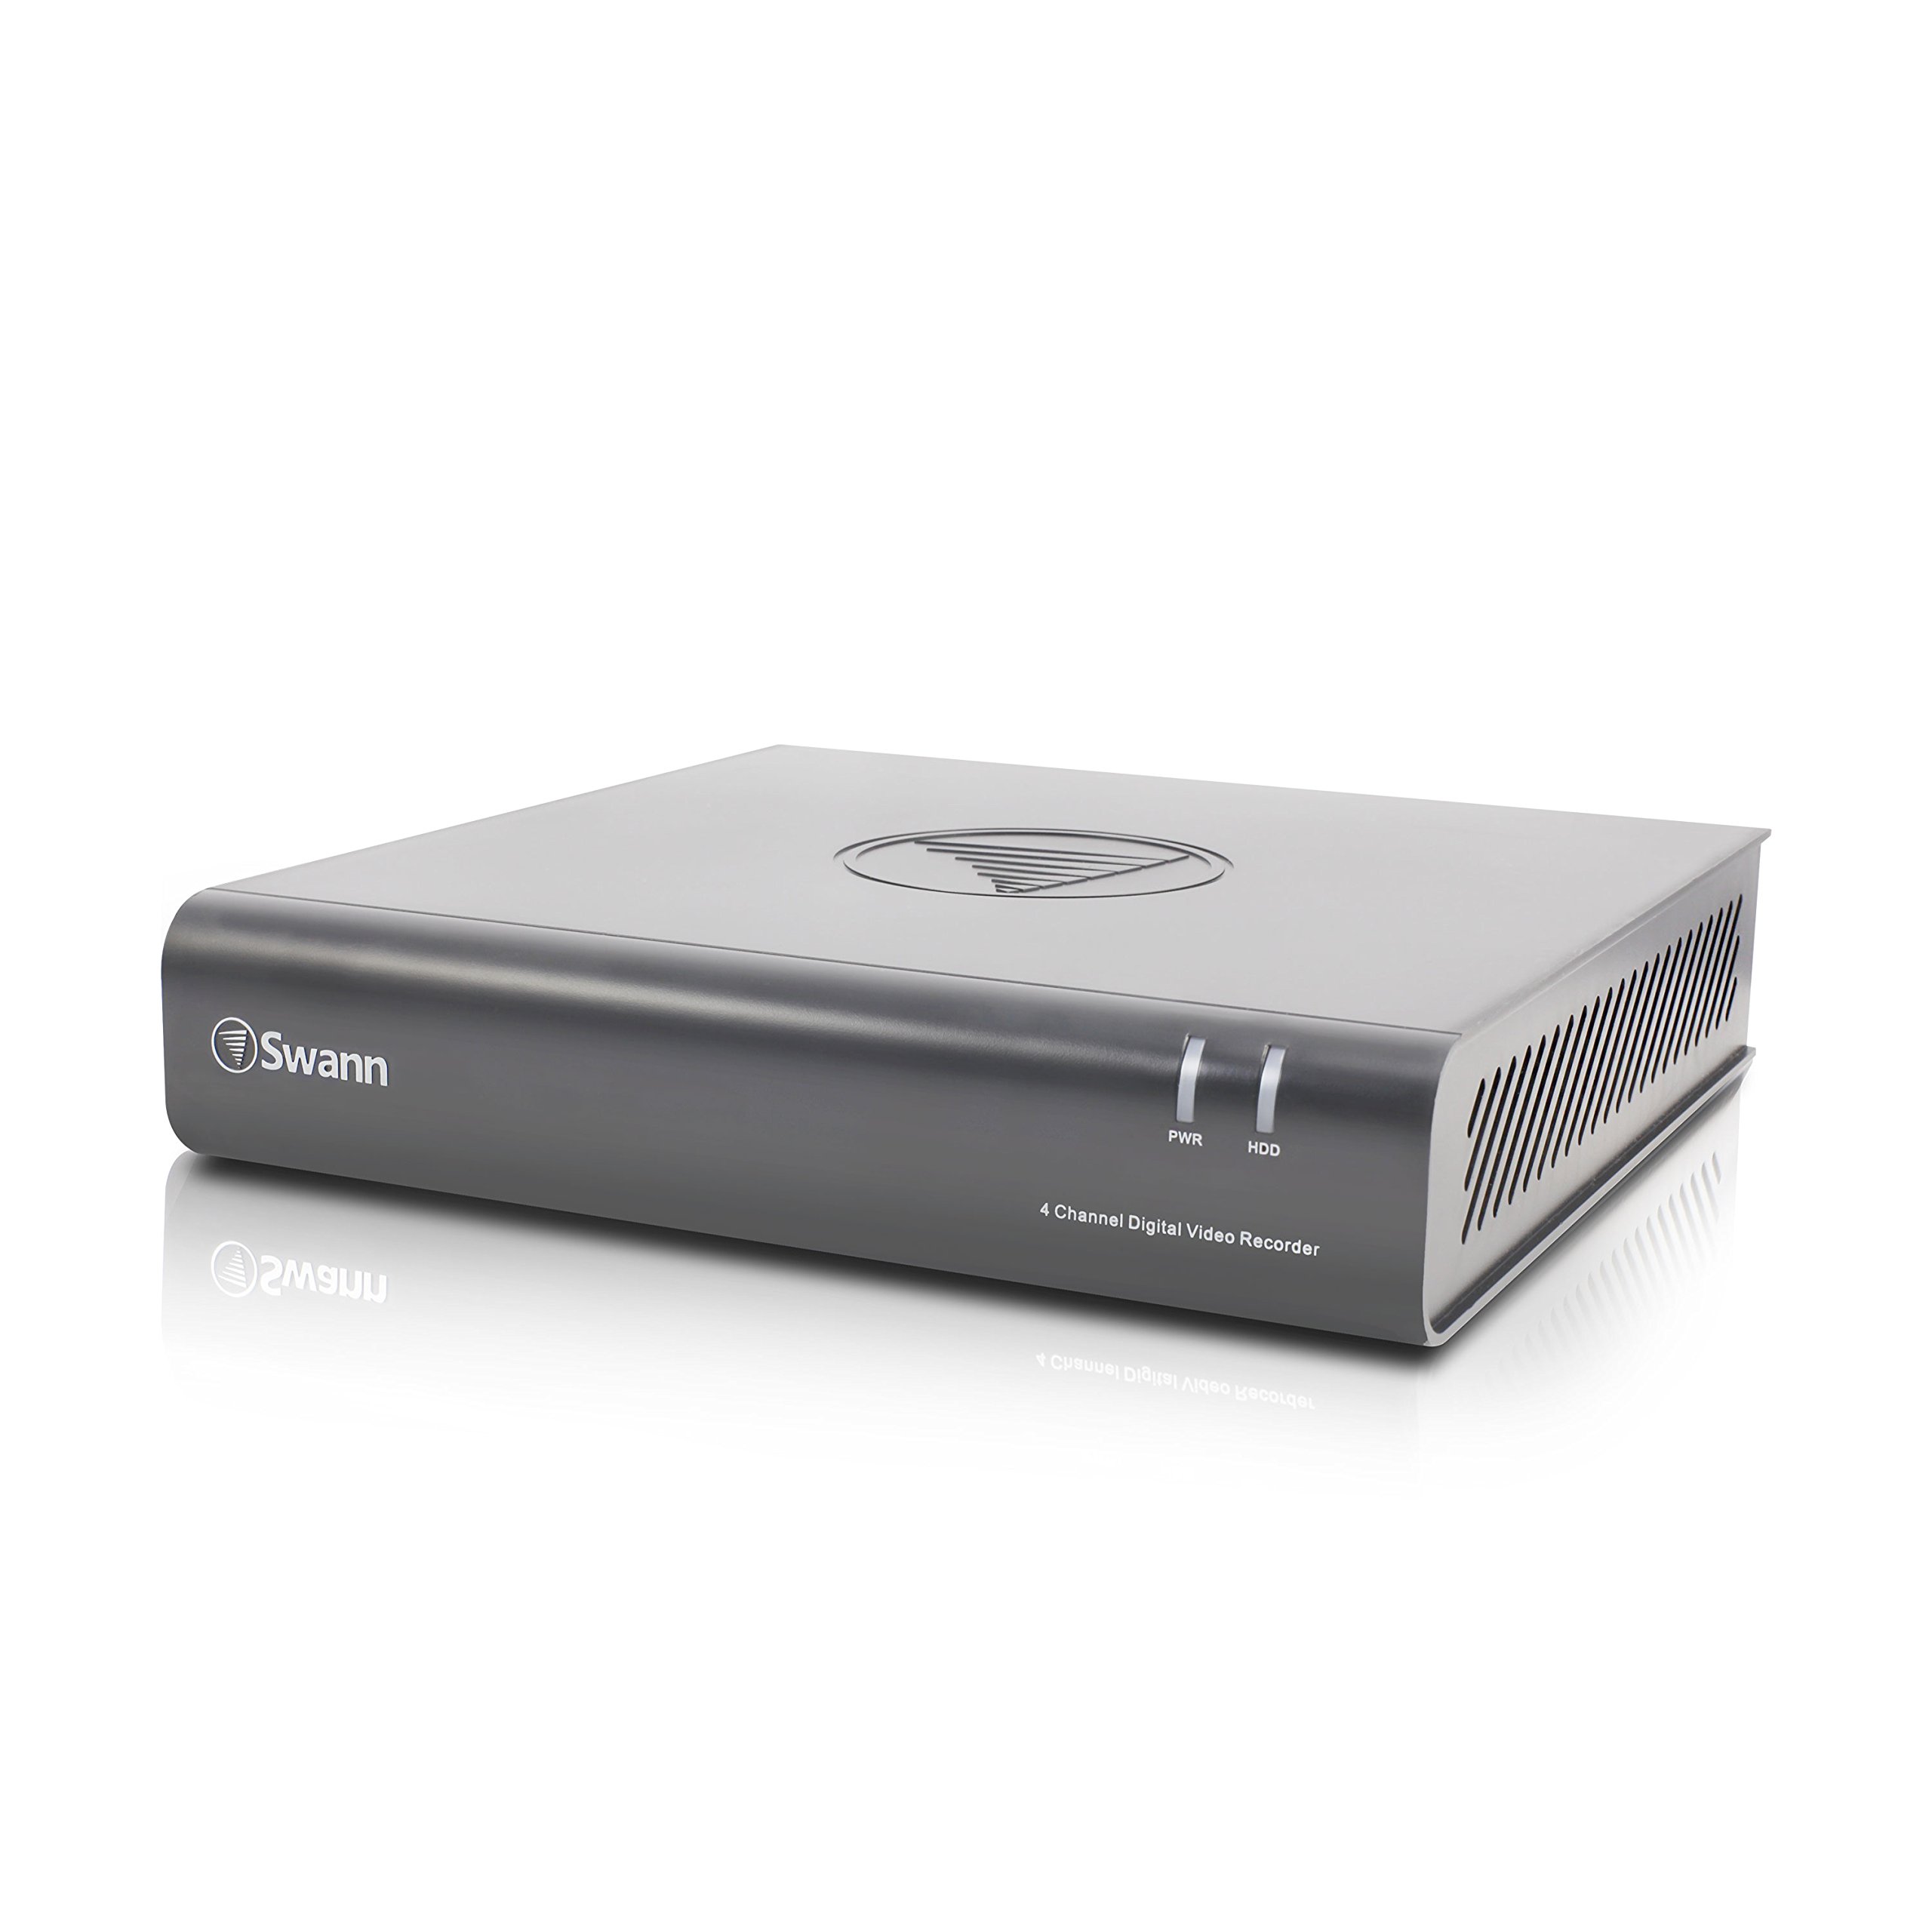
Rear Panel:

Key Components:
- Video Inputs (1-4): Connect your security cameras here.
- Audio In/Out: For connecting microphones and speakers.
- HDMI Output: Connect to an HDTV or monitor for high-definition video display.
- VGA Output: Connect to a VGA-compatible monitor.
- LAN & USB Ports: For network connection and USB devices like the included mouse or external storage.
- DC 12V In: Power input for the DVR.
- PWR/HDD Indicators: Front panel lights indicating power status and hard drive activity.
Setup
Initial Connection:
- Connect your cameras to the Video In ports on the rear panel.
- Connect a monitor to the HDMI or VGA output.
- Connect the included mouse to one of the USB ports.
- Connect the Ethernet cable to the LAN port for network access (optional, for remote viewing).
- Connect the power adapter to the DC 12V In port and then to a power outlet. The DVR will power on automatically.
First-Time Setup Wizard:
Upon first power-on, the DVR will guide you through a setup wizard to configure basic settings such as language, date/time, network, and password. Follow the on-screen prompts.
Operating Your DVR
Live View:
After initial setup, the DVR will display the live feed from connected cameras. Use the mouse to navigate the on-screen interface.
Recording:
The DVR is pre-configured to record continuously. You can adjust recording settings (e.g., motion detection, schedule) via the main menu.
Playback:
To view recorded footage, access the "Playback" option from the main menu. You can search by date, time, and event type.
Remote Access:
For remote viewing on a smartphone or computer, download the SwannView Link app (or equivalent) and follow the instructions for network configuration in the DVR's menu.
Maintenance
Hard Drive Management:
The 1TB hard drive will automatically overwrite the oldest footage when full. Regularly back up important recordings to external storage via USB or network.
Firmware Updates:
Check the Swann support website periodically for firmware updates to ensure optimal performance and security. Follow the provided instructions for updating.
Cleaning:
Keep the DVR unit clean and free from dust. Use a soft, dry cloth. Do not use liquid cleaners.
Troubleshooting
No Video Output:
- Ensure all cables (HDMI/VGA, power) are securely connected.
- Verify the monitor input source is correctly selected.
- Check if the DVR's power indicator light is on.
No Recording:
- Check hard drive status in the DVR menu.
- Ensure recording schedules or motion detection settings are correctly configured.
- Verify cameras are properly connected and functioning.
Remote Access Issues:
- Confirm the DVR is connected to the internet.
- Check network settings (IP address, port forwarding) in the DVR menu and your router.
- Ensure the correct app and account details are used.
Specifications
| Feature | Detail |
|---|---|
| Model Number | SWDVR-44600H-US |
| Video Channels | 4 |
| Video Resolution | 1080p HD |
| Hard Drive Size | 1 TB |
| Video Compression | H.264 |
| Connectivity | Wired (Ethernet, BNC) |
| Video Outputs | HDMI, VGA |
| USB Ports | 2 |
| Dimensions | 3.74 x 14.17 x 10.83 inches |
| Weight | 3.75 pounds |
Warranty and Support
Warranty Information:
Your Swann SWDVR-44600H-US is covered by a limited warranty. Please refer to the warranty card included in your package or visit the official Swann website for detailed terms and conditions.
Technical Support:
For technical assistance, troubleshooting, or further inquiries, please visit the Swann support website or contact their customer service. Contact details can be found on the Swann website.
Note: Proof of purchase may be required for warranty claims.