
1. Introduction
Thank you for purchasing the Cheerlux C6 Mini Portable LED Home Cinema Projector. This manual provides essential information for the safe and efficient operation of your projector. Please read it thoroughly before use and retain it for future reference.
2. Product Overview
The Cheerlux C6 is a compact and portable LED projector designed for home cinema use. It features an integrated speaker and multiple connectivity options.
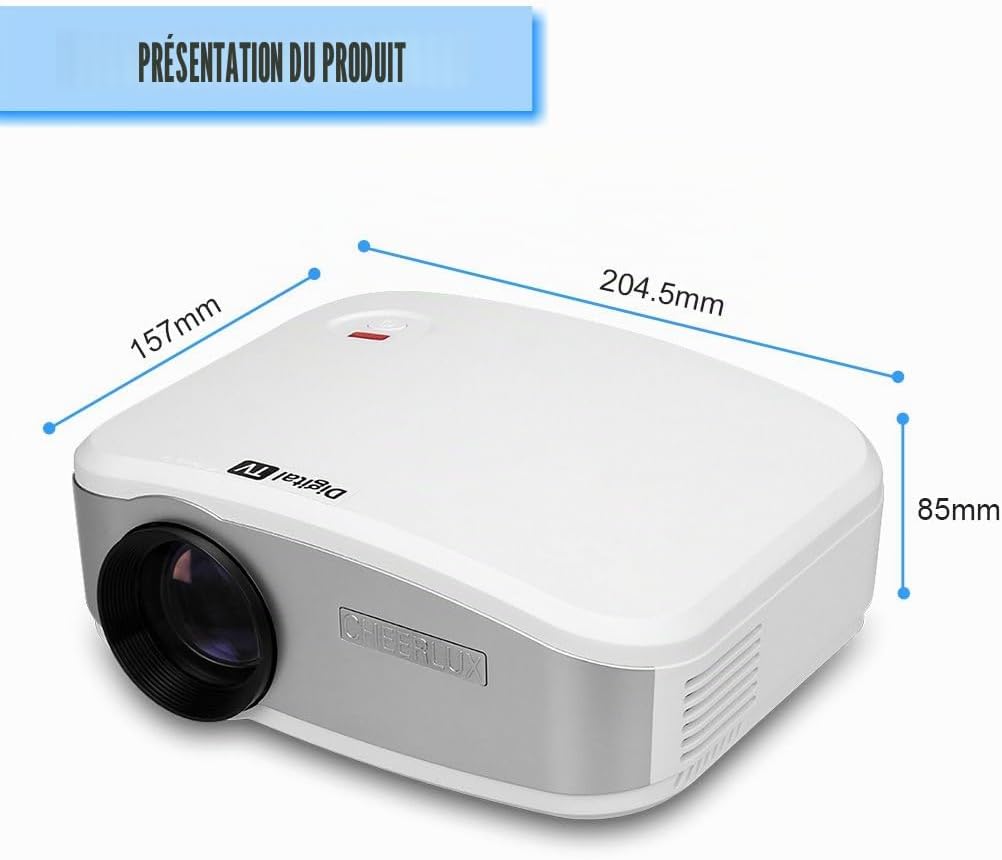
Figure 2.1: Front view of the Cheerlux C6 projector with its dimensions (204.5mm x 157mm x 85mm).
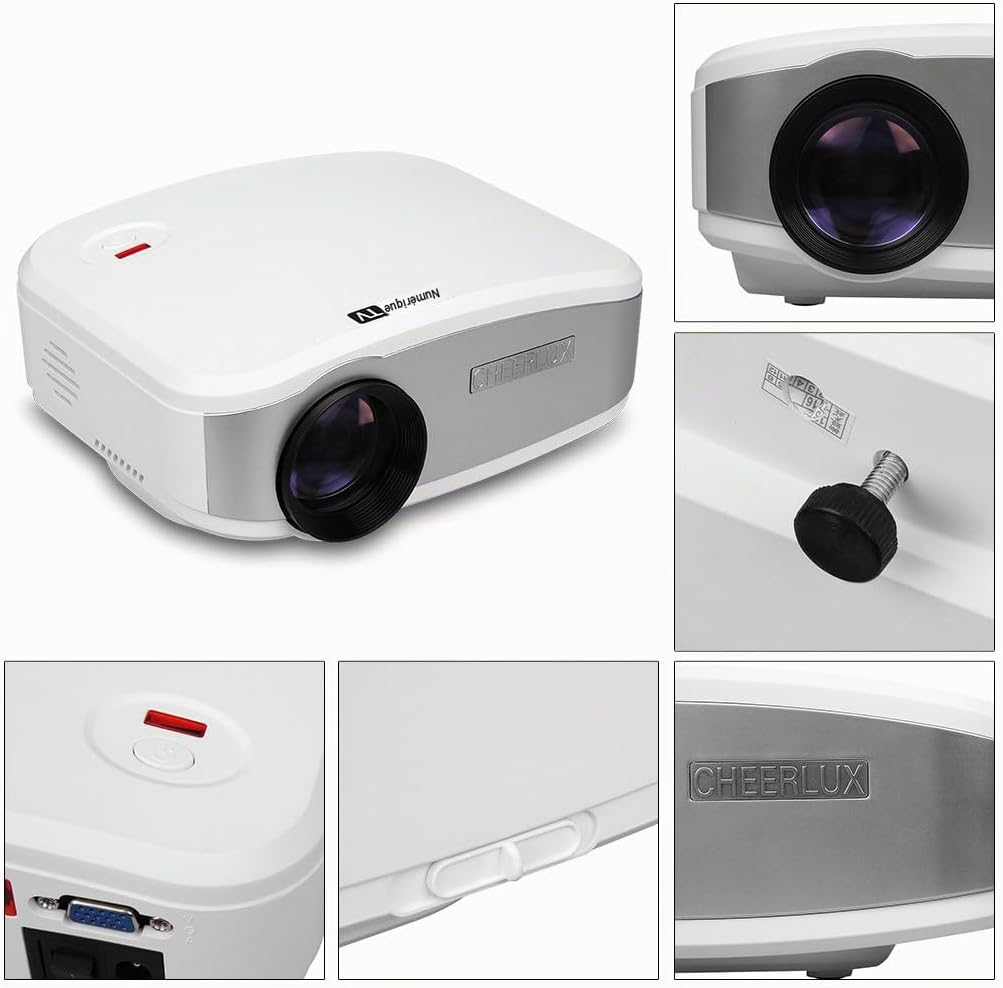
Figure 2.2: Detailed views highlighting the projector's design, lens, power button, and branding.
2.1 Package Contents
Verify that all items are present in the package:
- Cheerlux C6 Projector
- Power Adapter
- Video Cable (AV cable)
- Remote Control
- User Manual (this document)

Figure 2.3: Standard accessories included with the Cheerlux C6 projector.
2.2 Projector Ports and Controls

Figure 2.4: Rear panel connections and controls.
- TV Input: For connecting to an antenna or cable TV source.
- USB Port: For connecting USB storage devices (e.g., flash drives) to play media files.
- HDMI Port: For connecting high-definition devices such as laptops, game consoles, or Blu-ray players.
- 3.5mm Audio Output: For connecting external speakers or headphones.
- IR Receiver: Infrared receiver for the remote control.
- AV Input: For connecting devices using a composite video and stereo audio cable.
- VGA Port: For connecting computers or laptops with a VGA output.
- Power Switch: Main power on/off switch.
- Keystone Correction: Manual adjustment for image distortion.
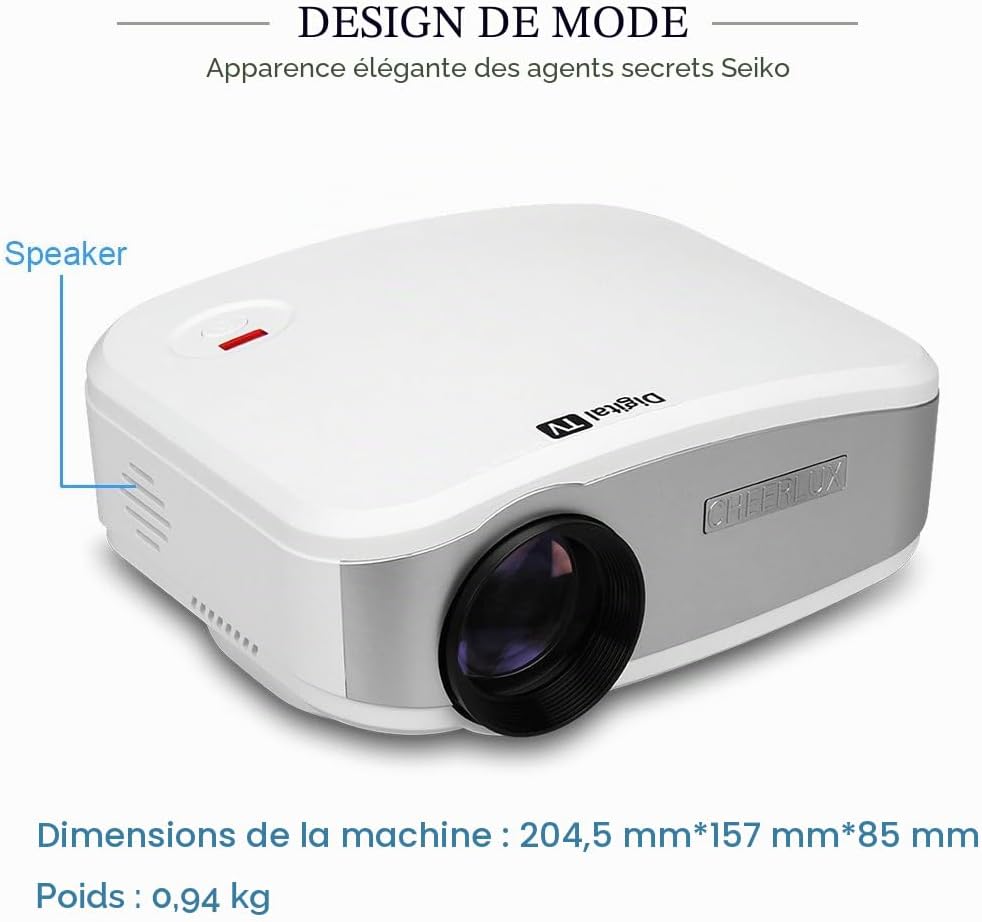
Figure 2.5: Side view indicating the location of the integrated speaker.
3. Setup
3.1 Placement
Place the projector on a stable, flat surface. Ensure there is adequate ventilation around the projector to prevent overheating. The projection distance will determine the image size. Adjust the distance to achieve your desired screen size.
3.2 Power Connection
- Connect the power adapter to the projector's power input.
- Plug the power adapter into a suitable electrical outlet.
- Flip the main power switch (located on the rear panel) to the "ON" position. The power indicator light should illuminate.
3.3 Initial Power On and Focus Adjustment
- Press the power button on the projector or the remote control to turn on the unit.
- Project an image onto a screen or wall.
- Rotate the focus ring on the projector lens until the image appears sharp and clear.
- If the image appears trapezoidal, use the keystone correction knob (located on the rear panel) to adjust the image geometry until it is rectangular.
4. Operating Instructions
4.1 Remote Control Operation
The included remote control allows for convenient operation of the projector from a distance. Ensure the remote is pointed towards the IR receiver on the projector's rear panel.
Figure 4.1: The remote control for navigating menus and functions.
- Power Button: Turns the projector on or off.
- Source Button: Selects the input source (HDMI, VGA, USB, AV, TV).
- Arrow Keys: Navigate through menus and options.
- OK/Enter Button: Confirms selections.
- Menu Button: Accesses the main settings menu.
- Volume Buttons: Adjusts the audio volume.
- Mute Button: Mutes or unmutes the audio.
4.2 Input Source Selection
After connecting your desired device, press the "Source" button on the remote control or the projector's control panel to cycle through available input sources (HDMI, VGA, USB, AV, TV) until your device's signal is displayed.
4.3 Menu Navigation and Settings
Press the "Menu" button to access the projector's settings. Use the arrow keys to navigate and the "OK" button to select. Common settings include:
- Picture Settings: Adjust brightness, contrast, color, sharpness, and aspect ratio.
- Sound Settings: Adjust volume, sound mode, and balance.
- Time Settings: Set sleep timer or clock.
- Option Settings: Language, factory reset, software update.
5. Connectivity
The Cheerlux C6 projector offers various connection options to suit different devices.

Figure 5.1: Examples of compatible devices for the Cheerlux C6 projector.
- HDMI: Connect to laptops, desktop computers, game consoles (e.g., PS3), Blu-ray players, and TV decoders for high-quality digital video and audio.
- VGA: Connect to older desktop computers or laptops for analog video signals.
- USB: Insert a USB flash drive to play supported media files (videos, photos, music, text documents) directly from the drive.
- AV (Composite Video): Connect to DVD players, VCRs, older game consoles, or cameras using the included AV cable for standard definition video and stereo audio.
- TV: Connect an antenna or cable TV source to watch broadcast television channels.
- 3.5mm Audio Out: Connect external speakers or headphones for enhanced audio experience. The projector has an integrated speaker, but external audio devices can be used for louder or higher quality sound.
6. Maintenance
6.1 Cleaning the Lens
Use a soft, lint-free cloth specifically designed for optical lenses to gently wipe the projector lens. Do not use abrasive cleaners or excessive force, as this can scratch the lens.
6.2 Ventilation
Ensure the projector's ventilation vents are clear and unobstructed. Blocked vents can lead to overheating and damage the projector. Periodically clean dust from the vents using a soft brush or compressed air.
6.3 Storage
When not in use for extended periods, store the projector in a cool, dry place, away from direct sunlight and extreme temperatures. Cover the lens with its cap to protect it from dust.
7. Troubleshooting
If you encounter issues with your projector, refer to the following common problems and solutions:
| Problem | Possible Cause / Solution |
|---|---|
| No image displayed |
|
| Image is blurry |
|
| Image is distorted (trapezoidal) |
|
| No sound |
|
| Remote control not working |
|
8. Specifications
| Feature | Detail |
|---|---|
| Brand | Cheerlux |
| Model Number | C6 |
| Recommended Use | Home Cinema |
| Special Feature | Portable, Integrated Speaker |
| Connectivity Technology | USB, VGA, HDMI, AV, TV |
| Display Resolution | 800 x 480 pixels |
| Maximum Display Resolution | 800 x 480 pixels |
| Display Type | LED |
| Form Factor | Portable |
| Brightness | 3000 Lumens |
| Contrast Ratio | 1000:1 |
| Compatible Devices | Laptop, Tablet, Game Console, Smartphone, Speaker, Television |
| Control Method | Remote Control |
| Video Encoding | H.264, H.265 |
| Item Weight | 2.07 Pounds (approx. 0.94 kg) |
| Color | White |
9. Warranty and Support
For warranty information or technical support, please refer to the documentation provided at the time of purchase or contact Cheerlux customer service. Keep your purchase receipt as proof of purchase.

