1. Introduction
The POWERTEC 4 x 24 Inch 80 Grit Aluminum Oxide Sanding Belts are designed for effective material removal and finishing across various applications. This premium pack of 10 belts offers durability and high performance for both professional and DIY woodworking projects. These belts are suitable for wood sanding, shaping, stripping, and achieving a smooth finish. They also perform well with light and non-ferrous metals, blending welds, fiberglass, plastic, and rubber.
Each belt features an X-weight cloth backing and a strong resin-on-resin bond with well-crafted seams, ensuring long-lasting results.
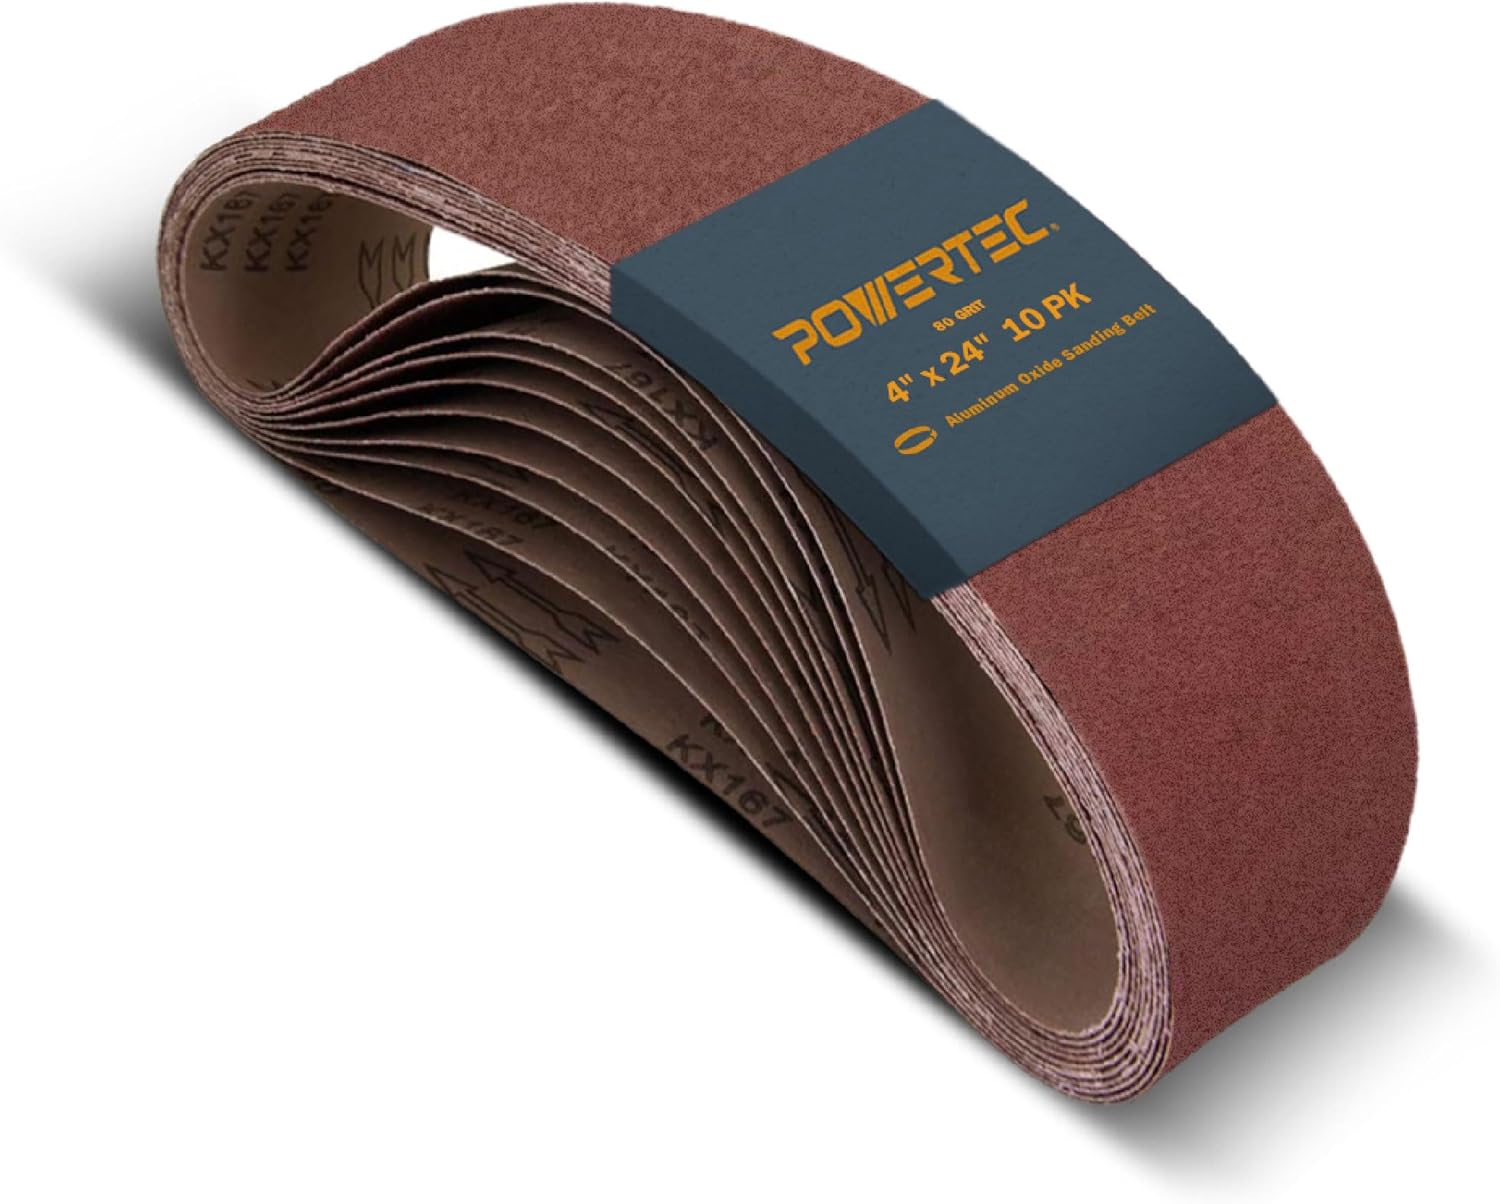
Image 1.1: A stack of POWERTEC 4 x 24 Inch 80 Grit Sanding Belts, indicating a 10-pack.
2. Setup
Proper installation of the sanding belt on your machine is crucial for safety and optimal performance. Ensure your sander is unplugged before attempting to install or remove any belts.
2.1 Compatible Sanders
These heavy-duty sanding belts are compatible with many popular belt sander models, including but not limited to:
- Craftsman
- Makita (e.g., 9403/9404 Belt Sander)
- Skil
- Wen (e.g., 6524 Oscillating Belt and Spindle Sander)
- Ridgid (e.g., EB4424 Sander)
- Porter-Cable
- Black+Decker
- Bosch
- Triton (e.g., T41200BS Belt Sander)
- Hitachi
- Metabo

Image 2.1: Visual representation of various compatible belt sander models.
2.2 Belt Installation
- Ensure your belt sander is unplugged from the power source.
- Locate the belt tension release lever or mechanism on your sander.
- Release the tension to allow the old belt to be removed or a new belt to be fitted.
- Slide the new POWERTEC sanding belt onto the rollers, ensuring the directional arrow on the inside of the belt matches the rotation direction of your sander (if applicable).
- Re-engage the tensioning mechanism to secure the belt firmly in place.
- Check that the belt is centered on the rollers and runs smoothly by manually rotating the belt or briefly turning on the sander (with caution and clear of any workpieces).

Image 2.2: A POWERTEC sanding belt installed on a belt sander, demonstrating its heat and moisture resistant properties during operation.
3. Operating Instructions
These sanding belts are designed for efficient and effective material removal and finishing. Always wear appropriate personal protective equipment (PPE), including eye protection and dust masks, when operating sanding equipment.
3.1 Grit Selection Guide
The grit size determines the aggressiveness of the sanding belt. Choose the appropriate grit for your application:
- 40 – 60 Grit: Ideal for heavy sanding and stripping of material.
- 80 – 180 Grit: Suitable for removing tiny imperfections and preparing surfaces.
- 240 – 400 Grit: Used for delivering a super fine, smooth finish.

Image 3.1: An illustration of different grit sizes available for POWERTEC sanding belts.
3.2 Applications
POWERTEC sanding belts are versatile and can be used on a variety of materials:
- Wood: For sanding, shaping, and finishing woodworking projects.
- Aluminum: Effective for working with light and non-ferrous metals.
- Fiberglass: Suitable for smoothing and shaping fiberglass surfaces.
- Plastic: Can be used for various plastic materials.
- Rubber: Capable of sanding and shaping rubber components.
- Drywall & Paint: For surface preparation and removal.

Image 3.2: Examples of materials and applications for POWERTEC sanding belts.
3.3 Usage Tips
- Apply light and consistent pressure. Allow the grit to do the work. Excessive pressure can weaken the belt seam and reduce its lifespan.
- Move the sander evenly across the surface to prevent uneven sanding and premature wear of the belt.
- For optimal performance and longevity, ensure the belt is running true and not rubbing against any part of the sander housing.

Image 3.3: A POWERTEC sanding belt in operation, highlighting its long-lasting performance.
4. Maintenance
Regular maintenance extends the life of your sanding belts and ensures consistent performance.
4.1 Cleaning the Belt
Over time, sanding belts can become clogged with dust and debris, reducing their effectiveness. To clean your sanding belts:
- Use a sanding belt cleaning stick or rubber eraser. While the sander is running (with extreme caution and proper safety measures), press the cleaning stick against the moving belt. This will dislodge embedded particles and expose fresh grit.
- Regularly cleaning the belt will prevent heat buildup and extend its operational life.
4.2 Storage
Store unused sanding belts in a cool, dry place away from direct sunlight and excessive humidity. Proper storage helps maintain the integrity of the adhesive and abrasive material.
5. Troubleshooting
While POWERTEC sanding belts are designed for durability, certain issues may arise during use. Here are common problems and their solutions:
5.1 Belt Seam Breaking or Tearing
This is a common issue that can occur due to several factors:
- Excessive Pressure: Applying too much downward pressure on the sander can cause the belt seam to weaken and break prematurely. Solution: Use light pressure and allow the abrasive grit to do the work.
- Heat Buildup: Continuous, heavy use without proper cooling can cause the adhesive at the seam to fail. Solution: Take breaks during prolonged sanding sessions to allow the belt and sander to cool. Regularly clean the belt to prevent clogging, which contributes to heat buildup.
- Improper Tracking: If the belt is not tracking correctly on the sander, it can rub against the housing or edges, leading to tearing. Solution: Adjust the sander's tracking mechanism to ensure the belt runs centrally.
- Obstructions: Sanding over nails, screws, or other hard obstructions can damage the belt. Solution: Inspect your workpiece for foreign objects before sanding.
6. Specifications
| Feature | Specification |
|---|---|
| Abrasive Belt Size | 4-Inch x 24-Inch |
| Grit Size | 80 |
| Material | Premium Open Coat Aluminum Oxide (A/O) Grain |
| Backing | Strong “X” Weight Cloth Backing |
| Joint | Strong Butt Joint Construction |
| Package Quantity | 10 pieces |
| Item Weight | 1.5 Pounds |
| Product Dimensions | 10 x 4 x 4 inches |
| Compatible Material | Metal (softer), Wood, Fiberglass, Drywall, Paint |
| Country of Origin | China |

Image 6.1: Key dimensions and specifications of the POWERTEC sanding belt.

Image 6.2: Detailed view of the Aluminum Oxide abrasive and hard cloth material of the sanding belt.
7. Warranty and Support
Specific warranty details and direct support contact information for this product are not available in the provided data. For any product-related inquiries, please refer to the official POWERTEC website or contact their customer service through the retailer where the product was purchased.


