1. Introduction
This manual provides detailed instructions for the setup, operation, and maintenance of your Amano PIX-95 Electronic Time Clock. Please read this manual thoroughly before using the device to ensure proper function and longevity. The Amano PIX-95 is designed for accurate and reliable timekeeping, suitable for various professional environments. Note that the PIX-95 and PIX-55 models are functionally identical, and you may receive either unit.
2. Product Overview
The Amano PIX-95 is an electronic time clock engineered for simplicity and precision. Key features include:
- Automatic Time Adjustment: The clock automatically adjusts for Daylight Saving Time.
- Battery Backup: Ensures time and date settings are retained during power outages, maintaining accuracy.
- Flexible Mounting: Can be mounted on a wall or placed on a table.
- Simple Programming: Initial setup is straightforward and typically only needs to be performed once.
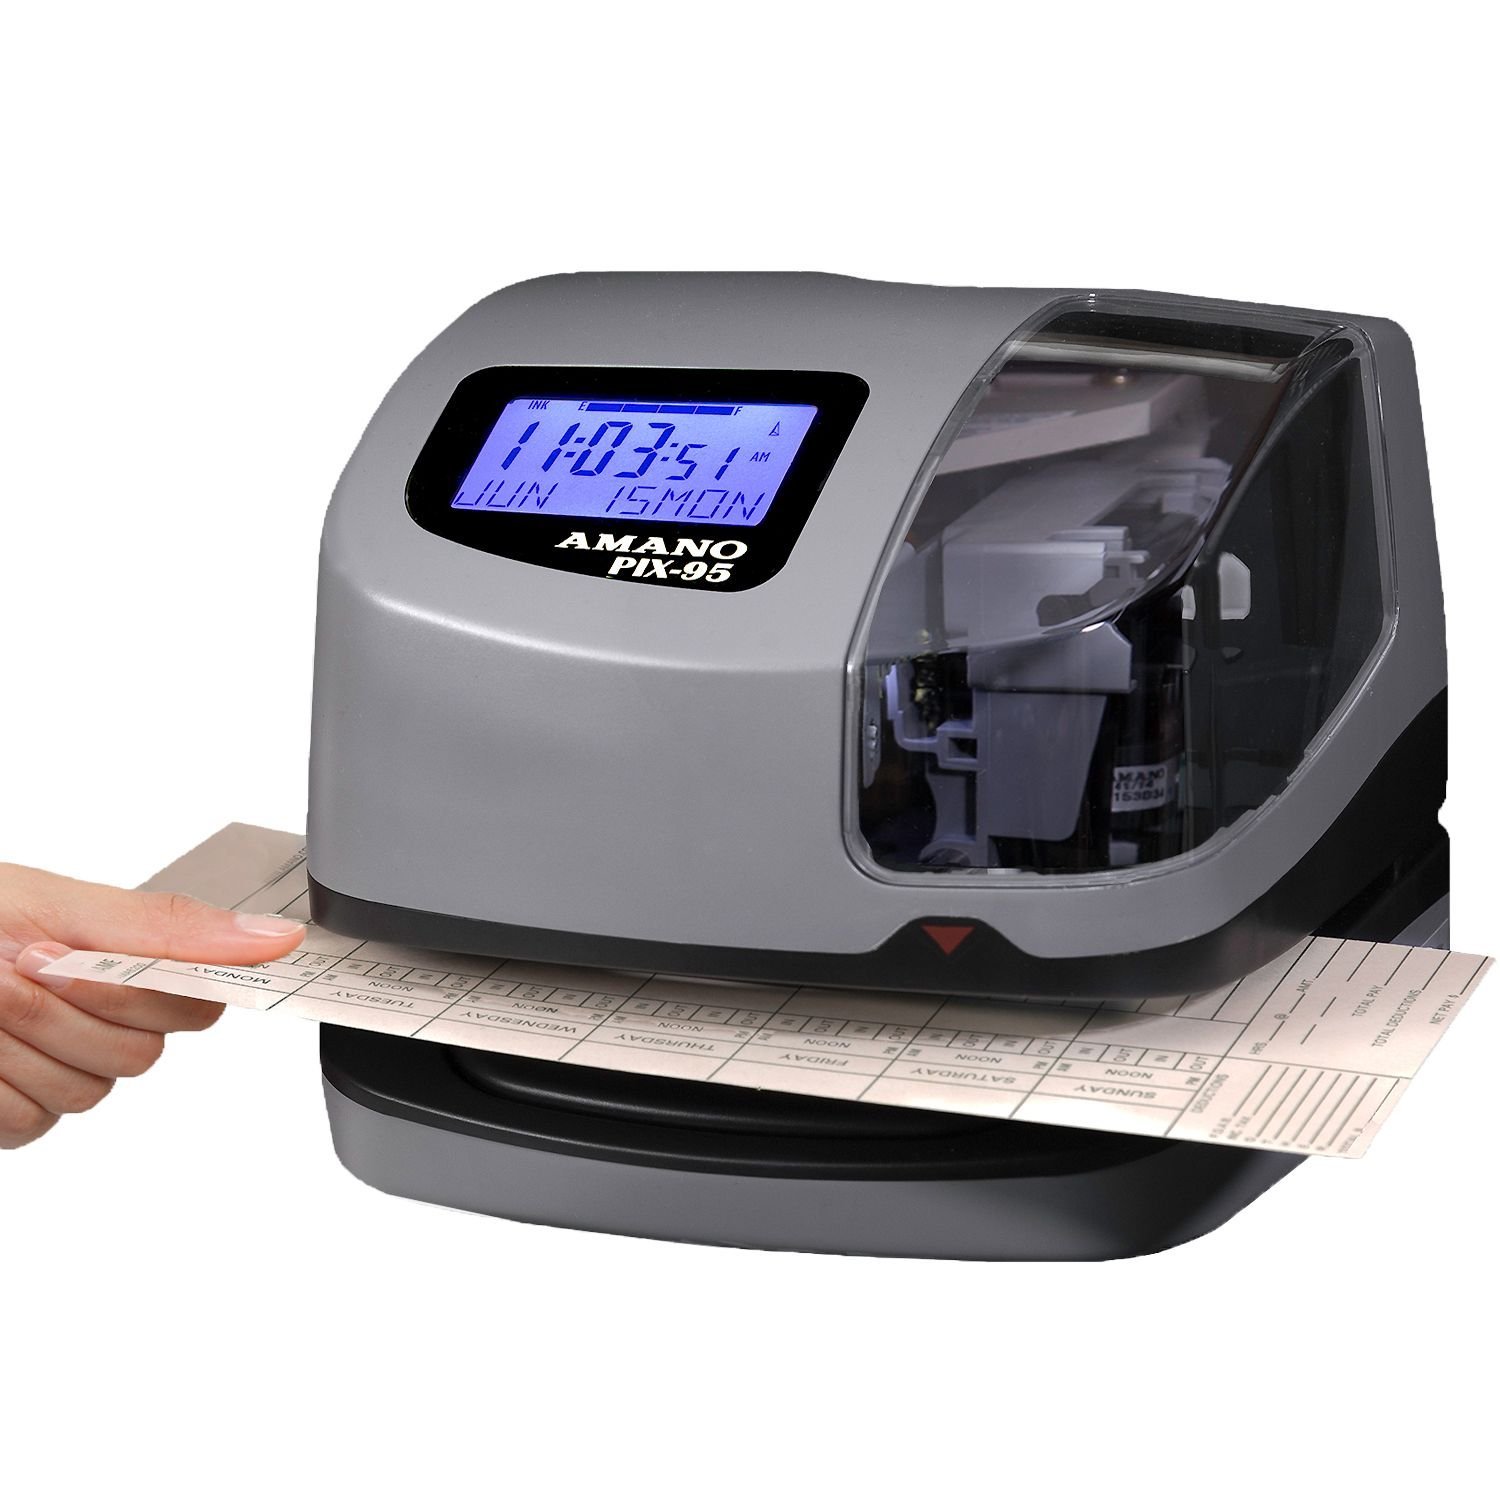
Figure 1: Front view of the Amano PIX-95 Electronic Time Clock, showing the display and card slot.
3. Setup
3.1 Unpacking
Carefully remove the time clock and all accessories from the packaging. Verify that all components are present: the PIX-95 unit, power adapter, and mounting hardware (if applicable).
3.2 Mounting
The PIX-95 can be used as a desktop unit or wall-mounted.
- Table Mount: Place the unit on a stable, flat surface. Ensure adequate space for time card insertion and removal.
- Wall Mount:
- Select a suitable wall location, ensuring it is near a power outlet and at a convenient height for users.
- Use the provided mounting template (if included) or measure the distance between the mounting holes on the back of the unit.
- Drill pilot holes and insert wall anchors if necessary.
- Secure the unit to the wall using appropriate screws.
3.3 Initial Power-Up and Settings
- Connect the power adapter to the time clock and then to a standard electrical outlet.
- The display will illuminate. The clock may automatically set the current time and date.
- If manual adjustment is required, refer to the programming section (usually accessible via internal buttons or a specific sequence of external button presses, consult the quick start guide for exact steps).
- Set the correct year, month, day, hour, and minute.
- Confirm any other settings such as print format (e.g., 12-hour or 24-hour, AM/PM).
3.4 Loading Time Cards
Insert a stack of compatible time cards into the card slot, ensuring they are oriented correctly (usually face forward with the top edge up). The clock will automatically feed the cards as needed.
4. Operating
4.1 Punching In/Out
- Take a time card and ensure it is not bent or damaged.
- Insert the time card into the designated slot on the top of the time clock.
- The clock will automatically detect the card, print the current time and date in the next available column, and then eject the card.
- Retrieve the card after printing.
Note: The PIX-95 typically supports various print formats and automatic column shifts to differentiate between 'in' and 'out' punches throughout the day. Refer to your specific programming settings for details on how your unit is configured.
5. Maintenance
5.1 Cleaning
- Periodically wipe the exterior of the time clock with a soft, dry cloth.
- Do not use liquid cleaners, aerosols, or abrasive materials, as these can damage the unit.
- Ensure the card slot is free of dust and debris. Use a can of compressed air if necessary to clear the slot.
5.2 Ribbon Replacement
When print quality diminishes, it is time to replace the ink ribbon cartridge. Specific instructions for ribbon replacement are usually found inside the unit's cover or on a label. Generally, this involves:
- Unplug the time clock from the power outlet.
- Open the front cover of the unit (if applicable).
- Carefully remove the old ribbon cartridge.
- Install a new, genuine Amano replacement ribbon cartridge, ensuring it is seated correctly.
- Close the cover and reconnect power.
5.3 Time Card Handling
Use only compatible time cards designed for the Amano PIX-95/PIX-55. Store cards in a clean, dry environment to prevent warping or damage, which can lead to card jams or misprints.
6. Troubleshooting
| Problem | Possible Cause | Solution |
|---|---|---|
| Clock does not power on. | No power supply; faulty adapter. | Check power connection and outlet. Ensure adapter is functioning. |
| No print or faint print. | Ink ribbon needs replacement; ribbon not installed correctly. | Replace the ink ribbon cartridge. Verify correct installation. |
| Time card jams. | Damaged or incompatible time card; debris in card slot. | Use new, compatible cards. Clear any obstructions from the card slot. |
| Incorrect time/date displayed. | Settings not configured; internal battery low (unlikely due to lifetime accuracy feature). | Re-enter time and date settings. If problem persists, contact support. |
If you encounter issues not listed here or if the suggested solutions do not resolve the problem, please contact Amano customer support.
7. Specifications
- Product Dimensions: 11.2 x 9 x 9 inches
- Item Weight: 5.84 pounds
- Manufacturer: AMANO
- ASIN: B016ODBUAA
- Batteries Required: No (Internal battery for backup)
8. Warranty and Support
The Amano PIX-95 Electronic Time Clock comes with a standard manufacturer's warranty. For specific warranty terms and conditions, please refer to the warranty card included with your product or visit the official Amano website. For technical support, service, or to order replacement parts and supplies, please contact Amano customer service through their official channels.
Amano Official Website: www.amano.com
Note: Warranty coverage may vary based on region and retailer. Keep your purchase receipt for warranty claims.