1. Introduction and Overview
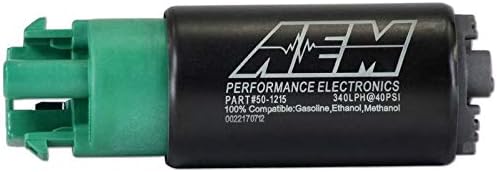
The AEM 50-1215 340lph E85-Compatible High Flow In-Tank Fuel Pump is engineered for high-performance naturally aspirated and forced induction vehicles. Its robust internal construction is specifically designed to endure the low lubricity characteristics of ethanol and methanol fuels. This fuel pump has been rigorously tested and confirmed compatible with ethanol fuels up to E100, methanol fuels up to M100, and all types of gasoline.
2. Product Features
- Designed for in-tank mounting in high-performance naturally aspirated and forced induction vehicles.
- Each pump is tested to flow 340 liters per hour (lph) at 40 PSI before packaging.
- Compatible with ethanol fuels (up to E100), methanol fuels (up to M100), and all types of gasoline.
- Compact body dimensions: 39mm diameter x 65mm length.
- Vehicle-specific fitment ensures proper integration.
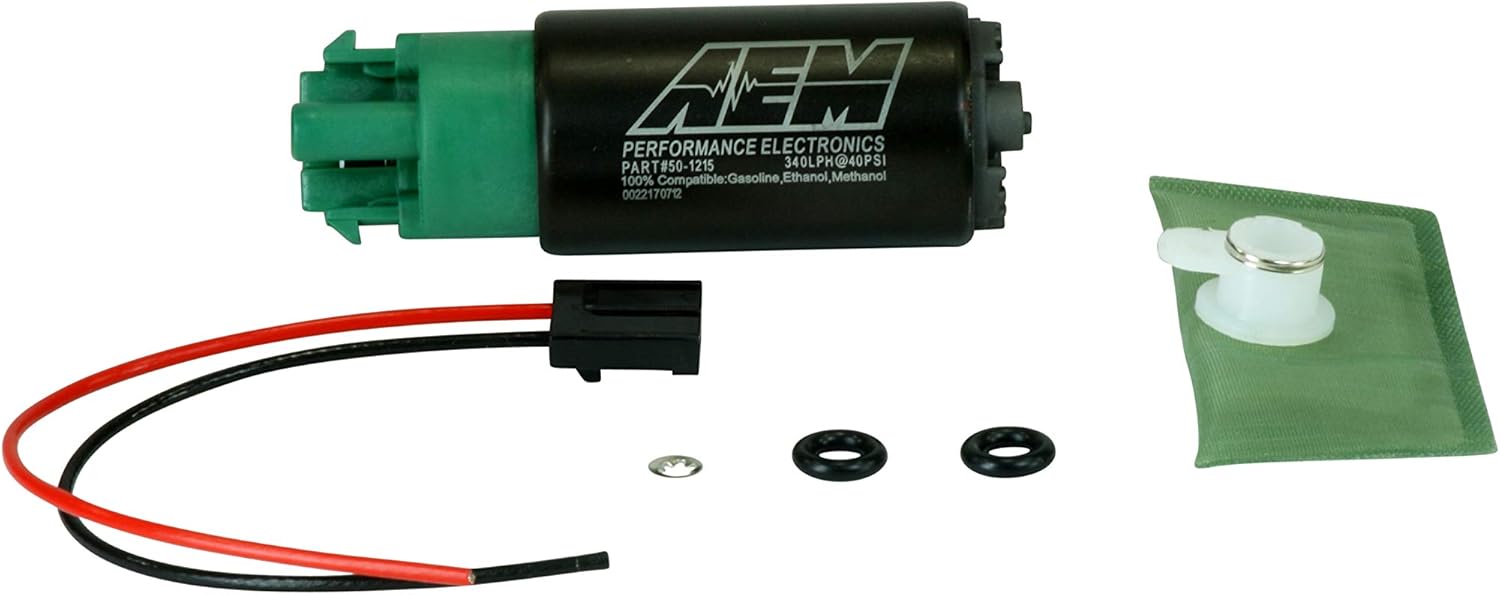
3. What's in the Box
The AEM 50-1215 High Flow In-Tank Fuel Pump kit includes the following components:
- AEM 340lph E85-Compatible High Flow In-Tank Fuel Pump
- Wiring Harness
- Pre-filter (sock filter)
- O-rings
- Hose
- Clamps
- Flying Lead
- End Cap
- Rubber Buffer Sleeve
4. Setup and Installation
Installation of the AEM 50-1215 fuel pump typically involves replacing an existing in-tank fuel pump assembly. Due to the complexity and safety considerations involving fuel systems, professional installation is highly recommended. Always ensure the vehicle's battery is disconnected and appropriate safety measures are taken when working with fuel.
4.1. Preparation
- Ensure the vehicle is on a level surface and the engine is cool.
- Disconnect the negative terminal of the vehicle's battery.
- Relieve fuel system pressure according to the vehicle manufacturer's service manual.
- Access the fuel pump assembly, typically located under the rear seat or in the trunk area.
4.2. Removing the Old Fuel Pump
- Carefully disconnect the electrical connector and fuel lines from the existing fuel pump assembly. Use a rag to catch any residual fuel.
- Unscrew the large plastic retaining ring that secures the fuel pump assembly to the fuel tank.
- Gently lift the entire fuel pump assembly out of the tank, being careful not to damage the fuel level sender float arm.
4.3. Disassembling the Fuel Pump Assembly
- On a clean workbench, carefully disassemble the old fuel pump from its housing. This may involve releasing clips or tabs.
- Remove the old pre-filter and any rubber isolators or mounts.
- Disconnect the wiring from the old fuel pump. Note the polarity (positive/negative) for correct re-connection.

4.4. Installing the New AEM Fuel Pump
- Connect the new wiring harness to the AEM fuel pump, ensuring correct polarity (red to positive, black to negative).
- Install the new rubber isolators and mounts onto the AEM fuel pump.
- Attach the new pre-filter (sock filter) to the inlet of the AEM fuel pump.
- Carefully install the new AEM fuel pump into the existing fuel pump housing, ensuring all components are correctly seated and wires are routed without pinching.

4.5. Reinstalling the Fuel Pump Assembly
- Carefully lower the reassembled fuel pump unit back into the fuel tank, ensuring the fuel level sender float arm moves freely and is not obstructed.
- Install the new O-ring (if provided) and tighten the plastic retaining ring securely.
- Reconnect the fuel lines and electrical connector. Double-check all connections for tightness.
- Reconnect the vehicle's battery.
5. Operating Instructions
After installation, perform the following steps to ensure proper operation:
- Turn the ignition key to the 'ON' position (without starting the engine) for a few seconds to allow the fuel pump to prime the system. Repeat this step 2-3 times.
- Check for any fuel leaks around the pump assembly and fuel lines.
- Start the engine and allow it to idle. Monitor fuel pressure (if a gauge is installed) and check for any unusual noises or leaks.
- Test drive the vehicle under various conditions to confirm proper fuel delivery and engine performance.
6. Maintenance
Regular maintenance helps ensure the longevity and optimal performance of your AEM fuel pump:
- Fuel Filter Replacement: The pre-filter included with the pump should be inspected and replaced periodically, or if signs of clogging are observed. Consult your vehicle's service manual for recommended intervals for in-line fuel filter replacement.
- Fuel Quality: Always use high-quality fuel. Poor fuel quality can lead to premature wear and failure of the fuel pump.
- System Inspection: Periodically inspect fuel lines, connections, and the pump assembly for any signs of leaks, corrosion, or damage.
7. Troubleshooting
If you experience issues with your fuel pump, consider the following troubleshooting steps:
- No Fuel Pressure/Engine Cranks but Won't Start:
- Check electrical connections to the fuel pump for proper contact and voltage.
- Verify the fuel pump fuse and relay are functioning correctly.
- Ensure there is sufficient fuel in the tank.
- Inspect the pre-filter for clogging.
- Low Fuel Pressure:
- Check for restrictions in the fuel lines or a clogged fuel filter.
- Inspect the fuel pressure regulator for proper operation.
- Verify the fuel pump's electrical supply (voltage and ground).
- Excessive Noise from Fuel Pump:
- Ensure the fuel tank is not running consistently low, as this can cause the pump to overheat.
- Check for air leaks in the fuel system (e.g., loose connections, damaged O-rings).
- Verify proper installation of rubber isolators to minimize vibration.
If troubleshooting steps do not resolve the issue, consult a qualified automotive technician.
8. Specifications
| Specification | Value |
|---|---|
| Brand | AEM |
| Model Number | 50-1215 |
| Flow Rate | 340 lph @ 40 PSI |
| Compatibility | Ethanol (up to E100), Methanol (up to M100), All types of Gasoline |
| Mounting Type | In-Tank (Tank Mount) |
| Body Dimensions | 39mm diameter x 65mm length |
| Body Material | Steel or Aluminum |
| Inlet Connection | 7.7mm ID, 11.0mm OD. Offset Inline |
| Outlet Connection | 8 mm hose clamp. Offset |
| Item Weight | 0.35 Kilograms (12.3 ounces) |
| Fit Type | Vehicle Specific Fit |
| Operation Mode | Automatic |
9. Warranty and Support
For warranty information, technical support, or further assistance, please refer to the official AEM website or contact AEM customer service directly. Keep your purchase receipt for warranty claims.


