1. Introduction
This user manual provides comprehensive instructions for the installation, operation, and maintenance of your Crucial BX200 960GB SATA III 2.5-inch Internal Solid State Drive (SSD). Please read this manual thoroughly before proceeding with installation or use to ensure optimal performance and longevity of your device. This SSD is designed to enhance your computer's performance by providing faster boot times, quicker application loading, and improved overall system responsiveness.
2. Product Overview
The Crucial BX200 is a high-capacity 2.5-inch internal solid state drive utilizing the SATA III interface. It is engineered to replace traditional hard disk drives (HDDs) in desktop and laptop computers, offering significant improvements in speed, durability, and efficiency. With no moving parts, SSDs are more resistant to shock and vibration, consume less power, and generate less heat compared to HDDs.
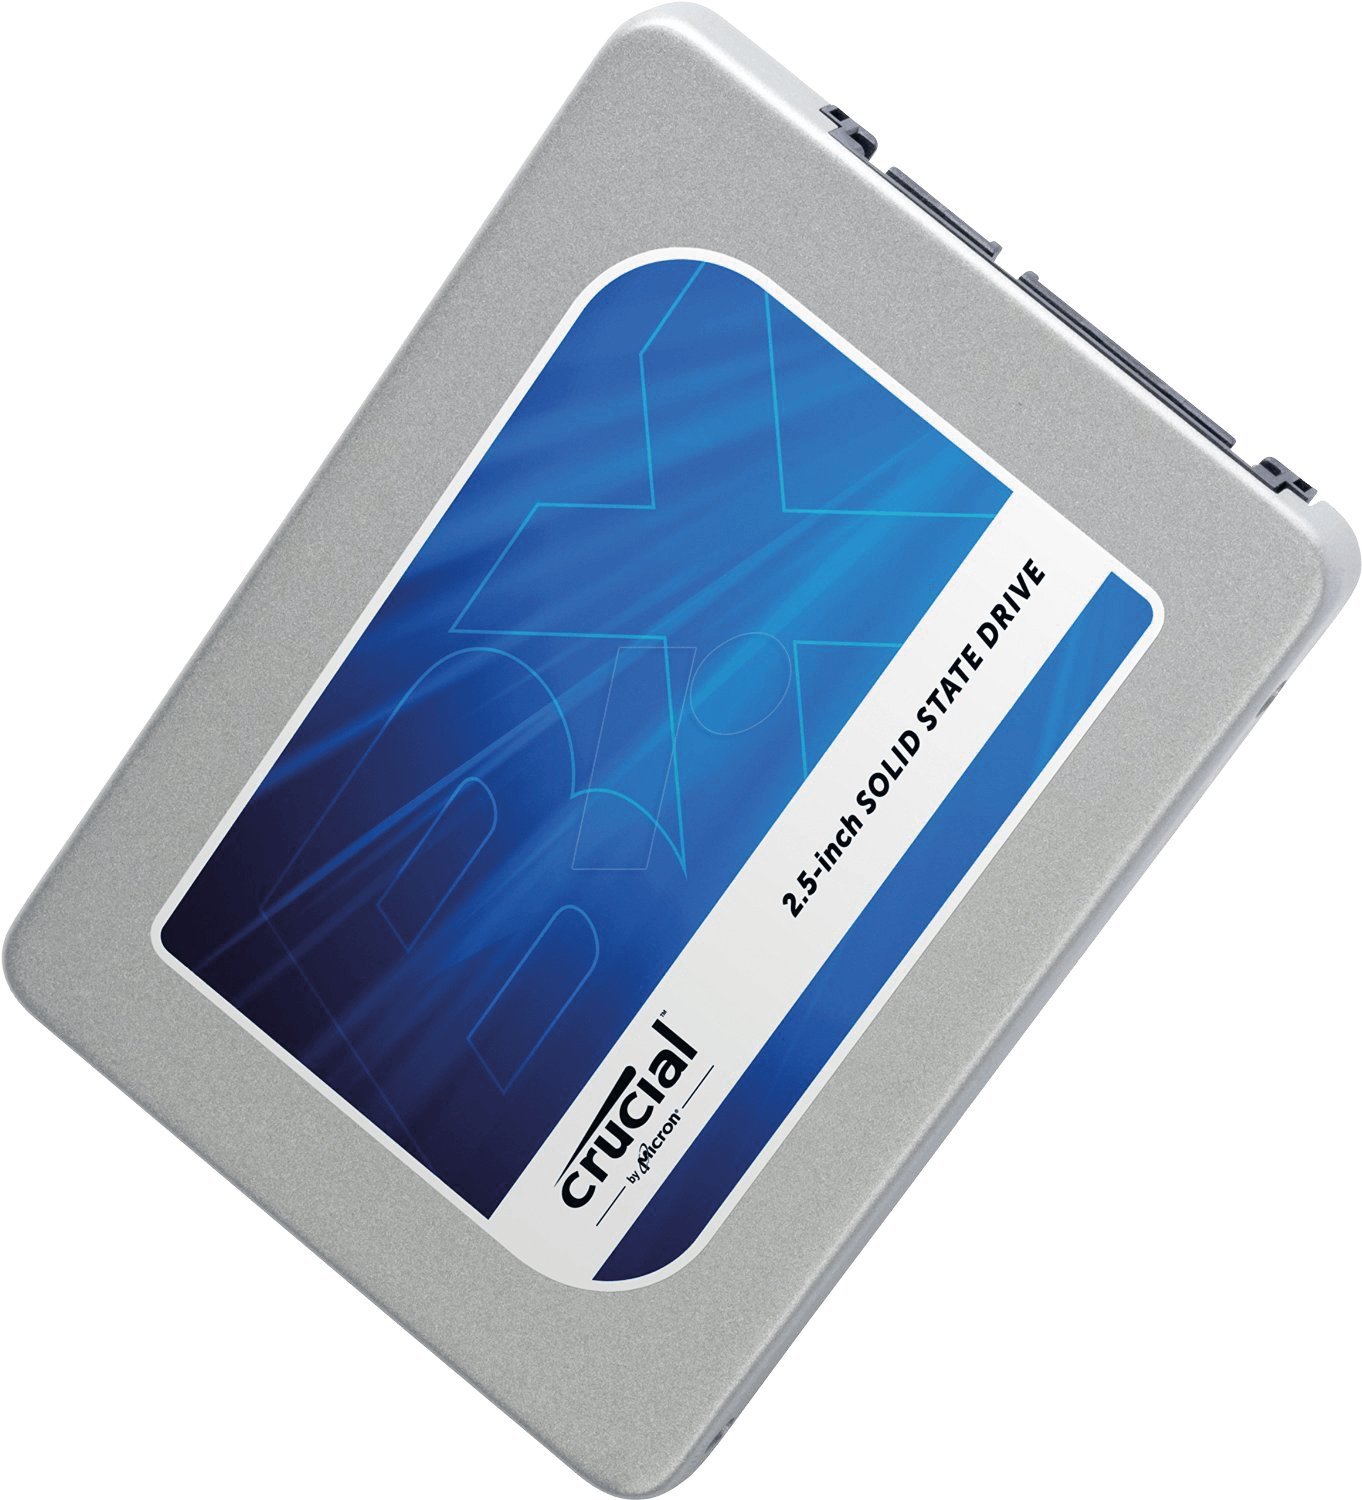
An overhead view of the Crucial BX200 960GB SATA 2.5-inch Solid State Drive, showing its silver casing and the blue label with 'Crucial by Micron' logo and '2.5-inch SOLID STATE DRIVE' text. The SATA data and power connectors are visible on the right side.
3. Package Contents
Verify that your package contains the following items:
- Crucial BX200 960GB SATA III 2.5-inch Internal Solid State Drive
- Quick Start Guide (if included)
Note: Additional accessories such as SATA data cables, power cables, or mounting brackets are typically sold separately and may be required for installation.
4. Setup and Installation
4.1 Safety Precautions
- Always power off your computer and disconnect the power cable before opening the case.
- Discharge any static electricity by touching a grounded metal object (e.g., the computer chassis) before handling components.
- Handle the SSD by its edges to avoid touching the connectors or circuit board.
4.2 Tools Required
- Phillips head screwdriver
- SATA data cable (for desktop installations)
- SATA power cable (usually from your power supply)
- 2.5-inch to 3.5-inch drive bay adapter (for desktop installations if no 2.5-inch bay is available)
4.3 Data Migration (Optional)
If you are replacing an existing drive and wish to transfer your operating system, applications, and data, you will need compatible cloning software. Many SSD manufacturers provide or recommend specific software for this purpose. An external USB-to-SATA adapter or enclosure may be required to connect the new SSD to your computer during the cloning process.
4.4 Desktop Installation
- Power down your computer and unplug the power cable.
- Open the computer case.
- Locate an available 2.5-inch drive bay. If only 3.5-inch bays are available, use a 2.5-inch to 3.5-inch adapter.
- Secure the SSD into the drive bay or adapter using screws.
- Connect one end of the SATA data cable to the SSD and the other end to an available SATA port on your motherboard.
- Connect a SATA power cable from your power supply to the SSD.
- Close the computer case and reconnect the power cable.
- Power on your computer. You may need to access your BIOS/UEFI settings to ensure the SSD is recognized and set as the boot drive if installing a new operating system.
4.5 Laptop Installation
- Power down your laptop and unplug the power adapter. Remove the battery if it is external.
- Locate the hard drive bay, typically on the bottom or side of the laptop. Consult your laptop's manual for specific instructions on how to access it.
- Remove the screws securing the hard drive bay cover and carefully open it.
- Gently slide out the existing hard drive. It may be secured by a bracket or screws.
- If the old drive has a mounting bracket, remove it and attach it to the new Crucial BX200 SSD.
- Slide the Crucial BX200 SSD into the drive bay, ensuring it connects firmly to the SATA connector.
- Secure the SSD with any screws or brackets removed earlier.
- Replace the hard drive bay cover and secure it with screws.
- Reinsert the battery (if removed) and reconnect the power adapter.
- Power on your laptop.
5. Operating the SSD
Once installed, your Crucial BX200 SSD will function as a standard storage device. For optimal performance and longevity, consider the following:
- TRIM Support: Ensure your operating system (Windows 7 or later, macOS, modern Linux distributions) has TRIM enabled. TRIM helps the SSD manage data more efficiently, maintaining performance over time.
- Avoid Defragmentation: Unlike HDDs, SSDs do not benefit from defragmentation. Defragmenting an SSD can reduce its lifespan without improving performance.
- Leave Some Free Space: It is recommended to leave at least 10-15% of the SSD's capacity free to allow for optimal wear leveling and performance.
6. Maintenance
Regular maintenance helps ensure the continued reliability and performance of your SSD:
- Firmware Updates: Periodically check the Crucial website for firmware updates for your BX200 SSD. Firmware updates can improve performance, stability, and compatibility.
- Health Monitoring: Use S.M.A.R.T. (Self-Monitoring, Analysis, and Reporting Technology) tools to monitor the health and status of your SSD. Many operating systems and third-party utilities offer this functionality.
- Backup Data: Regularly back up important data to another storage device. While SSDs are reliable, no storage device is immune to failure.
7. Troubleshooting
If you encounter issues with your Crucial BX200 SSD, consider the following troubleshooting steps:
- SSD Not Detected:
- Ensure all SATA data and power cables are securely connected.
- Check your computer's BIOS/UEFI settings to confirm the SATA port is enabled and the SSD is recognized.
- Try connecting the SSD to a different SATA port or with different cables.
- Slow Performance:
- Verify that TRIM is enabled in your operating system.
- Ensure your SATA controller is operating in AHCI mode in your BIOS/UEFI settings.
- Check for available firmware updates for the SSD.
- Ensure you have sufficient free space on the drive.
- Operating System Issues After Installation:
- If you cloned your previous drive, ensure the cloning process was successful and the new SSD is set as the primary boot device.
- If performing a clean installation, ensure your operating system installation media is not corrupted.
For further assistance, refer to the Crucial support website or contact their technical support.
8. Specifications
The following table outlines the key technical specifications for the Crucial BX200 960GB SSD:
| Feature | Specification |
|---|---|
| Model Number | CT960BX200SSD1 |
| Capacity | 960 GB |
| Interface | SATA III (6Gb/s) |
| Form Factor | 2.5-inch |
| Dimensions (LxWxH) | 5.13 x 0.75 x 5.13 inches |
| Item Weight | 3.52 ounces |
| Hardware Platform | PC, Mac |
| Installation Type | Internal Hard Drive |
| Hard Disk Description | Solid State Drive |
9. Warranty and Support
Crucial products are backed by a limited warranty. For detailed warranty information, terms, and conditions, please refer to the official Crucial website. If you require technical assistance, have questions about your product, or need to initiate a warranty claim, please contact Crucial customer support through their official channels.
Crucial Support Website: www.crucial.com/support


