Introduction
This manual provides essential information for the installation, operation, and maintenance of your Holley 4500 1050 CFM Sportsman Dominator Carburetor. Designed for high-horsepower applications such as drag racing and Pro Street vehicles, this carburetor features advanced Gen 3 main-body design for improved throttle response and consistency. Please read this manual thoroughly before proceeding with any installation or operation.

Figure 1: Overall view of the Holley 4500 1050 CFM Sportsman Dominator Carburetor. This image highlights its robust aluminum construction and general layout.

Figure 2: Front view of the Holley Sportsman Dominator Carburetor, showcasing the primary fuel bowls and air horn.
Safety Information
Always prioritize safety when working with automotive components. Failure to follow these safety guidelines may result in personal injury or damage to the product or vehicle.
- Ensure the engine is cool and disconnected from the battery before beginning any work.
- Work in a well-ventilated area to avoid inhaling fuel vapors.
- Wear appropriate personal protective equipment (PPE), including safety glasses and gloves.
- Keep a fire extinguisher nearby when working with fuel systems.
- Refer to your vehicle's service manual for specific safety procedures related to your vehicle model.
Setup and Installation
Proper installation is crucial for the optimal performance of your Holley Sportsman Dominator carburetor. If you are unsure about any step, consult a qualified automotive technician.
Preparation
Before installation, ensure all necessary tools and components are available. Inspect the carburetor for any shipping damage.

Figure 3: Included gaskets and Holley decals. Ensure all necessary gaskets are present and undamaged before installation to prevent vacuum leaks.
Removing the Old Carburetor (if applicable)
Carefully disconnect fuel lines, vacuum lines, and throttle linkage. Remove mounting nuts and lift the old carburetor from the intake manifold. Clean the manifold surface thoroughly.
Mounting the New Carburetor
Place the new carburetor gasket onto the intake manifold studs. Carefully lower the Holley Sportsman Dominator carburetor onto the studs, ensuring it seats properly. Install and hand-tighten the mounting nuts. Torque the nuts evenly in a crisscross pattern to the manufacturer's specifications (typically 120-140 in-lbs for 5/16" studs).

Figure 4: Bottom view of the carburetor showing the four throttle plates. This view is important for verifying proper sealing against the intake manifold.

Figure 5: Bottom view of the carburetor's main body, illustrating the precision-machined fuel passages and mounting points.
Connecting Fuel and Vacuum Lines
Connect the fuel lines to the carburetor's fuel inlets. Ensure all connections are secure and leak-free. Attach all vacuum lines to their respective ports on the carburetor and intake manifold. Double-check all connections.
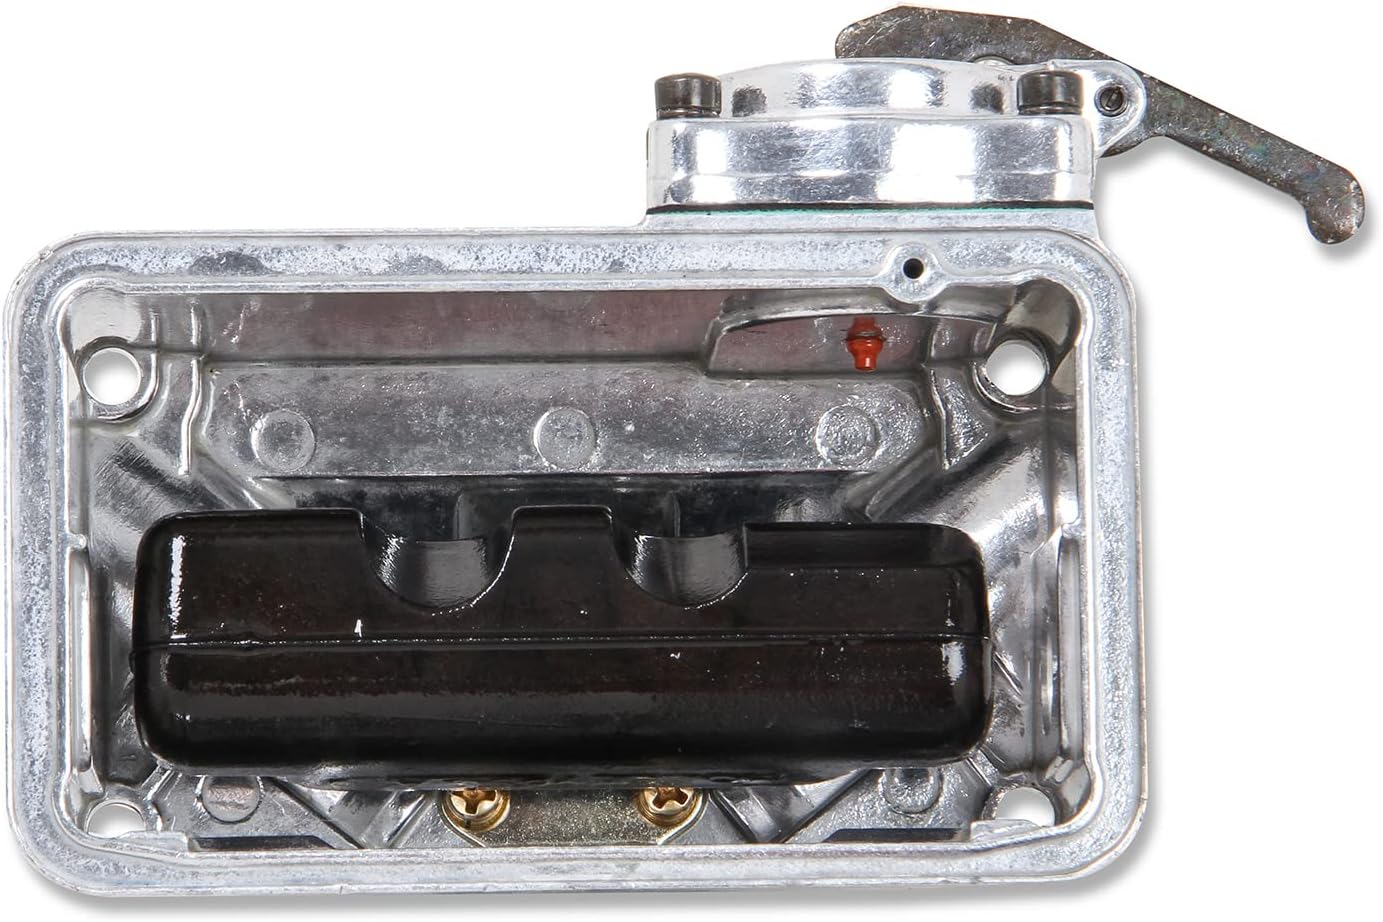
Figure 6: Interior view of a float bowl, showing the float and needle valve assembly. This area manages fuel level within the carburetor.
Throttle Linkage and Choke (if applicable)
Connect the throttle linkage, ensuring smooth operation from idle to wide-open throttle without binding. Adjust the curb idle screw for initial idle setting. If your model includes a choke, connect and adjust it according to your vehicle's requirements.

Figure 7: Close-up of the throttle linkage and knurled (hand adjustable) curb idle screw. This screw allows for precise idle speed adjustments.
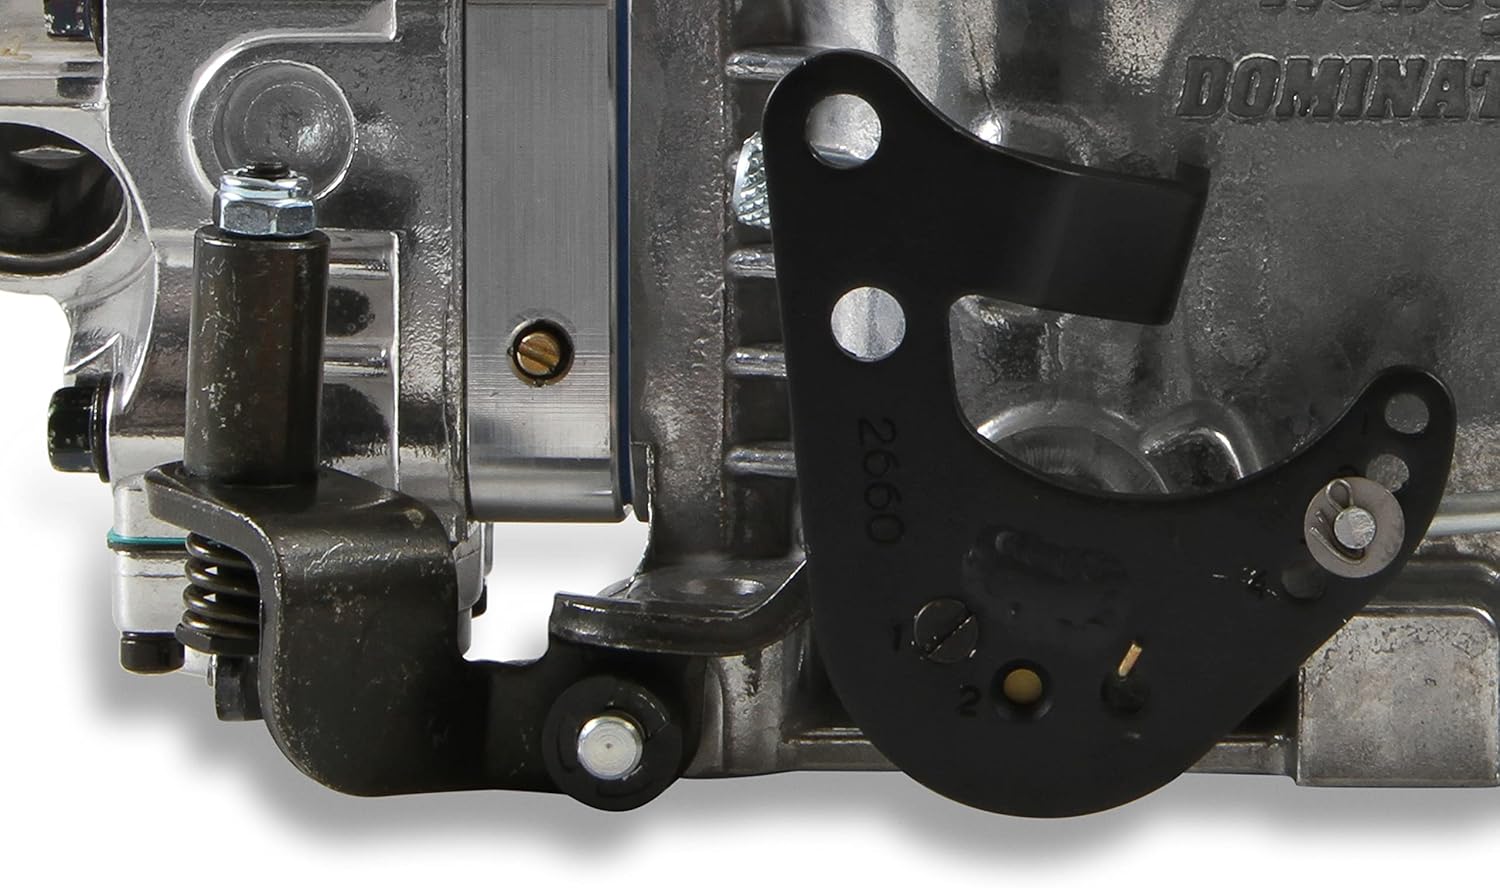
Figure 8: Another view of the throttle linkage assembly, showing the various pivot points and springs that ensure smooth throttle operation.
Operating Instructions
The Holley Sportsman Dominator carburetor is designed for high-performance applications. Initial startup and tuning are critical for optimal performance.
Initial Startup
After installation, prime the fuel system by cycling the ignition key (if equipped with an electric fuel pump) or manually priming. Check for any fuel leaks before starting the engine. Start the engine and allow it to reach operating temperature.
Idle Mixture Adjustment
Once the engine is warm, adjust the idle mixture screws (typically two or four, located on the front metering block) for the highest vacuum reading or smoothest idle. Turn screws in small increments (1/8 turn at a time) and wait for the engine to respond.
Curb Idle Speed Adjustment
Use the curb idle screw (Figure 7) to set the desired idle RPM. For performance applications, consult your engine builder's recommendations.
Performance Tuning
The Holley Sportsman Dominator features tunable billet metering blocks and screw-in air bleeds for precise tuning. Performance tuning should be done on a dynamometer or at the track by experienced personnel to optimize fuel delivery for various RPM ranges and loads. Refer to advanced Holley tuning guides for detailed procedures on jetting, power valve selection, and accelerator pump adjustments.
Maintenance
Regular maintenance ensures the longevity and consistent performance of your Holley carburetor.
Fuel System Cleanliness
Use high-quality fuel and ensure your fuel tank and lines are free of contaminants. Install a suitable fuel filter before the carburetor to prevent debris from entering the fuel bowls and jets.
Float Level Inspection
Periodically check the float levels. Incorrect float levels can lead to rich or lean conditions. Adjust as necessary according to Holley specifications.
Gasket and Seal Inspection
Inspect all gaskets and seals for signs of wear or leaks. Replace any compromised components promptly to maintain proper sealing and prevent vacuum leaks.
General Cleaning
Keep the exterior of the carburetor clean. Avoid using harsh chemicals that may damage finishes or internal components. For internal cleaning, it is recommended to disassemble the carburetor and use specialized carburetor cleaner, following all safety precautions.
Troubleshooting
This section addresses common issues you might encounter with your Holley Sportsman Dominator carburetor.
| Symptom | Possible Cause | Solution |
|---|---|---|
| Engine will not start or starts hard | No fuel, incorrect float level, clogged fuel filter, incorrect choke setting. | Check fuel supply, adjust float level, replace fuel filter, adjust choke. |
| Rough idle or stalling | Vacuum leak, incorrect idle mixture, incorrect idle speed, dirty idle passages. | Check for vacuum leaks, adjust idle mixture screws, adjust curb idle screw, clean idle passages. |
| Poor acceleration or hesitation | Incorrect accelerator pump adjustment, clogged main jets, lean condition. | Adjust accelerator pump cam/linkage, inspect/clean main jets, check for vacuum leaks. |
| Excessive fuel consumption / Rich condition | High float level, oversized jets, leaking power valve. | Adjust float level, reduce jet size, replace power valve. |
| Fuel leaks | Loose fittings, damaged gaskets, cracked fuel lines. | Tighten fittings, replace gaskets, replace fuel lines. |
Specifications
Key technical specifications for the Holley 4500 1050 CFM Sportsman Dominator Carburetor.
- Model: HOL 0-80688
- Brand: Holley
- CFM: 1050
- Flange Type: 4500 Dominator
- Fuel Type: Gasoline
- Construction: All Aluminum
- Metering Blocks: Tunable Billet
- Air Bleeds: Screw-in
- Throttle Body: Gen 3 Main-Body (5/16" taller than previous generation)
- Application: Drag Race, Pro Street, High Horsepower Engines
- OEM Part Number: 0-80688
- UPC: 090127725245
Warranty and Support
Holley products are manufactured to high standards. This product comes with a manufacturer's warranty. For specific warranty terms and conditions, please refer to the documentation included with your purchase or visit the official Holley website.
For technical support, troubleshooting assistance, or to inquire about replacement parts, please contact Holley customer service directly. Contact information can typically be found on the Holley website or in the product packaging.
Holley Official Website: www.holley.com


