Introduction
The TFA Dostmann Timeline Max Radio-Controlled Clock (Model 60.4512.01) features a large, exceptionally clear display, making it easily readable from a distance. This makes it ideal for various settings such as entrance areas, reception desks, waiting rooms, and offices. Its clear structure simplifies time orientation, and with the displayed day of the week and full date, it serves as a valuable daily aid, particularly for seniors and individuals with cognitive impairments.
The clock automatically receives time signals via the DCF 77 signal, ensuring precise, second-accurate time and date display without manual adjustment. It also automatically switches between summer and winter time. Its simple and clear design allows it to seamlessly integrate into any environment, whether mounted on a wall or placed on a surface.
Package Contents
Please check the package contents upon unboxing to ensure all items are present:
- TFA Dostmann Timeline Max Radio-Controlled Clock
- Instruction Manual
Note: 4 x 1.5 V AA batteries are required for operation and are not included in the package.
Important Safety Information
- Read all instructions carefully before use.
- Keep this manual for future reference.
- Do not expose the device to extreme temperatures, direct sunlight, or high humidity.
- Avoid dropping or subjecting the device to strong impacts.
- Do not attempt to disassemble or repair the device yourself. Refer all servicing to qualified personnel.
- Dispose of batteries according to local regulations. Do not mix old and new batteries or different types of batteries.
- Keep batteries out of reach of children.
Setup
1. Battery Installation
The clock requires 4 x 1.5 V AA batteries (not included).
- Locate the battery compartment on the back of the clock.
- Open the battery compartment cover.
- Insert 4 new AA batteries, ensuring correct polarity (+ and -) as indicated inside the compartment.
- Close the battery compartment cover securely.

Figure 1: Rear view of the clock with battery compartment and control buttons.
2. Initial Time Synchronization (Radio-Controlled)
After inserting the batteries, the clock will automatically begin searching for the DCF 77 radio signal. This process may take several minutes. During synchronization, the radio signal icon (often a tower or wave symbol) will typically flash on the display.
- Place the clock near a window or in an open area for better signal reception.
- Avoid placing it near electronic devices that may cause interference.
- Once the signal is received, the time and date will automatically set, and the radio signal icon will become solid.

Figure 2: Front display showing synchronized time and date.
3. Placement Options
The Timeline Max clock is designed for both wall mounting and freestanding placement.
- For Wall Mounting: Use the integrated hanging hole on the back of the clock. Ensure the wall fixture is secure enough to support the clock's weight (approx. 520g).
- For Freestanding: Extend the integrated stand on the back of the clock to place it on a desk, shelf, or table.

Figure 3: Side view demonstrating the clock's integrated stand.
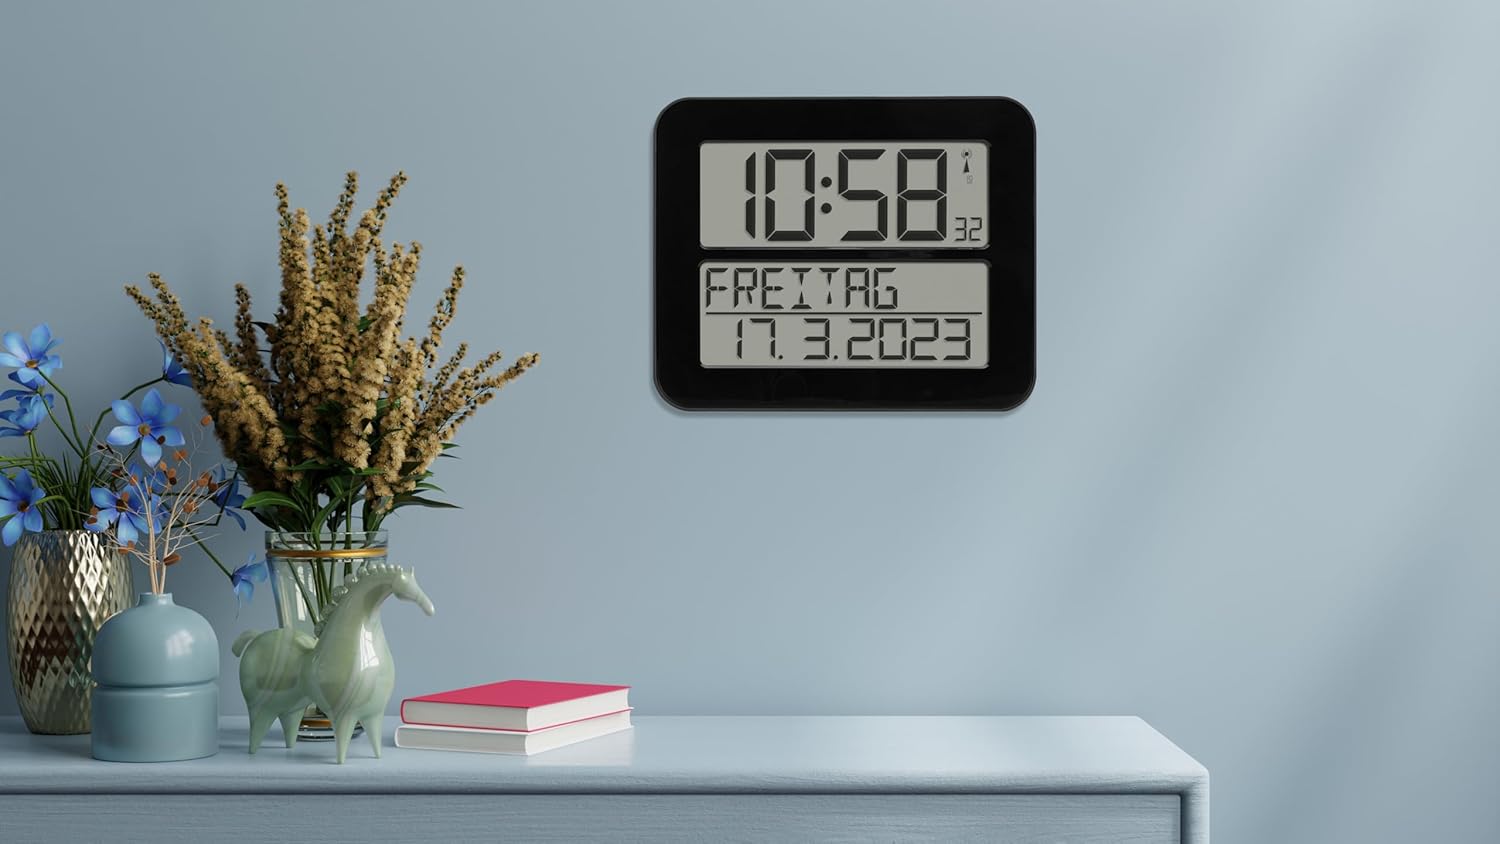
Figure 4: The clock in a typical freestanding setup.
Operating Instructions
Display Information
The large display shows the following information:
- Top Display: Current time (hours and minutes), seconds (small digits), and radio signal indicator.
- Bottom Display: Day of the week (in selected language) and full date (day, month, year).

Figure 5: Clear display of time, day, and date.
Alarm Function
The clock includes an alarm function. Refer to the buttons on the back of the clock (SET, ALARM, UP, DOWN, WAVE, SNOOZE) for setting the alarm.
- Press the ALARM button to enter alarm setting mode.
- Use the UP and DOWN buttons to adjust the alarm time.
- Press ALARM again to confirm and move to the next setting (e.g., alarm on/off).
- Press SET to exit alarm setting mode.
- When the alarm sounds, press SNOOZE for a temporary pause, or any other button to turn off the alarm for the day.
Manual Time Setting (If Radio Signal is Unavailable)
In areas with poor radio signal reception, you can manually set the time and date.
- Press and hold the SET button for a few seconds until the display flashes.
- Use the UP and DOWN buttons to adjust the flashing digit (e.g., hour, minute, year, month, day).
- Press SET to confirm the current setting and move to the next.
- Continue until all settings are adjusted. The clock will exit manual setting mode automatically after a period of inactivity or by pressing SET repeatedly until the normal display returns.
Day of Week Language Setting
The day of the week can be displayed in 7 different languages.
- Consult the full instruction manual (included in the box) for specific steps on changing the language setting, as this often involves a combination of button presses.
Maintenance
Cleaning
To clean the clock, use a soft, dry, or slightly damp cloth. Do not use abrasive cleaners, solvents, or chemical agents, as these may damage the display or casing.
Battery Replacement
When the display dims or the clock stops functioning correctly, it's time to replace the batteries. Follow the "Battery Installation" steps in the Setup section. Always replace all 4 batteries at once with new, high-quality AA batteries.
Troubleshooting
| Problem | Possible Cause | Solution |
|---|---|---|
| Clock does not display anything or display is dim. | Batteries are dead or incorrectly inserted. | Replace batteries with new ones, ensuring correct polarity. |
| Clock does not synchronize with radio signal. | Poor signal reception due to location or interference. | Move the clock to a different location, preferably near a window and away from electronic devices. Allow sufficient time for synchronization (up to 24 hours). |
| Time is incorrect after synchronization. | Temporary signal disruption or incorrect time zone setting (if applicable). | Initiate a manual signal search (refer to full manual) or perform a manual time setting. Ensure the clock is in the correct time zone for your region (if this feature is available, consult the full manual). |
| Alarm does not sound. | Alarm is not activated or set incorrectly. | Verify that the alarm time is set correctly and the alarm function is enabled. |
Specifications
| Model | 60.4512.01 |
| Clock Type | Radio-Controlled (DCF 77 signal) |
| Material | Plastic |
| Mounting Options | For hanging or standing |
| Power Supply | 4 x 1.5 V AA batteries (not included) |
| Dimensions (L x W x H) | 258 x 30 (120 with stand) x 212 mm |
| Weight | 520 g |
| Display Type | Digital |
| Special Features | Alarm, Calendar Display, Day of week in 7 languages |
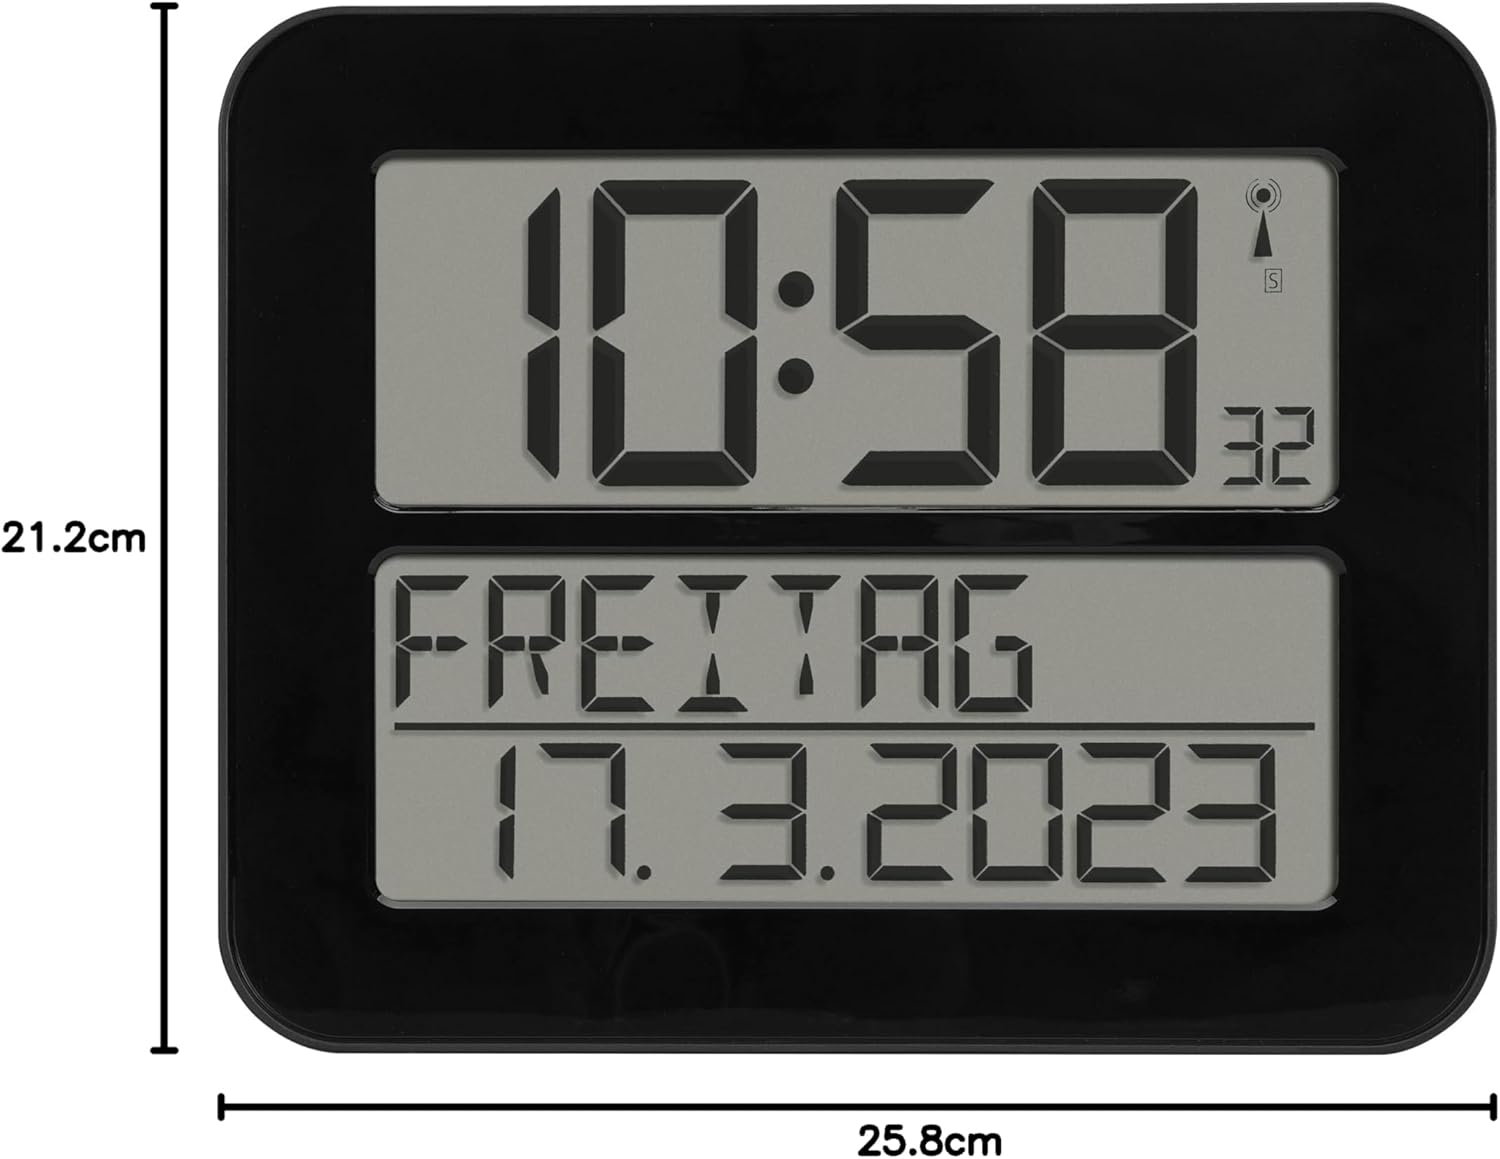
Figure 6: Product dimensions.
Warranty and Support
TFA Dostmann products are manufactured with high quality standards. For information regarding warranty coverage, please refer to the warranty card included with your product or visit the official TFA Dostmann website. For technical support or inquiries, please contact TFA Dostmann customer service.
Manufacturer: TFA Dostmann GmbH, Zum Ottersberg 12, D-97877 Wertheim am Main, Germany.
Website: www.tfa-dostmann.de


