
Introduction
This manual provides instructions for the installation, operation, and maintenance of your Limoss AC/DC Power Supply Replacement Transformer Kit. This kit is designed to replace the power supply for various recliner and lift chair motors, including those from Okin and Limoss, that utilize a 2-pin (flat and round) DC24-29V motor connection.
Safety Information
- Always disconnect power before attempting any installation or maintenance.
- Ensure the replacement power supply specifications match the requirements of your recliner or lift chair motor.
- Do not expose the power supply to moisture or extreme temperatures.
- Do not attempt to open or repair the power supply unit. Refer servicing to qualified personnel.
- Keep children and pets away from electrical components.
Package Contents
Verify that all items are present in your package:
- 1 x AC/DC Power Supply Transformer Unit
- 1 x AC Power Cord (for wall outlet connection)
- 1 x DC Output Cable (integrated with the transformer, with 2-pin connector)

Image: The complete Limoss AC/DC Power Supply Replacement Transformer Kit, showing the main transformer unit, the AC input cord, and the DC output cable with its connector.
Setup and Installation
Follow these steps to install your new power supply:
- Disconnect Old Power Supply: Unplug the existing power supply from the wall outlet and disconnect it from the recliner or lift chair motor.
- Identify Connections: Locate the AC input port on the new power supply unit and the DC output cable with its 2-pin connector.
- Connect AC Power Cord: Insert the provided AC power cord into the AC input port on the power supply unit.
- Connect to Motor: Connect the 2-pin DC output connector from the new power supply to the corresponding input port on your recliner or lift chair motor. Ensure the connection is secure. This connector is designed to fit 2-pin (flat and round) DC24-29V motor inputs.
- Plug into Wall Outlet: Once all connections are secure, plug the AC power cord into a standard wall outlet.

Image: Rear view of the power supply unit, clearly indicating the AC input port and the DC output cable connection point.
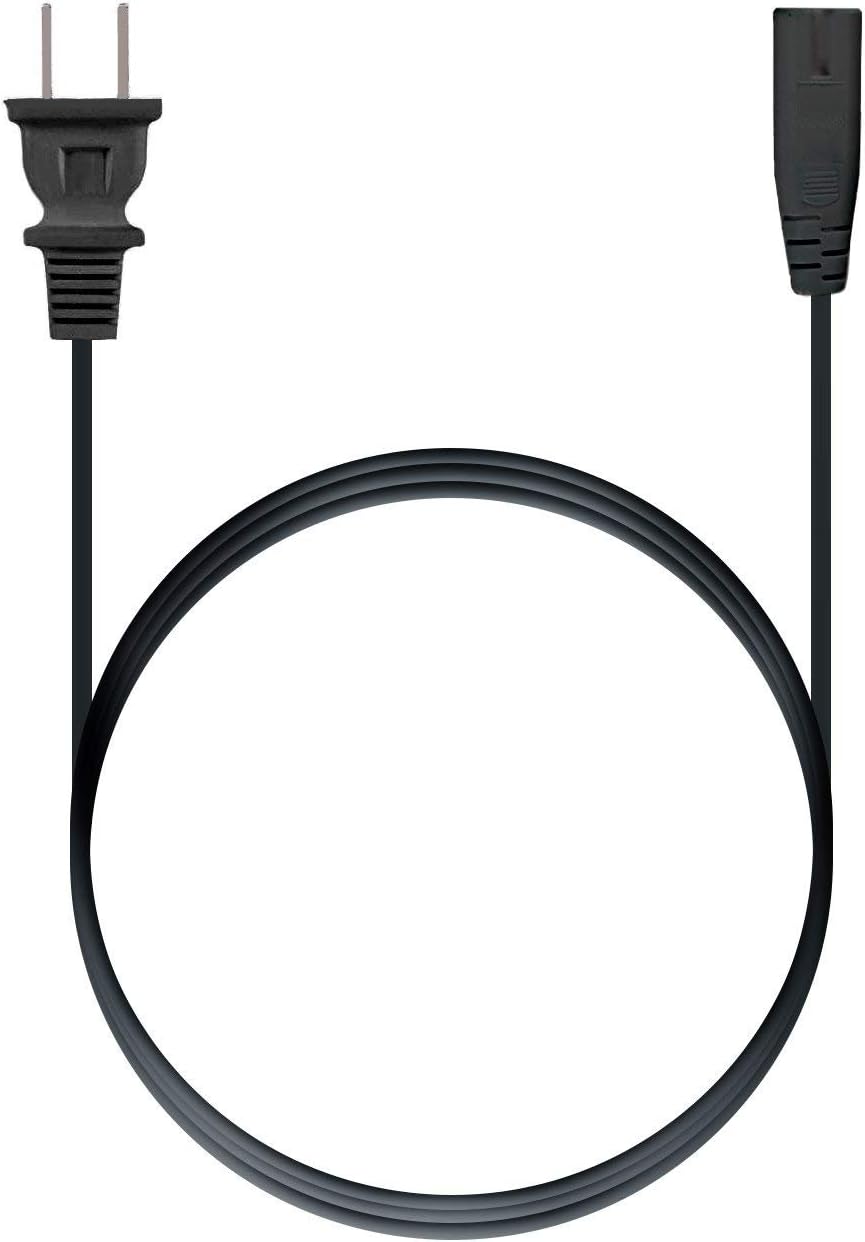
Image: The detachable AC power cord, which connects the power supply to a standard wall outlet.

Image: A detailed view of the 2-pin DC output connector, which plugs into the recliner or lift chair motor.
Operation
After successful installation, your recliner or lift chair should operate normally. Use the chair's integrated controls (handset or buttons) to adjust its position. The power supply provides continuous power to the motor when plugged in.
Maintenance
- Cleaning: Wipe the power supply unit with a dry, soft cloth. Do not use liquid cleaners or abrasive materials.
- Cable Inspection: Periodically check all cables for signs of wear, fraying, or damage. Replace damaged cables immediately.
- Ventilation: Ensure the power supply unit is placed in a well-ventilated area to prevent overheating. Do not cover it.
Troubleshooting
| Problem | Possible Cause | Solution |
|---|---|---|
| Chair does not move. | Power supply not plugged in. Loose connection. Faulty motor or chair controls. | Ensure AC cord is securely plugged into wall and power supply. Check DC connection to motor. Consult chair manufacturer's manual for motor/control troubleshooting. |
| Power supply feels hot. | Poor ventilation. Overload. | Ensure adequate airflow around the unit. Do not cover. Verify power supply specifications match motor requirements. |
| Indicator light (if present) is off. | No power to the unit. Unit malfunction. | Check wall outlet and AC cord connection. If power is confirmed, the unit may be faulty and require replacement. |
Specifications
| Feature | Specification |
|---|---|
| Model Number | ZB-A290020-A, MC120-29V 2A |
| Input Voltage | 24 Volts (AC input typically 100-240V, 50/60Hz) |
| Output Voltage | 29 Volts DC |
| Output Current | 2 Amps |
| Wattage | 120 watts |
| Connector Type | 2-Pin (Flat and Round) |
| Compatible Devices | Recliner, Lift Chair, Adjustable Sofa |
| Item Weight | 10.4 ounces |
| Product Dimensions | 7 x 4 x 2 inches |
Warranty and Support
For warranty information or technical support, please refer to the documentation provided with your original purchase or contact the retailer where the product was acquired. Keep your purchase receipt for warranty claims.