1. Introduction
This manual provides essential information for the proper installation, operation, and maintenance of your Goodmans GSCOUTHD HD Dash Camera. Please read this manual thoroughly before using the device to ensure optimal performance and safety. This dash camera is designed to record video footage while driving, offering features such as 1080p HD recording, a wide-angle lens, GPS tracking, and impact detection.
2. Package Contents
Carefully unpack the box and ensure all items are present. If any items are missing or damaged, please contact your retailer.

Image: All components included in the Goodmans GSCOUTHD Dash Camera package.
- Goodmans GSCOUTHD HD Dash Camera
- Suction Cup Mount
- Car Charger (USB adapter)
- USB Cable
- 8GB MicroSD Card
- User Manual (this document)
3. Product Overview
Familiarize yourself with the camera's components and controls.
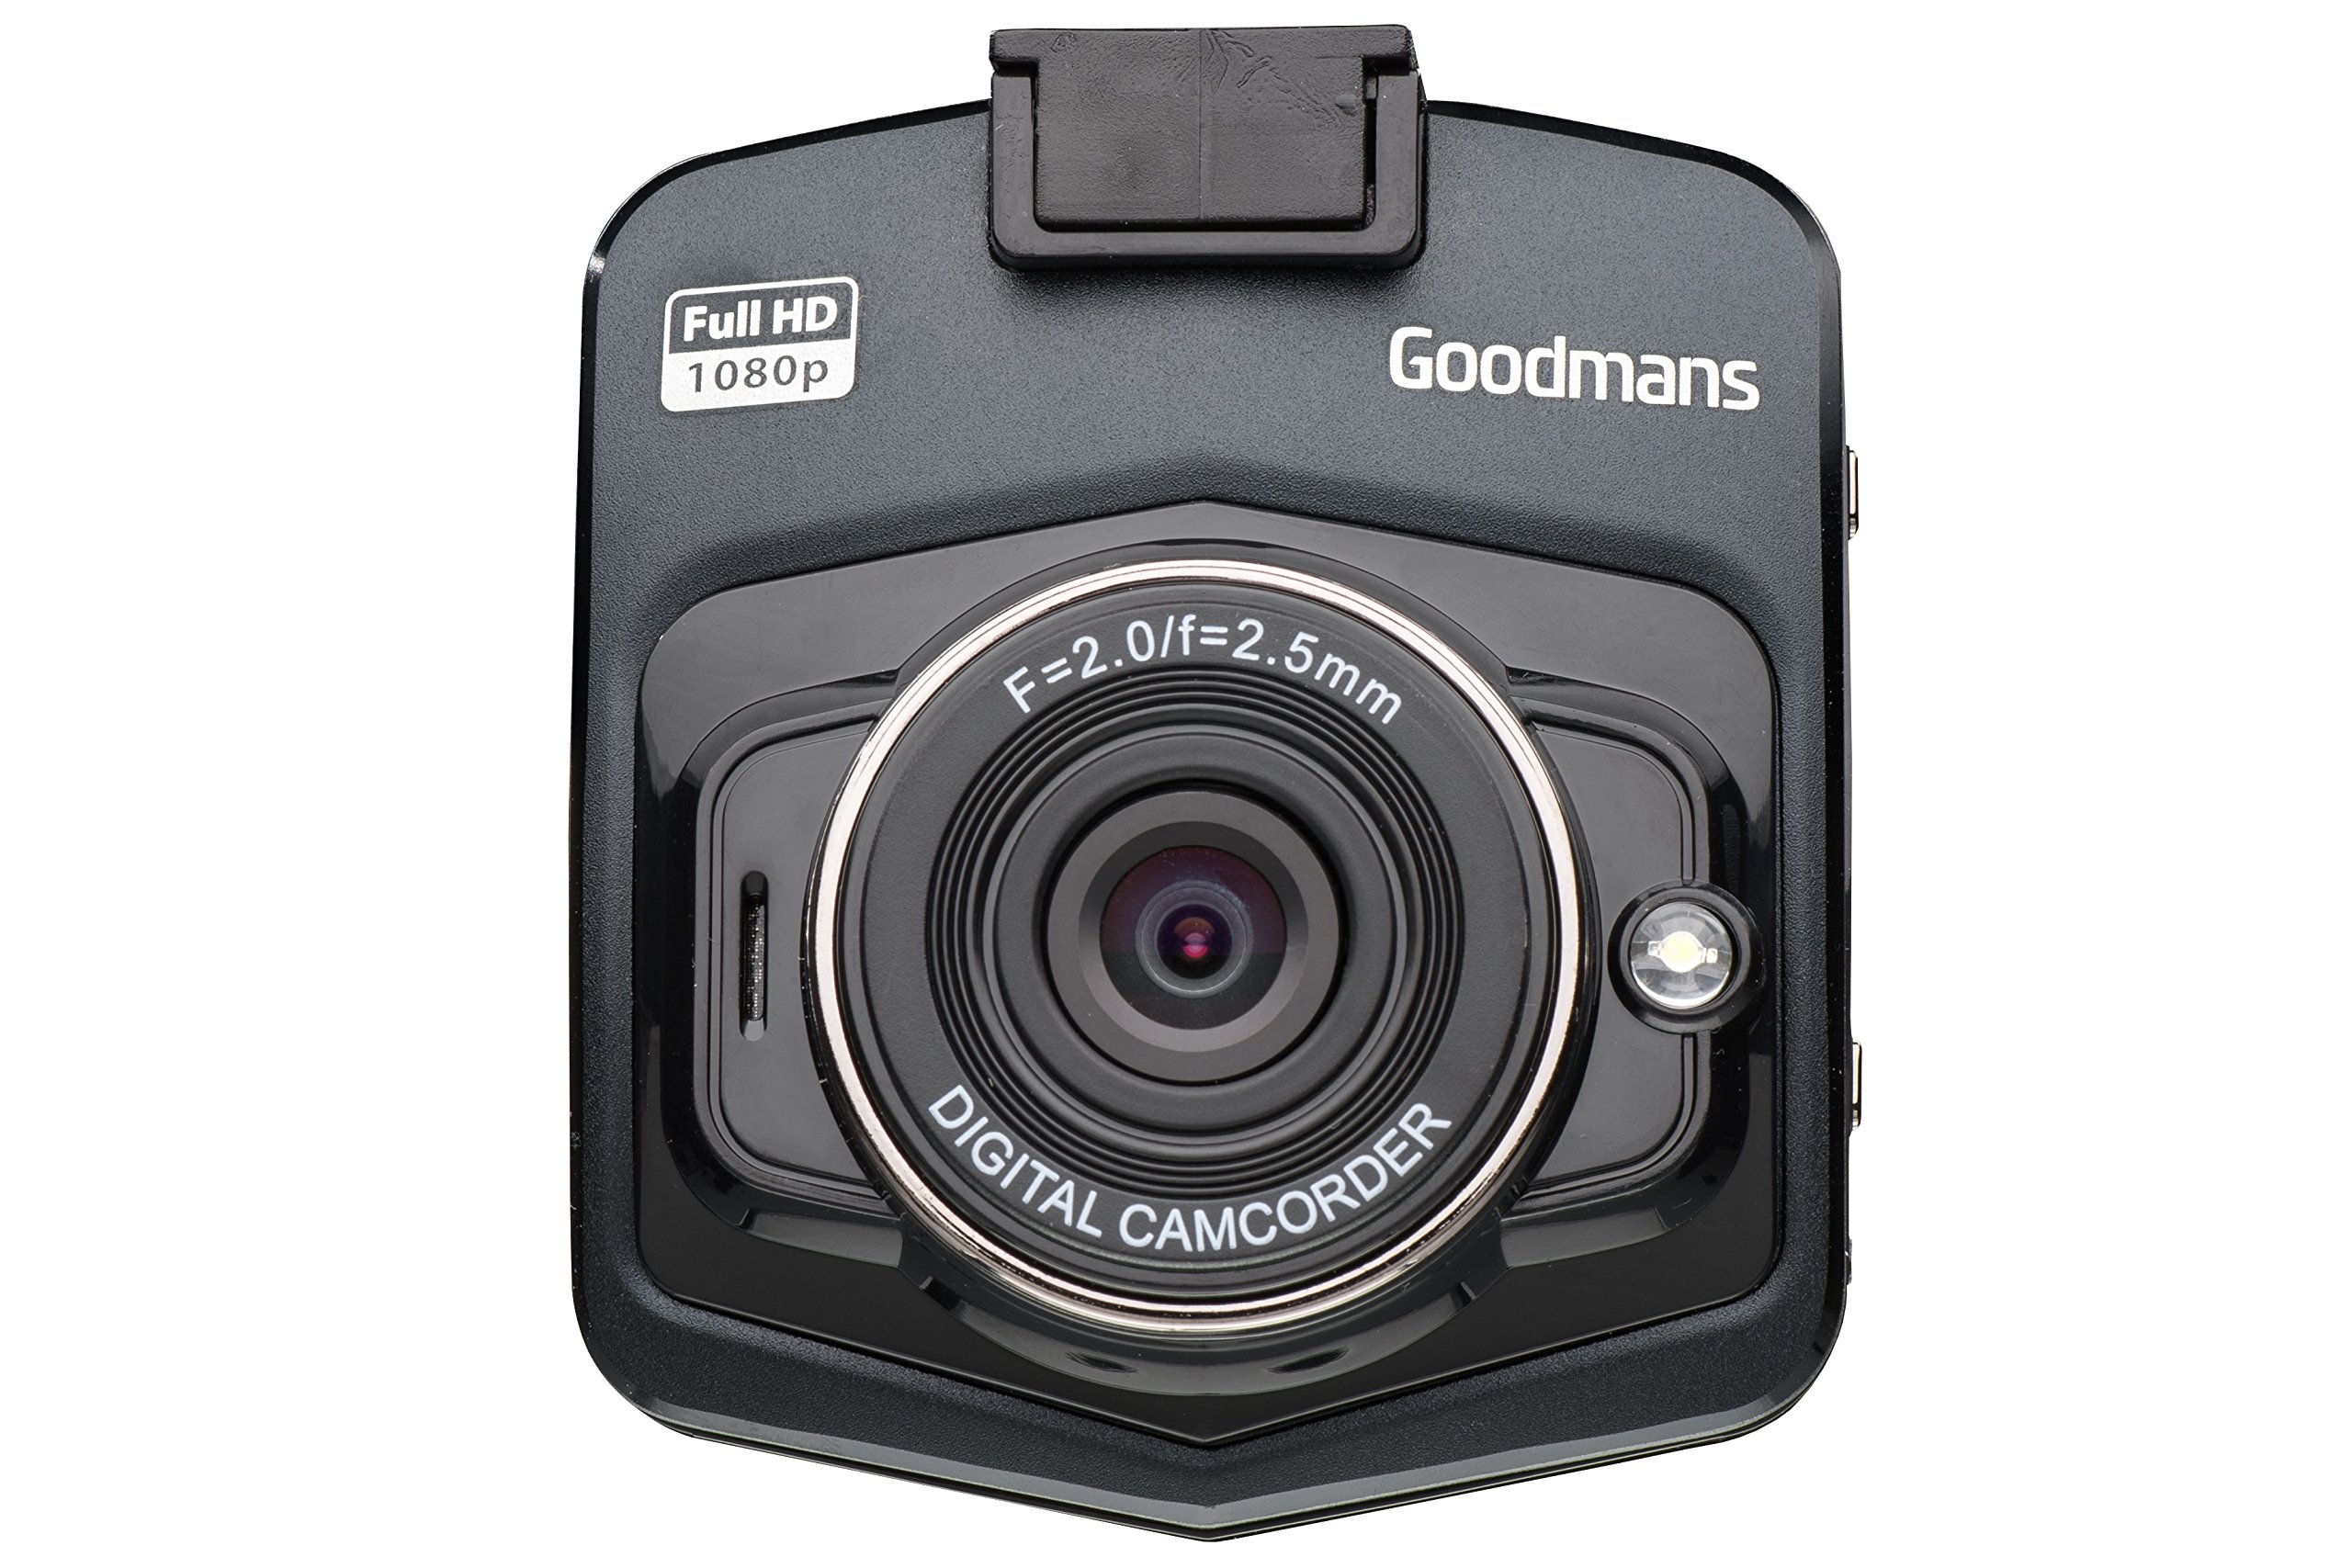
Image: Front and angled view of the dash camera.

Image: Side view of the dash camera with control buttons and ports.

Image: Rear view of the dash camera displaying the LCD screen.
Camera Components:
- Lens: Wide-angle lens for capturing a broad view of the road.
- LCD Screen: 2.4-inch display for live view, menu navigation, and playback.
- Power Button: Turns the device on/off.
- Mode Button (M): Switches between video recording, still photo, and playback modes.
- OK Button: Confirms selections or starts/stops recording.
- Up/Down Buttons: Navigates through menu options or playback.
- MicroSD Card Slot (TF): For inserting the memory card.
- Mini USB Port: For power supply and data transfer.
- Reset Button: (Small pinhole) For factory reset if needed.
- Speaker/Microphone: For audio recording and playback.
4. Setup
4.1. Charging the Device
Before first use, fully charge the dash camera's internal battery. Connect the camera to the car charger or a USB power source using the provided USB cable. The charging indicator will illuminate during charging and turn off when fully charged.
4.2. Inserting the MicroSD Card
The camera requires a MicroSD card (8GB included) for recording. Ensure the camera is powered off before inserting or removing the card.
- Locate the MicroSD card slot on the side of the camera.
- Insert the MicroSD card with the gold contacts facing the back of the camera until it clicks into place.
- To remove, gently push the card in until it clicks, then release, and it will spring out.
4.3. Mounting the Dash Camera
The suction cup mount allows for secure attachment to your vehicle's windshield.

Image: Dash camera mounted on the suction cup.
- Clean the area on your windshield where you intend to mount the camera.
- Attach the camera to the suction cup mount.
- Press the suction cup firmly against the windshield and flip the lever to secure it.
- Adjust the camera angle to ensure a clear view of the road, avoiding obstruction from wipers or the rearview mirror.
4.4. Connecting to Power
For continuous operation, connect the dash camera to your vehicle's 12V power outlet using the provided car charger.
- Plug the car charger into your vehicle's 12V power outlet (cigarette lighter socket).
- Connect the small end of the USB cable to the camera's Mini USB port and the other end to the car charger.
- The camera will typically power on automatically when the vehicle's ignition is turned on and begin recording.
5. Operating Instructions
5.1. Power On/Off
- Manual Power On: Press and hold the Power button for a few seconds.
- Manual Power Off: Press and hold the Power button until the screen turns off.
- Automatic Power On/Off: When connected to the car charger, the camera will power on and off with the vehicle's ignition.
5.2. Recording Modes
The camera supports various recording modes:
- Video Recording: The default mode. Press the OK button to start/stop recording. Videos are saved in segments (e.g., 1, 3, or 5 minutes) to the MicroSD card.
- Loop Recording: When the memory card is full, the camera will automatically overwrite the oldest unlocked files.
- Impact Detection (G-Sensor): In the event of a sudden impact or collision, the built-in G-sensor will automatically lock the current video file to prevent it from being overwritten. These files are stored in a separate folder.
- Still Photo Mode: Press the Mode button to switch to photo mode. Press OK to take a picture.
5.3. Menu Navigation
To access the camera settings:
- Stop any active recording.
- Press the Mode button to enter the menu.
- Use the Up/Down buttons to navigate through options.
- Press OK to select an option or enter a sub-menu.
- Press the Mode button again to exit the menu.
5.4. GPS Functionality
The integrated GPS module records your driving route, speed, and location data. This information can be viewed using compatible playback software on a computer (software not included, typically available from manufacturer's website).
5.5. Playback
To review recorded videos or photos on the camera:
- Press the Mode button repeatedly until you enter Playback mode.
- Use the Up/Down buttons to browse through files.
- Press OK to play a selected video or view a photo.
- Press the Mode button to exit Playback mode.
6. Maintenance
6.1. Cleaning the Camera
- Use a soft, dry cloth to clean the camera body.
- For the lens, use a lens cleaning cloth and specialized lens cleaning solution to avoid scratches.
- Do not use abrasive cleaners or solvents.
6.2. Memory Card Management
- It is recommended to format the MicroSD card periodically (e.g., once a month) to maintain optimal recording performance and prevent data corruption. This can usually be done through the camera's menu settings.
- Always ensure important files are backed up before formatting.
- Use high-quality MicroSD cards (Class 10 or higher) for reliable recording.
6.3. Battery Care
- Avoid exposing the camera to extreme temperatures, which can degrade battery life.
- If the camera is not used for an extended period, charge it periodically to prevent deep discharge.
7. Troubleshooting
If you encounter issues with your dash camera, refer to the following common problems and solutions:
| Problem | Possible Cause / Solution |
|---|---|
| Camera does not power on. |
|
| "Card Error" or "No Memory Card" message. |
|
| Camera does not record. |
|
| Poor video quality. |
|
| Suction mount detaches. |
|
8. Specifications
| Feature | Specification |
|---|---|
| Brand | Goodmans |
| Model Number | GSCOUTHD |
| Color | Black |
| Display Type | LCD |
| Screen Size | 2.4 Inches |
| Video Recording Resolution | 1080p HD |
| Effective Still Resolution | 2.1 Megapixels |
| Special Features | Integrated GPS, Impact Detection (G-Sensor), Wide Angle Lens |
| Connectivity Technology | USB |
| Compatible Devices | Car |
| Included Components | Memory Card (8GB) |
| Power Source | Rechargeable Battery, Car Charger |
9. Warranty and Support
For warranty information and technical support, please refer to the warranty card included in your product packaging or visit the official Goodmans website. You can find more information about Goodmans in-car cameras at www.goodmans.co.uk/in-car-cameras.


