1. Introduction
This manual provides instructions for the VINABTY Universal Remote Control, model TS-12+AL. This remote is designed to replace original remote controls for a wide range of Toshiba LED and LCD HDTV models. It offers direct control for most Toshiba TVs without initial setup, but includes various programming methods if direct functionality is not achieved.
Compatible Models: This remote is compatible with numerous Toshiba TV models, including but not limited to: 19AV600, 19AV600U, 19AV600UZ, 19C100, 19C100U, 19C10U, 19C1D, 19C1DU, 19L4200, 19L4200U, 19SL400, 19SL400U, 19SL410U, 19SL410X, 22AV600, 22AV600U, 22AV600UZ, 22C10, 22C100, 22C100U, 22C10U, 22SL400, 22SL400U, 23L1350U, 23L2300U, 24L4200, 24L4200U, 24SL410U, 24SL410UM, 26C10, 26C100, 26C100U, 26C100U1, 26C100UM, 26C10U, 26SL400, 26SL400U, 29L1350, 29L1350U, 32C10, 32C100, 32C100U, 32C100U1, 32C100U2, 32C10U, 32C110, 32C110U, 32C120, 32C120U, 32DT1, 32DT1U, 32DT2U, 32DT2U1, 32DT2UL, 32E200U, 32E200UM, 32E20U, 32FT2U, 32L1300, 32L1300U, 32L1300UA, 32L1350, 32L1350U, 32L1400, 32L1400U, 32L2200U, 32L2300U, 32L2400U, 32L4200, 32L4200U, 32SL400, 32SL400U, 32SL400VPK, 32SL400VPKU, 32SL410U, 32SL410UM, 37E200U, 37E20U, 39L1350U, 39L22U, 39L2300U, 40E200U, 40E200U1, 40E200U2, 40E200UM, 40E20U, 40E20U1, 40E210U, 40E210X, 40E220U, 40FT1, 40FT1U, 40FT2U, 40FT2U1, 40FT2UX, 40L1400, 40L1400U, 40L1400UC, 40L2200U, 40L2400, 40L2400U, 40L5200, 40L5200U, 40SL412, 40SL412U, 40SL412UM, 46G310U, 46L5200, 46L5200U, 46SL412U, 50L1350, 50L1350U, 50L1400, 50L1400U, 50L1400UC, 50L1450, 50L1450U, 50L2200, 50L2200U, 50L2300U, 50L2400, 50L2400U, 50L2400UC, 50L5200, 50L5200U, 50M2U, 55G310U, 55G310U1, 55HT1, 55HT1U, 55S41U, 55SL412U, 58L1350U, 65HT2U, 28L110U, 32L110U, 32L220U, 40L310U, 43L310U, 43L420U, 49L310U, 49L420U, 55L310U, 65L350U.
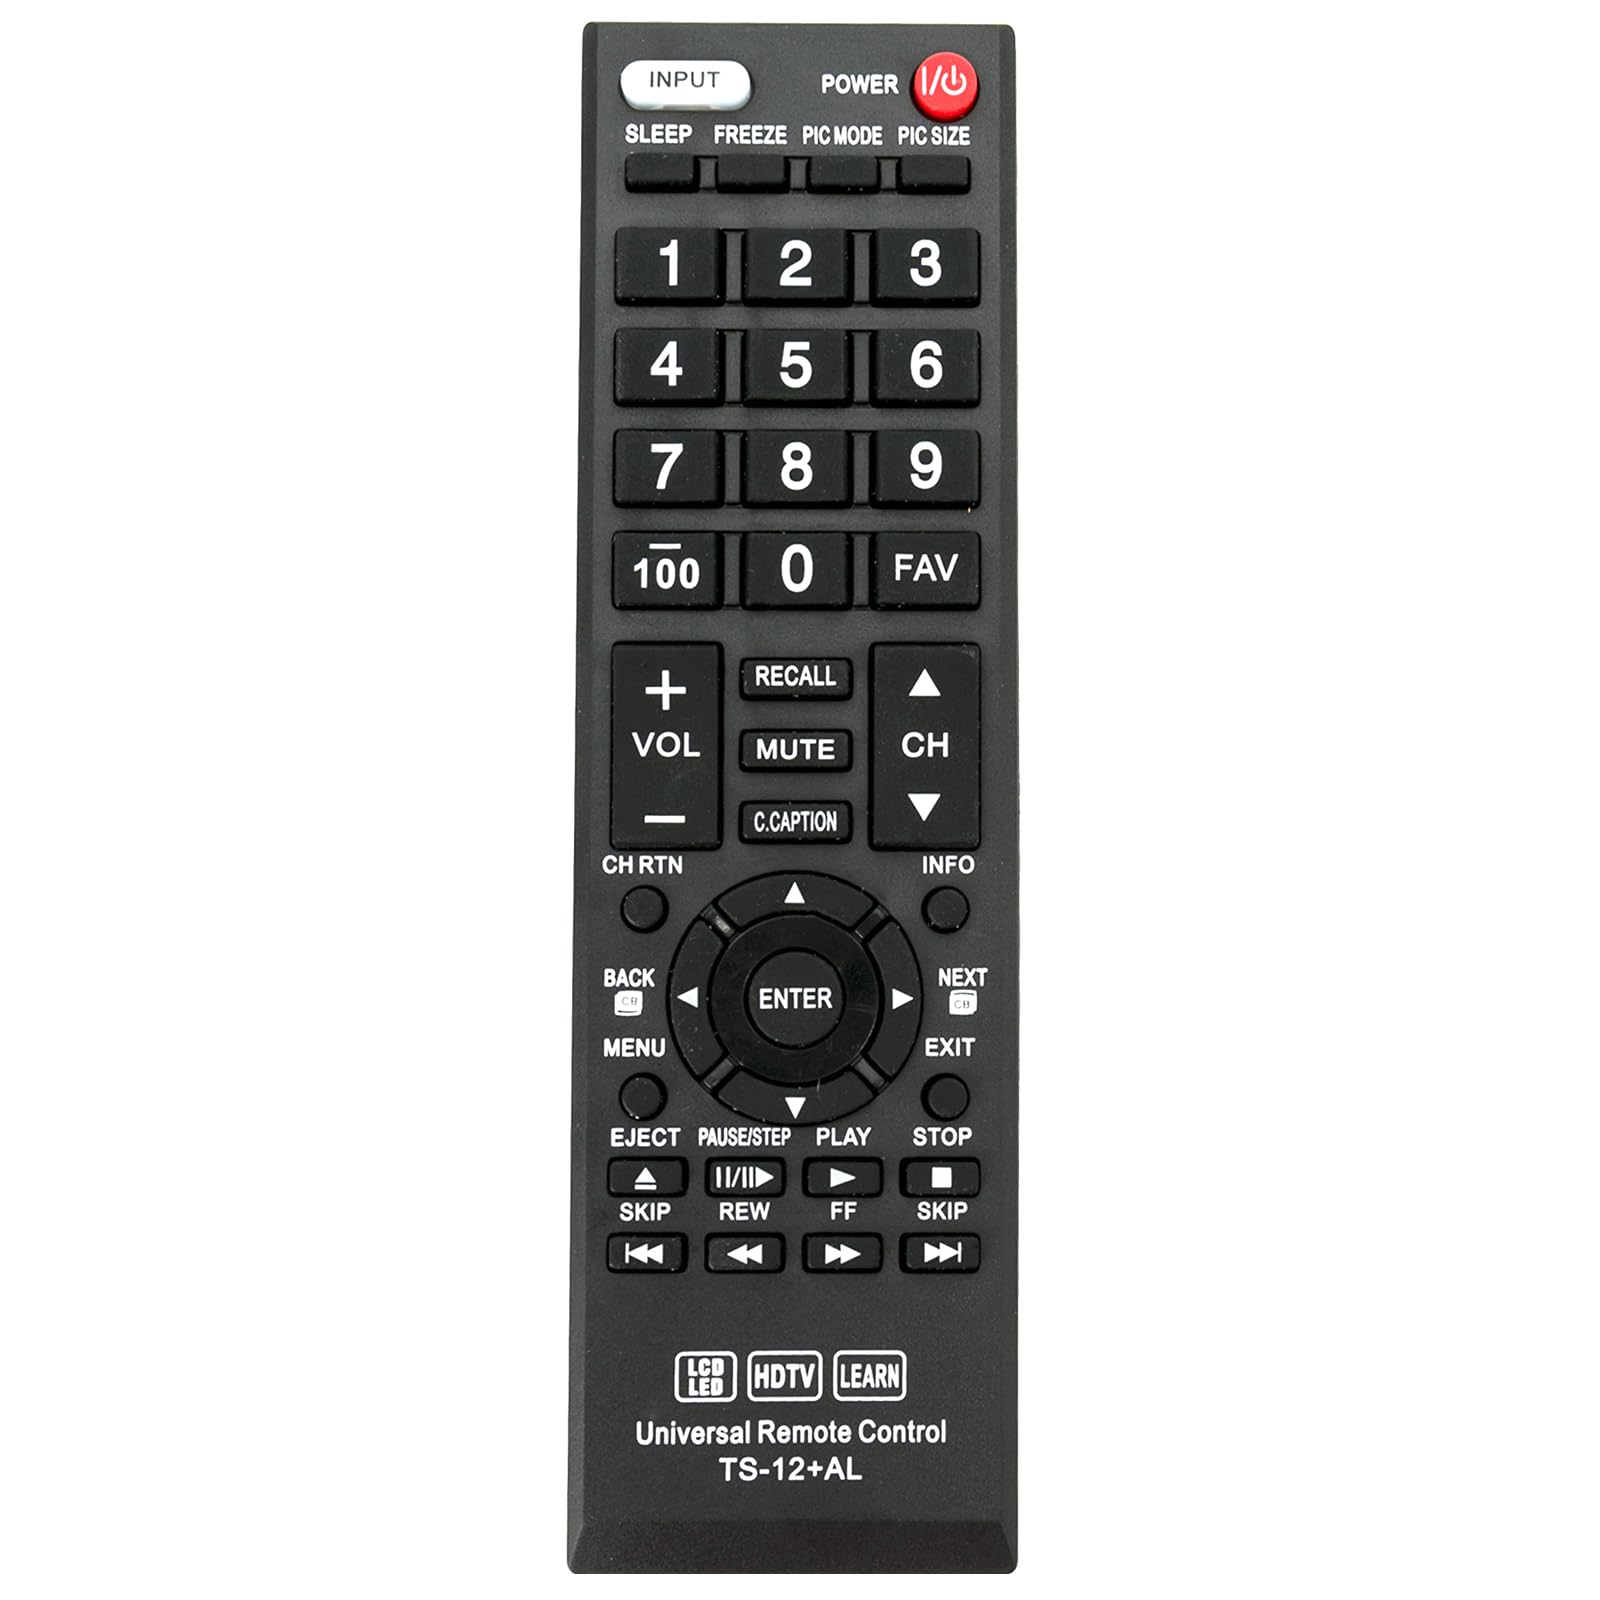
Image 1: Front view of the VINABTY Universal Remote Control TS-12+AL.
2. Setup and Programming
The remote control is designed to work directly with approximately 98% of Toshiba TV models without any setup. If the remote does not function immediately after battery installation, please follow one of the programming methods below.
2.1 Battery Installation
Open the battery compartment cover on the back of the remote control. Insert two AAA batteries (not included), ensuring correct polarity (+/-). Close the battery compartment cover.

Image 2: Back view of the remote control, illustrating the battery compartment and learning function instructions.
2.2 Programming Methods (If direct use fails)
If the remote does not operate your TV directly, use one of the following methods to program it:

Image 3: Detailed instruction sheet for programming the remote control.
A. Input Code Method
This method involves entering a specific code for your TV brand.
- Code List: 001, 002, 003, 004, 005, 006, 007, 008, 009, 010, 011
- Press and hold the [MUTE] button and the [POWER] button simultaneously until the LED indicator lights up.
- Release both buttons.
- Enter one of the three-digit codes from the list above. If the code is entered correctly, the LED indicator will turn off.
- Test the remote control's functions. If it does not work, repeat the process with another code from the list.
Note: If an invalid code is entered, the LED will flash twice and remain on. If a correct code is entered, the LED will turn off. To exit programming mode, press the [MUTE] button.
B. Fast Search Method
This method automatically searches for the correct code.
- Press and hold the [MUTE] button and the [POWER] button simultaneously for approximately 3 seconds until the LED indicator lights up.
- Release both buttons.
- Repeatedly press the [CH+] (Channel Up) button until the TV displays the 'MUTE' symbol on the screen.
- Press the [POWER] button to save the code. The LED indicator will turn off.
- Test the remote control. If it does not function correctly, repeat the process from step 2.
C. Code Inquiry Method
Use this method to identify the code currently programmed into the remote control.
- Press and hold any key (e.g., [INPUT]) and the [MUTE] button simultaneously for 3 seconds until the LED indicator lights up.
- Release both buttons.
- Enter [9][9][0]. The LED will flash twice.
- Press [1], then count the flashes of the LED. This number is the first digit of the code. (If the digit is 0, the LED will not flash).
- Press [2], then count the flashes for the second digit.
- Press [3], then count the flashes for the third digit.
D. Learning Function
This function allows the remote to learn commands directly from your original TV remote control.
- Press and hold any key (e.g., [INPUT]) and the [MUTE] button simultaneously until the LED indicator lights up. Release the keys. The remote is now in learning mode.
- Position your original TV remote control and the VINABTY remote control facing each other, with a distance of 3-5 cm between them.
- Press a key on your original remote control. The LED indicator on the VINABTY remote will flash once and then remain on.
- Press the corresponding key on the VINABTY remote control. The LED indicator will flash once and then turn off.
- Repeat steps 3 and 4 for any other functions you wish to learn.
- After learning all desired keys, press and hold any key (e.g., [INPUT]) and the [MUTE] button simultaneously until the LED indicator turns off. The learned functions will be saved.
Note: If no key is pressed for 25 seconds during the learning process, the remote will exit learning mode without saving any changes.
3. Operating the Remote Control
Once programmed, the remote control functions similarly to your original TV remote. Below are common button functions:
- POWER: Turns the TV on or off.
- INPUT: Selects video input sources (HDMI, AV, Component, etc.).
- Number Buttons (0-9, 100): Direct channel selection.
- VOL +/-: Adjusts volume up or down.
- CH +/-: Changes channels up or down.
- MUTE: Mutes or unmutes the TV audio.
- RECALL: Returns to the previous channel.
- C.CAPTION: Activates or deactivates Closed Captioning.
- MENU: Accesses the TV's main menu.
- Directional Pad (Up, Down, Left, Right) & ENTER: Navigates menus and confirms selections.
- BACK: Returns to the previous menu or screen.
- EXIT: Exits the current menu or function.
- INFO: Displays information about the current program or input.
- Playback Controls (EJECT, PAUSE/STEP, PLAY, STOP, SKIP, REW, FF): Controls connected media devices (e.g., DVD/Blu-ray players) if the remote is programmed for them or has learned these functions.
- SLEEP: Sets a sleep timer for the TV.
- FREEZE: Freezes the current image on screen.
- PIC MODE: Cycles through picture modes.
- PIC SIZE: Adjusts picture size/aspect ratio.
- FAV: Accesses favorite channels.
4. Maintenance
To ensure optimal performance and longevity of your remote control, follow these maintenance guidelines:
- Battery Replacement: Replace batteries when the remote's response becomes sluggish or the LED indicator does not light up during operation. Always replace both batteries at the same time with new ones of the same type (AAA).
- Cleaning: Clean the remote control with a soft, dry cloth. Do not use liquid cleaners, abrasive cleaners, or chemical solvents, as these can damage the remote's surface or internal components.
- Storage: Store the remote in a cool, dry place away from direct sunlight, extreme temperatures, and high humidity.
- Avoid Drops: Protect the remote from physical impact, as drops can damage internal circuitry.
5. Troubleshooting
If you encounter issues with your remote control, refer to the following troubleshooting steps:
- Remote Not Responding:
- Check battery polarity. Ensure batteries are inserted correctly.
- Replace old batteries with new ones.
- Ensure there are no obstructions between the remote and the TV's infrared sensor.
- Verify that the remote is pointed directly at the TV.
- Some Buttons Not Working:
- If the remote initially worked but some buttons stopped, try reprogramming the remote using the Input Code or Fast Search methods (Section 2.2).
- If specific buttons were learned using the Learning Function, ensure the learning process was completed successfully for those buttons. Repeat the learning process if necessary.
- Remote Controls Other Devices:
- This remote is primarily for Toshiba TVs. If it accidentally controls other devices, ensure it is correctly programmed for your Toshiba TV.
- LED Indicator Issues:
- If the LED flashes twice and stays on during code input, the code is invalid. Try another code.
- If the LED does not light up at all, check or replace batteries.
If these steps do not resolve the issue, please contact customer support.
6. Specifications
| Model Number | TS-12+AL |
| Product Dimensions | 9 x 2 x 1 inches (approximately 22.86 x 5.08 x 2.54 cm) |
| Item Weight | 0.352 ounces (approximately 10 grams) |
| Batteries Required | 2 x AAA (Lithium Metal batteries required, not included) |
| Compatible Devices | Toshiba Televisions (LED, LCD, HDTV) |
| Special Feature | Ergonomic design |
| Color | Black |
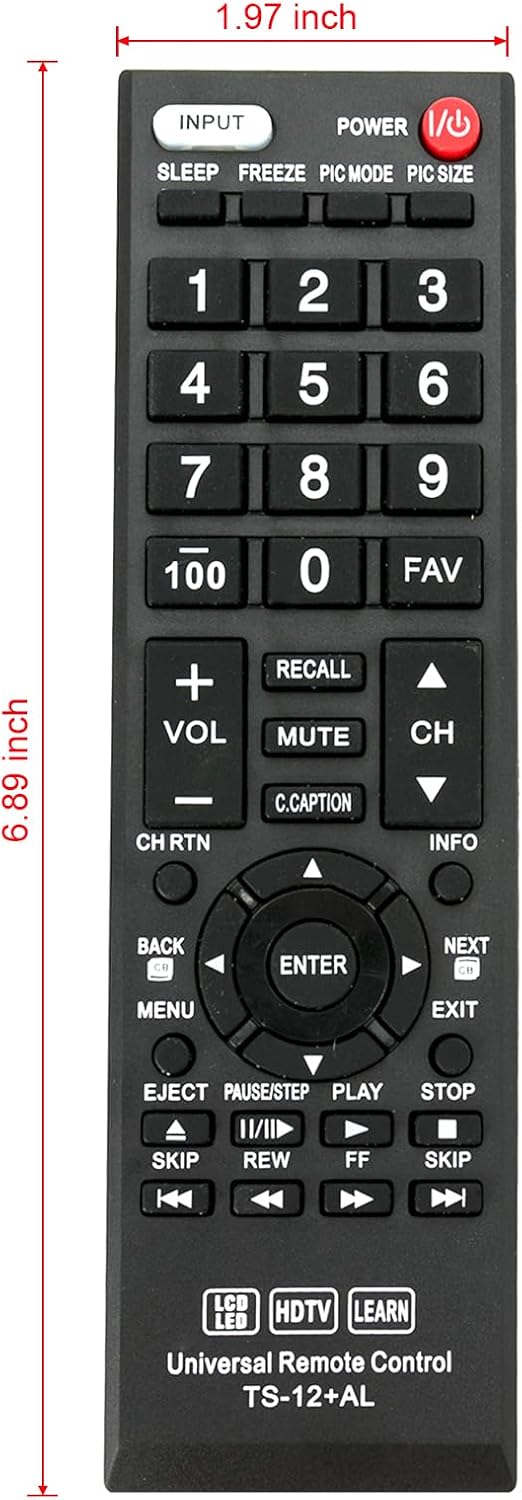
Image 4: Remote control with indicated dimensions (1.97 inches width, 6.89 inches length).
7. Warranty and Support
This product comes with a standard limited warranty against manufacturing defects. For specific warranty details, please refer to the product packaging or contact your retailer.
For technical support, troubleshooting assistance, or inquiries regarding product functionality, please contact the manufacturer or your point of purchase. Please have your product model number (TS-12+AL) and purchase information ready when contacting support.


