Frontier Arris NVG 589 User Manual
Model: NVG589
Introduction
The Arris NVG589 is a versatile DSL Modem and Wireless Router designed to provide high-speed internet access and home networking capabilities. This device integrates modem, router, and voice capabilities into a single unit, supporting DSL connections, wireless networking (802.11a/b/g/n), and multiple Ethernet ports. It is equipped to handle various home networking needs, including data over coaxial (HPNA) and Voice over IP (VoIP) lines.
This manual provides detailed instructions for setting up, operating, and maintaining your NVG589 device, along with troubleshooting tips for common issues.
Safety Information
Please read all safety instructions before using this product. Failure to follow these instructions could result in injury or damage to the device.
- Do not expose the device to water or moisture.
- Do not place the device near heat sources such as radiators, heat registers, stoves, or other apparatus (including amplifiers) that produce heat.
- Use only the power adapter supplied with the device.
- Ensure proper ventilation; do not block any ventilation openings.
- This device may include a backup battery slot (battery not included). Maintaining the battery is the customer's responsibility. Failure to replace a worn-out battery may lead to a loss of voice service during power outages and may damage the device. For replacement battery specifications and disposal information, contact ARRIS support.
- This product is intended for indoor use only.
Legal Disclaimer: This device is in good working condition but may require specific configuration or compatibility adjustments for certain telecommunication systems. The seller cannot guarantee universal compatibility with all telco systems.
Package Contents
Verify that all items are included in your package:
- Arris NVG589 DSL Modem/Wireless Router
- Power Adapter
- Ethernet Cable
- RJ11 Cable (for DSL connection)
- Vertical Stand (optional, for upright placement)

Image: Contents of the Arris NVG589 package, showing the modem, power adapter, and included cables.

Image: The power adapter and the optional vertical stand for the Arris NVG589.
Product Overview
Familiarize yourself with the various components and indicators of your Arris NVG589.
Front Panel Indicators
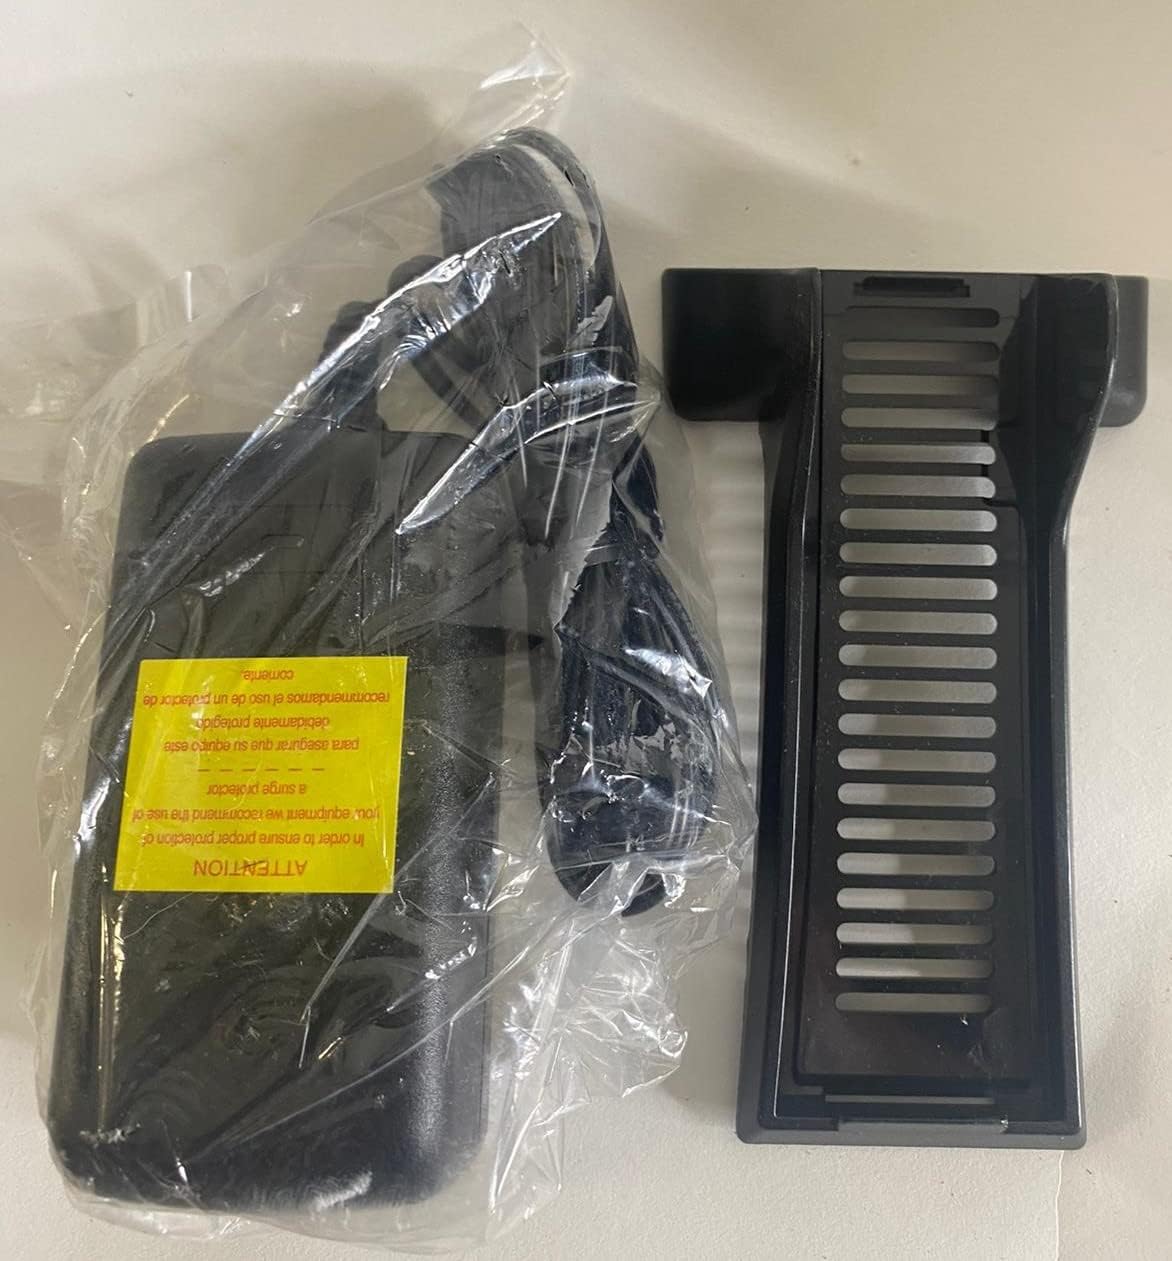
Image: Side view of the Arris NVG589, highlighting the status indicator lights.
- Power: Indicates the power status of the device.
- Battery: (If battery installed) Indicates battery status (charging, low, etc.).
- Ethernet: Indicates activity on the Ethernet LAN ports.
- Wireless: Indicates the status of the Wi-Fi network.
- HomePNA: Indicates activity on the HomePNA (coaxial) port.
- Broadband 1 & 2: Indicate the status of the DSL broadband connection(s).
- Service: Indicates the status of the internet service connection.
- Phone 1 & 2: Indicate the status of the VoIP phone lines.
- USB: Indicates activity on the USB port.
Rear Panel Ports
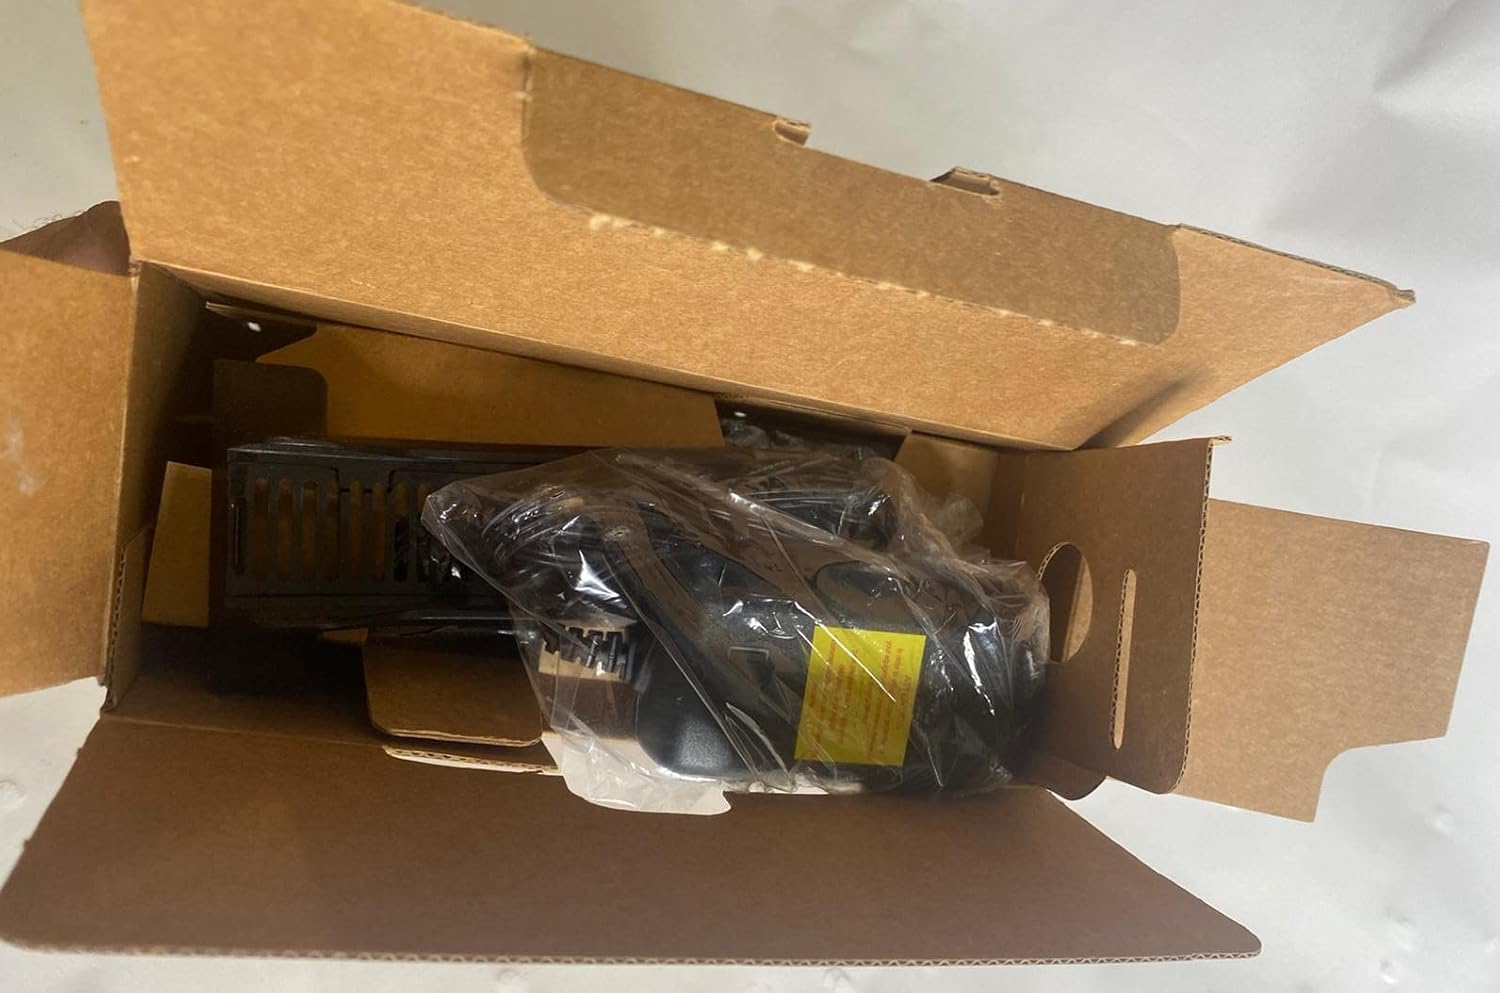
Image: Rear view of the Arris NVG589, displaying all connectivity ports.
- Power: Connects to the power adapter.
- Reset: Small button to reset the device (use a paperclip).
- Phone Lines (1 & 2): RJ-11 ports for connecting analog telephones for VoIP service.
- Cable line: F-connector for HomePNA (coaxial) data devices.
- Ethernet (1-4): RJ-45 ports for connecting wired devices (computers, gaming consoles, etc.).
- DSL: RJ-11 port for connecting to the DSL line from your wall jack.
- USB: USB port for future use or connecting compatible devices.
- ONT: Optical Network Terminal port (typically for fiber connections, may not be used for DSL).
Bottom Panel

Image: Bottom view of the Arris NVG589, displaying product information and warnings.
The bottom panel contains important information such as the default Wi-Fi Network Name (SSID), Wi-Fi Password, and Device Access Code. It also includes a warning regarding the optional backup battery.
Setup Guide
Follow these steps to set up your Arris NVG589 modem/router:
- Position the Device: Place the NVG589 in a central location in your home, away from obstructions and heat sources, to ensure optimal Wi-Fi coverage.
- Connect the DSL Line: Connect one end of the RJ11 cable (phone cable) to the DSL port on the rear of the NVG589 and the other end to your wall's DSL jack.
- Connect Power: Plug the power adapter into the Power port on the rear of the NVG589, then plug the other end into an electrical outlet. The Power indicator on the front panel should light up.
- Wait for Initialization: Allow several minutes for the device to power on and establish a connection. The Broadband 1, Broadband 2, and Service indicators should eventually turn solid green, indicating a successful internet connection.
- Connect Wired Devices (Optional): For wired connections, connect an Ethernet cable from one of the yellow Ethernet ports (1-4) on the rear of the NVG589 to the Ethernet port on your computer or other network device.
- Connect Wireless Devices: On your wireless device (smartphone, laptop, tablet), search for available Wi-Fi networks. Select the network name (SSID) found on the bottom label of your NVG589. Enter the Wi-Fi Password (also on the bottom label) when prompted.
- Connect Phone Lines (Optional): If you have VoIP service, connect your analog telephone(s) to the Phone Lines 1 & 2 ports using standard phone cables.
Operation
Once your Arris NVG589 is set up, it will automatically manage your internet connection and local network. Here are some basic operational aspects:
- Internet Access: The device provides internet access to all connected wired and wireless devices.
- Wi-Fi Network: The NVG589 broadcasts a Wi-Fi network. You can find the default network name (SSID) and password on the label on the bottom of the device. For security, it is recommended to change the default Wi-Fi password via the device's web interface.
- VoIP Service: If configured, the device supports two VoIP lines for phone service.
- Web Interface: You can access the modem's configuration settings by typing its IP address (usually 192.168.1.254) into a web browser. You will need the Device Access Code from the bottom label to log in.
Maintenance
Regular maintenance helps ensure the longevity and optimal performance of your NVG589.
- Cleaning: Dust the device regularly with a soft, dry cloth. Do not use liquid cleaners or aerosols.
- Ventilation: Ensure the ventilation holes are not blocked. Proper airflow prevents overheating.
- Firmware Updates: Periodically check the manufacturer's website for firmware updates. Firmware updates can improve performance, add features, and fix bugs.
- Restarting: If you experience slow performance or connectivity issues, try restarting the device by unplugging the power cord for 10 seconds and then plugging it back in.
Troubleshooting
Here are solutions to common issues you might encounter:
| Problem | Possible Cause | Solution |
|---|---|---|
| No Power Indicator Light | Power adapter not connected or faulty outlet. | Ensure power adapter is securely plugged into the device and a working electrical outlet. Try a different outlet. |
| Broadband/Service Lights Not Solid Green | DSL line not connected, service issue, or modem not synced. | Check RJ11 cable connection to DSL port and wall jack. Restart the modem. If issue persists, contact your internet service provider. |
| No Internet Access (Wired) | Ethernet cable loose, network adapter issue, or modem not providing internet. | Ensure Ethernet cable is securely connected to both the modem and your device. Check modem's internet status lights. Restart both modem and computer. |
| No Internet Access (Wireless) | Incorrect Wi-Fi password, Wi-Fi disabled, or signal interference. | Verify Wi-Fi password. Check if Wireless indicator is on. Move closer to the modem. Restart the modem. |
| Phone Service Not Working | Phone cable loose, VoIP service not active, or modem issue. | Ensure phone cables are securely connected to the Phone Lines ports. Check Phone 1/2 indicators. Restart the modem. Contact your service provider if VoIP service is not active. |
| Slow Internet Speed | Network congestion, Wi-Fi interference, or service plan limitations. | Reduce number of active devices. Optimize Wi-Fi channel. Consider upgrading your internet plan. Restart the modem. |
Technical Specifications
| Feature | Specification |
|---|---|
| Model Name | Arris NVG589 |
| Wireless Type | 802.11a/b/g/n |
| Frequency Band Class | Single-Band |
| Connectivity Technology | Ethernet, USB, HPNA, WiFi, Optical Network Port |
| Item Weight | 1.8 pounds |
| Product Dimensions (LxWxH) | 10.2 x 7.7 x 3.5 inches |
| Color | Black |
| Voltage | 12 Volts |
| Operating System | Arris proprietary firmware |
| Included Components | Ethernet cable, RJ11 cable, power cord |
Warranty and Support
This Arris NVG589 device typically comes with a limited manufacturer's warranty. Please refer to the original purchase documentation or contact your service provider for specific warranty terms and conditions.
For technical support, troubleshooting assistance beyond this manual, or warranty claims, please contact your internet service provider or visit the official ARRIS support website. You can often find additional resources, FAQs, and contact information on their support pages.
ARRIS Support: www.arris.com/consumer


