1. Introduction
This manual provides comprehensive instructions for the installation, operation, and maintenance of your Legrand Surface-Mounted Narrow Push Button Switch, Model LEG97609. Please read this manual thoroughly before installation and use to ensure proper function and safety. Keep this manual for future reference.

Figure 1: Front view of the Legrand LEG97609 Surface-Mounted Narrow Push Button Switch in white.
2. Safety Information
WARNING: Electrical installation should only be performed by a qualified electrician or competent person. Incorrect installation can lead to electric shock, fire, or serious injury.
- Always disconnect power at the main circuit breaker or fuse box before beginning any electrical work.
- Verify that the power is off using a voltage tester before touching any wires.
- Ensure all wiring connections are secure and comply with local electrical codes and regulations.
- Do not exceed the specified electrical ratings for this device (6 Amperes, 1380 Watts at 230 Volts).
- This product is designed for indoor use only.
3. Package Contents
The Legrand LEG97609 package includes:
- 1 x Legrand Surface-Mounted Narrow Push Button Switch (White)
- 1 x Surface-mounting frame (integrated or separate, ready for installation)

Figure 2: Legrand push button switch as supplied, often with integrated surface-mounting components.
4. Specifications
| Feature | Specification |
|---|---|
| Model Number | LEG97609 |
| Brand | Legrand |
| Color | White |
| Material | Plastic |
| Dimensions (L x W x H) | 3.5 x 4.5 x 4.5 cm |
| Weight | 30 grams |
| Voltage | 230 Volts |
| Amperage | 6 Amperes |
| Maximum Power | 1380 Watts |
| Connection Type | Screw terminals (allows 2 wires per terminal for looping) |
| Standards Compliance | NF |
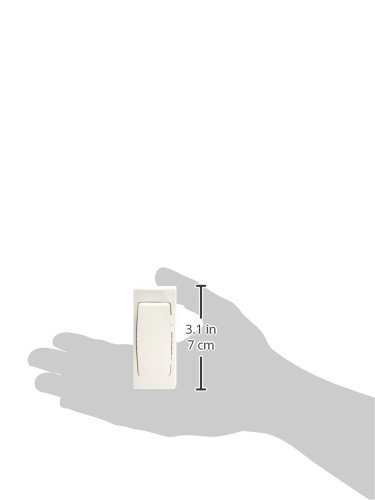
Figure 3: Approximate dimensions of the Legrand push button switch.
5. Installation
This Legrand push button switch is designed for surface mounting and does not require a flush-mounted box, simplifying renovation projects.
5.1. Pre-Installation Steps
- Disconnect Power: Before starting, ensure the main power supply to the circuit is turned off at the circuit breaker or fuse box.
- Verify Power Off: Use a voltage tester to confirm that no power is present at the installation site.
- Prepare Wires: Strip approximately 10-12mm of insulation from the ends of the electrical wires.
5.2. Wiring Instructions
The switch uses screw terminals for connection. It allows for two wires per terminal for looping, which is useful for certain wiring configurations.

Figure 4: Wiring diagrams for a luminous push button and a push button with a tele-interrupter. Consult a qualified electrician for complex installations.
Refer to the wiring diagram (Figure 4) for typical connections. Common configurations include:
- Standard Push Button: Connect the phase (L) and neutral (N) wires to the appropriate terminals as indicated on the device or in the diagram. The push button typically controls a relay or a tele-interrupter.
- Luminous Push Button: If using a luminous version (not this specific model, but shown in diagram), ensure the additional connection for the indicator light is made.
5.3. Mounting the Switch
- Position the surface-mounting frame on the desired wall location.
- Mark the drilling points for the mounting screws.
- Drill pilot holes if necessary and secure the frame to the wall using appropriate screws.
- Connect the prepared electrical wires to the screw terminals on the back of the push button mechanism, ensuring a tight and secure connection.
- Carefully place the wired push button mechanism into the mounted frame, ensuring no wires are pinched.
- Secure the front cover or push button module to the frame.

Figure 5: Example of the Legrand push button switch installed on a wall, demonstrating its compact and discreet design.
5.4. Post-Installation
Once the switch is securely mounted and all connections are made, restore power at the main circuit breaker. Test the push button to ensure it functions correctly.
6. Operating Instructions
The Legrand LEG97609 is a simple push button switch. To operate, press the button to activate or deactivate the connected circuit (e.g., turn lights on/off via a tele-interrupter or relay). The button will return to its original position after being pressed.
7. Maintenance
This push button switch requires minimal maintenance.
- Cleaning: To clean the surface of the switch, gently wipe it with a soft, damp cloth. Do not use abrasive cleaners, solvents, or harsh chemicals, as these can damage the plastic finish.
- Inspection: Periodically inspect the switch for any signs of damage, loose connections, or discoloration. If any issues are observed, disconnect power and consult a qualified electrician.
- No User-Serviceable Parts: There are no user-serviceable parts inside the switch. Do not attempt to disassemble the unit.
8. Troubleshooting
If the push button switch is not functioning as expected, consider the following:
- No Power: Check if the circuit breaker has tripped or if a fuse has blown. Restore power if necessary.
- Loose Connections: Disconnect power and carefully check all wire connections at the switch terminals and the connected device (e.g., tele-interrupter). Ensure they are secure.
- Incorrect Wiring: Review the wiring diagram (Figure 4) and ensure the switch is wired correctly for your application.
- Faulty Connected Device: If the switch appears to be working (e.g., you hear a click from a relay), the issue might be with the device it controls (e.g., the light fixture or tele-interrupter).
- Damaged Switch: If the switch is physically damaged or unresponsive after checking the above, it may need replacement.
If problems persist, consult a qualified electrician.
9. Warranty and Support
For warranty information and customer support, please refer to the official Legrand website or contact your local Legrand distributor. Keep your proof of purchase for warranty claims.
10. Additional Resources
For detailed technical documentation and further instructions, you may refer to the official Legrand user manuals:


