Introduction
This manual provides comprehensive instructions for the setup, operation, maintenance, and troubleshooting of your Proscan PSVR62 Hi-Fi Stereo 4-Head VHS VCR Plus Player. Please read this manual thoroughly before using the device to ensure proper functionality and longevity.
Safety Information
Always follow basic safety precautions when using this product to reduce the risk of fire, electric shock, and injury to persons.
- Do not expose the unit to rain or moisture.
- Do not open the casing; refer all servicing to qualified service personnel.
- Ensure proper ventilation around the unit.
- Unplug the unit during lightning storms or when unused for long periods.
Package Contents
Verify that all items are present in the package:
- Proscan PSVR62 VHS VCR Player
- Remote Control
- Audio/Video (RCA) Cables
- Instruction Manual (this document)
Product Overview

Figure 1: Front view of the Proscan PSVR62 VHS VCR player. The image shows the main unit with its front panel controls (Power, Stop/Eject, REC/XPR, Pause, Play, Reverse, Forward) and the VHS tape slot. A remote control and RCA audio/video cables are visible on top of the unit.
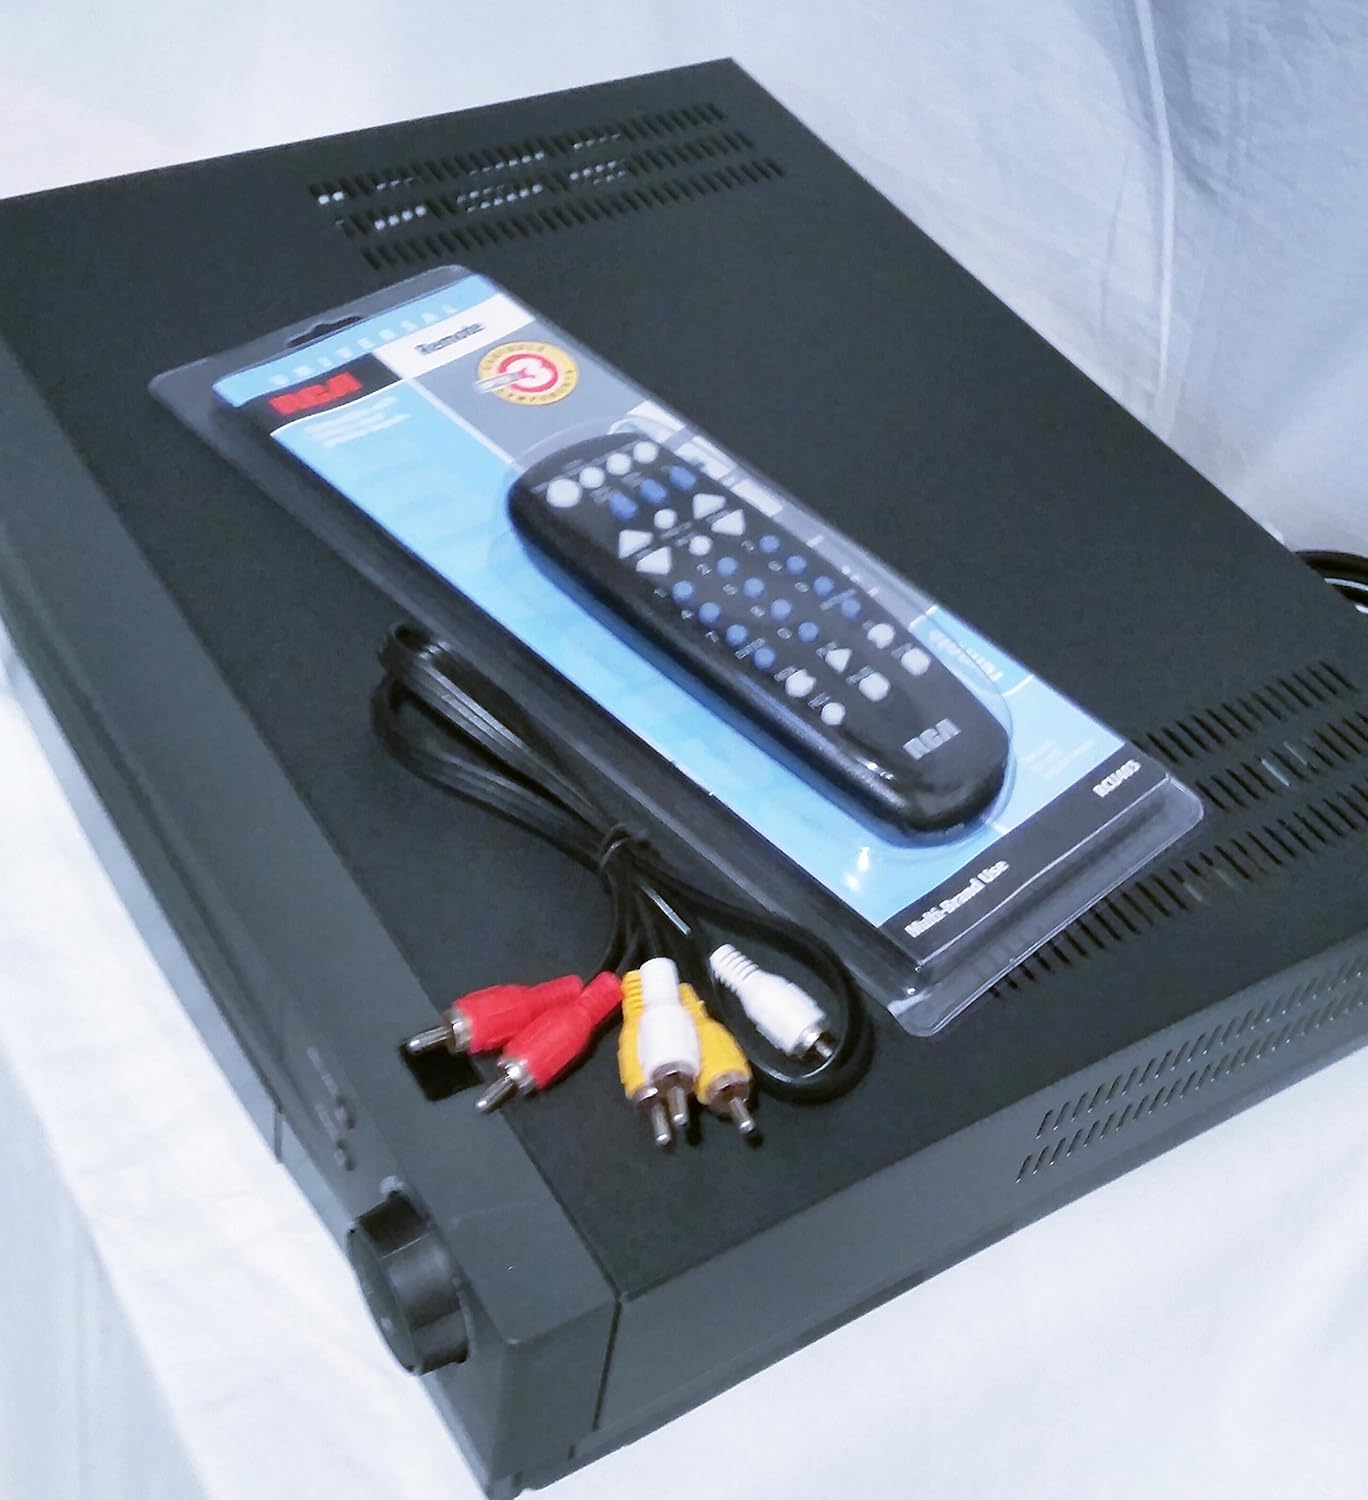
Figure 2: Top-down view of the Proscan PSVR62 VHS VCR player. This perspective highlights the top surface of the VCR, with the included remote control and RCA cables placed beside it, showing the multi-brand use label on the remote packaging.
Front Panel Controls:
- POWER: Turns the VCR on or off.
- STOP/EJECT: Stops playback/recording or ejects the VHS tape.
- REC/XPR: Initiates recording or activates Express Recording.
- PAUSE: Pauses playback or recording.
- PLAY: Starts tape playback.
- REVERSE: Rewinds the tape.
- FORWARD: Fast forwards the tape.
Rear Panel Connections:
The rear panel typically includes:
- Audio/Video (RCA) Input/Output jacks (Yellow for Video, White for Left Audio, Red for Right Audio).
- RF Coaxial Input/Output (for antenna/cable connection).
- Power Cord input.
Setup
1. Unpacking and Placement:
Carefully remove the VCR from its packaging. Place the unit on a stable, flat surface with adequate ventilation. Avoid placing it near heat sources or in direct sunlight.
2. Connecting to a Television:
- Using RCA Cables (Recommended for best quality):
- Connect the yellow video output jack on the VCR to the yellow video input jack on your TV.
- Connect the white audio output jack on the VCR to the white audio input jack on your TV.
- Connect the red audio output jack on the VCR to the red audio input jack on your TV.
- Set your TV's input source to the corresponding AV input (e.g., Video 1, AV1, Input 1).
- Using RF Coaxial Cable (Alternative):
- Connect an RF coaxial cable from the VCR's RF OUT jack to your TV's ANTENNA IN jack.
- Connect your antenna or cable TV signal to the VCR's RF IN jack.
- Tune your TV to channel 3 or 4 (depending on the VCR's output setting) to receive the VCR signal.
3. Power Connection:
Plug the VCR's power cord into a standard AC outlet.
4. Remote Control Setup:
Insert two AAA batteries (not included) into the remote control, observing the correct polarity (+/-).
Operating Instructions
Playing a VHS Tape:
- Turn on the VCR and your television.
- Select the correct input source on your TV (e.g., AV1, Video 1).
- Insert a VHS tape into the tape slot with the label facing up. The VCR will automatically load the tape.
- Press the PLAY button on the VCR or remote control.
- To stop playback, press STOP/EJECT.
- To pause, press PAUSE. Press again to resume.
- To fast forward or rewind, press FORWARD or REVERSE.
Recording a Program:
The Proscan PSVR62 features a 4-head system for high-quality recording and playback.
- Ensure a blank or recordable VHS tape is inserted.
- Tune the VCR to the desired channel you wish to record (if using RF input).
- Press the REC/XPR button. Recording will begin immediately.
- To stop recording, press STOP/EJECT.
Setting the Program Timer (8 Event, 1 Year):
The VCR allows you to program up to 8 recording events over a 1-year period.
- Access the VCR's menu system using the remote control. (Specific menu navigation will vary by remote, refer to remote's manual if needed).
- Navigate to the "Timer Recording" or "Program" section.
- Set the start time, end time, channel, and recording date/frequency for each event.
- Ensure the VCR is powered on or in standby mode and a recordable tape is inserted at the scheduled time.
Maintenance
Cleaning the Unit:
- Wipe the exterior of the VCR with a soft, dry cloth.
- Do not use liquid cleaners or aerosol sprays, as they may damage the finish or internal components.
- Avoid blocking ventilation slots.
Tape Head Cleaning:
Over time, dust and tape residue can accumulate on the VCR's heads, affecting picture and sound quality. If you notice distorted playback, consider using a dry-type VHS head cleaning tape. Follow the instructions provided with the cleaning tape.
Note: Excessive use of wet-type cleaning tapes can damage the heads.
Troubleshooting
| Problem | Possible Cause | Solution |
|---|---|---|
| No power | Power cord unplugged; outlet not active. | Check power cord connection; try a different outlet. |
| No picture/sound | Incorrect TV input; loose AV cables; VCR not on. | Select correct TV input (AV1, Video 1); ensure AV cables are securely connected; turn on VCR. |
| Poor picture quality (snowy/distorted) | Dirty VCR heads; damaged tape; weak signal. | Use a VHS head cleaning tape; try a different tape; check antenna/cable connection. |
| Tape won't eject | Power off; mechanical issue. | Ensure VCR is powered on; if problem persists, do not force, seek professional service. |
| Remote control not working | Dead batteries; obstructed sensor. | Replace batteries; ensure clear line of sight to VCR's IR sensor. |
Specifications
- Model: Proscan PSVR62
- Type: Hi-Fi Stereo 4-Head VHS VCR Plus Player
- Heads: 4 VHS Heads
- Program Timer: 8 Event, 1 Year
- Color: Black
- Dimensions (approx.): 42.42 x 33.02 x 9.91 cm (16.7 x 13.0 x 3.9 inches)
- Weight (approx.): 4.33 kg (9.55 lbs)
- Power Supply: AC 120V, 60Hz (standard for North America)
Warranty Information
Proscan products are manufactured to high quality standards. For specific warranty terms and conditions, please refer to the warranty card included with your product or visit the official Proscan website. Keep your purchase receipt as proof of purchase for warranty claims.
Customer Support
For technical assistance, service, or general inquiries, please contact Proscan customer support. Contact information can typically be found on the manufacturer's website or in the product packaging.
Note: Product specifications and appearance are subject to change without notice.


